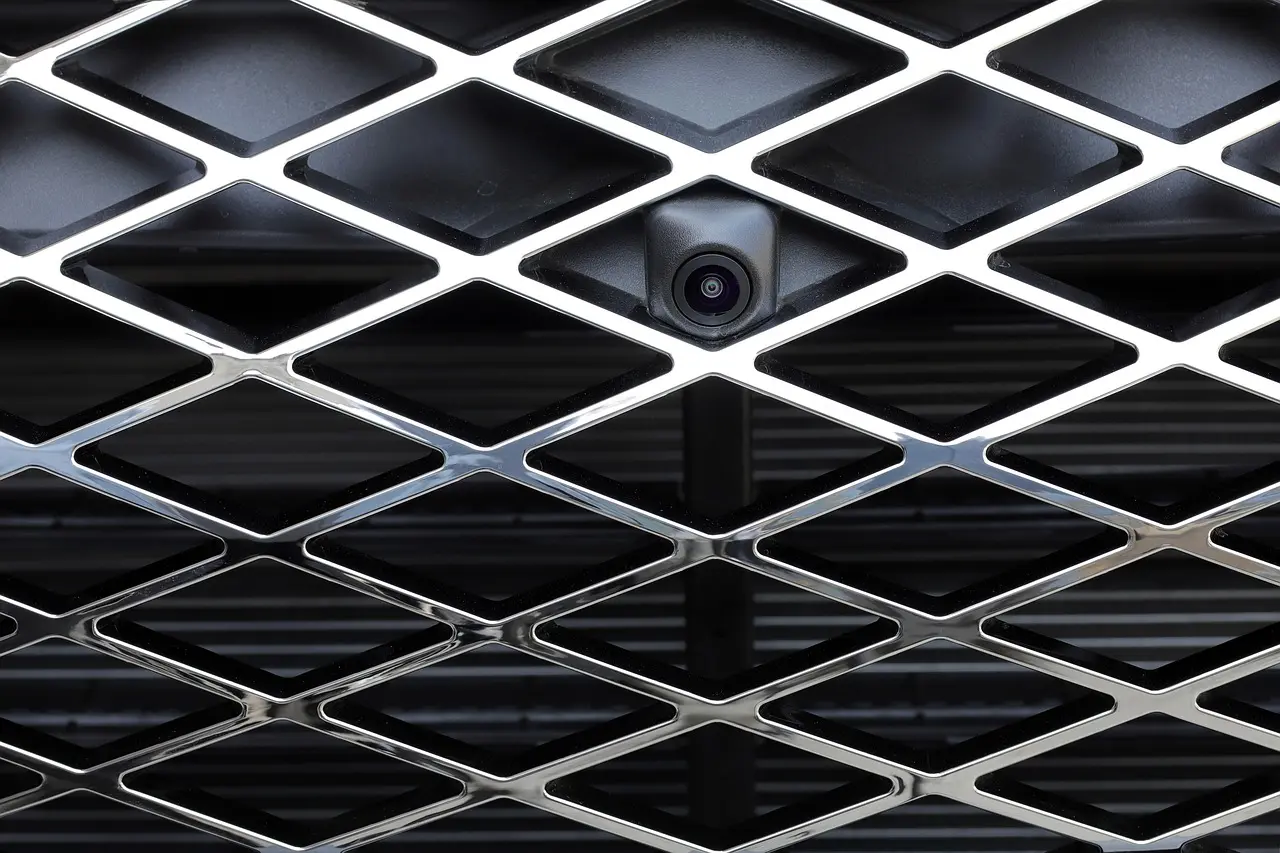
How to Wire a Backup Camera to a Head Unit
Wire power and ground first, then match the video path to the head unit input: RCA camera to the rear camera input, Android unit to its camera input plus reverse trigger, and a factory camera through an adapter if it does not already output standard RCA. A wrong trigger, bad ground, or mismatched video format can kill the image, delay switching, or add noise.
What you’ll need before you start
- Multimeter for 12V checks, ground checks, and reverse-light confirmation
- Trim tools for removing panels without cracking clips
- Crimp tool, wire stripper, and insulated butt connectors or solder and heat-shrink
- Test leads or back-probe pins for checking the head unit connector
- RCA composite video cable with a yellow connector
- Backup camera with 12V power leads and ground lead
- Thin trigger wire, often bundled with the RCA lead
- Fuse tap or add-a-fuse for accessory-grade power sourcing
- Factory camera adapter or retention interface if the OEM camera is not standard RCA
How backup camera wiring changes by head unit type
The camera itself usually needs 12V power, ground, and a video path. What changes is how the head unit accepts that video and whether it needs a reverse trigger wire to switch automatically.
RCA aftermarket units
Most aftermarket radios use a yellow RCA composite input for rear camera video. Many also have a thin reverse input wire that expects 12V from the reverse lamp circuit. If that wire is missing, the camera may work only when you manually select the input.
Android radios
Android units often use the same RCA video connector, but the software setting matters as much as the wire. Many units may need the camera standard set to CVBS or AHD, along with a reverse trigger on the BACK or REVERSE lead. If the standard is wrong, the screen may stay black.
Pioneer and brand-specific units
Pioneer, Kenwood, Sony, Alpine, and similar units usually have clearer camera menus than generic Android units, but the trigger logic still varies. Some want a dedicated reverse signal input. Some also need the rear camera function enabled in settings before the image appears.
Factory camera retrofits
Factory cameras may not output standard RCA. They may use an OEM connector, a proprietary signal, or a digital format that needs a retention interface. Toyota, for example, often needs a model-specific adapter rather than a simple plug swap.
What you’ll need before you start
Start by identifying the camera input on the head unit and checking the vehicle’s reverse lamp circuit. A 12V reverse signal tells the radio when to switch, while the video cable carries the image from rear to dash.
Check the head unit label
Look for labels such as CAM-IN, REAR CAMERA, BACK, or REVERSE. RCA plugs are usually yellow. If the unit has both CVBS and AHD options in software, note the default before wiring anything.
Verify the reverse trigger wire
Use a multimeter on the head unit harness and confirm which wire shows 12V only in reverse. That wire tells the screen to switch. If you cannot find one, check the unit manual or wiring diagram before splicing.
Confirm camera power and ground
The camera usually wants 12V power and a clean chassis ground. Paint, rust, and loose fasteners cause intermittent operation. Strip to bare metal for the ground point and keep the connection short.
How to connect backup camera to head unit
Run the RCA video cable from the rear camera to the dash, connect camera power and ground, then connect the reverse trigger wire if the head unit needs one. Test the image before you snap trim back in place.
- Mount the camera above the plate or in the factory location.
- Run the RCA cable from the rear hatch or trunk to the head unit.
- Connect camera red to 12V and black to chassis ground.
- Tap the reverse lamp positive wire if you want the camera to power only in reverse.
- Join the trigger wire to the same reverse signal so the head unit switches automatically.
- Set the camera input in the head unit menu and verify the video format.
Join the trigger wire where the cable run is clean
Splice the thin trigger wire near the rear light or near the dash, not in multiple places. One clean join reduces failure points and makes diagnosis simpler if the screen does not switch later.
How do you power the camera: reverse light or fuse tap?
Use the reverse light when you want the camera to turn on only in reverse. Use a fuse tap when you want accessory-grade power, want to avoid reverse-light noise, or need the camera powered for bench testing and setup.
Reverse light power
Tapping the reverse lamp gives the camera a built-in on/off point tied to gear selection. Confirm the wire with a multimeter because some vehicles use different colors or switch the ground side instead of the positive side.
Fuse tap or add-a-fuse
A fuse tap is useful when the reverse lamp circuit is noisy, hard to reach, or not suitable for camera current draw. Choose a fuse slot that is switched with ignition if the camera should not run all the time. Match the added fuse to the camera’s draw and the tap’s rating.
Why power choice changes the result
Reverse-light power is simple, but LED reverse lamps can introduce noise. A fuse tap can give a cleaner feed, while the reverse lamp still handles the trigger. That split often fixes rolling lines and random dropouts.
How to wire a factory backup camera to an aftermarket head unit?
If the factory camera does not output standard RCA, use a factory camera adapter or retention interface. That adapter converts the OEM signal to something the new head unit can read, and it may also handle camera power and reverse sensing.
Toyota and other make-specific cases
Toyota and many other makes use trim-specific camera connectors and non-RCA signaling on some models. Check the exact year, trim, and screen type before ordering parts. A generic adapter may fit the plug but still fail to convert the signal correctly.
When the adapter is required
If the OEM camera connector is not a yellow RCA plug, assume you need an interface until proven otherwise. The new radio cannot read a proprietary camera feed directly. That is the most common failure point in factory-to-aftermarket swaps.
Connection matrix: head unit type, power source, trigger source, and failure mode
| Install scenario | Head unit input | Camera type | Power source | Trigger source | Adapter need | Likely failure mode |
|---|---|---|---|---|---|---|
| Aftermarket RCA camera to aftermarket head unit | Yellow RCA rear camera input | 12V analog composite | Reverse light or fused 12V | Reverse lamp positive | Usually none | No image if trigger is missing |
| Android radio install | RCA camera input with CVBS or AHD setting | CVBS or AHD, must match menu | Reverse light, ACC, or camera output | Thin REVERSE wire | Usually none | Black screen if video format is wrong |
| Factory camera to aftermarket head unit | RCA only after conversion | OEM analog, LVDS, or proprietary | Adapter-supplied or OEM circuit | Reverse lamp or adapter signal | Yes, often model-specific | Unsupported signal or wrong adapter |
| Wireless camera install | Wireless receiver to RCA or camera input | Analog wireless pair | Rear transmitter and camera power | Reverse lamp or receiver trigger | Receiver may be included | Pairing loss or lag |
Common mistakes and how to diagnose them
Most failures come from the same few points: wrong input, wrong trigger, bad ground, or unsupported factory signal. Start with the symptom, then check the simplest likely cause first.
No image or black screen
Check the head unit’s camera input setting, then verify 12V at the camera with a multimeter. If the camera powers up but the screen stays black, confirm the video standard. CVBS and AHD are not interchangeable in many setups.
Delayed switching or no reverse trigger
Check the reverse lamp positive wire with the transmission in reverse. If the head unit never sees 12V on the trigger wire, it will not switch automatically. Confirm the wire is on the correct lead in the radio harness, not on a constant 12V line.
Rolling noise, flicker, or intermittent image
Check the ground point first. Remove paint, tighten the fastener, and keep the ground short. Then reroute the RCA cable away from power feeds, amplifier wiring, and sharp body edges that can damage the shield.
Bad ground, wrong input, or unsupported factory signal
A poor chassis ground usually causes flicker or rolling interference. A wrong input gives a black screen with power present. A factory camera that is not standard RCA often needs an adapter before any wiring fault makes sense.
Say your Android radio shows a black screen every time you shift into reverse, but the camera LED comes on. That usually points to a CVBS/AHD mismatch or the wrong camera input menu setting, not a dead camera.
Suppose a Toyota factory camera feeds a new head unit through an off-brand adapter and the screen only flashes for a second. That often means the adapter does not match the OEM signal type or the camera is not receiving proper power through the interface.
If that didn’t work, try this next
If the image still fails after the basic checks, move from least invasive to most invasive. Use a multimeter, then the video path, then the adapter, then the head unit setting menu.
Step 1
- Measure 12V at the camera power leads with the vehicle in reverse.
- Measure continuity on the RCA center conductor and shield end to end.
- Confirm the reverse trigger wire sees 12V at the head unit.
Step 2
- Enter the head unit menu and set rear camera input to CVBS or AHD as required.
- Toggle reverse image, parking lines, and camera enable settings.
- Reconnect the camera only after the menu matches the camera type.
Step 3
- Bypass the factory adapter temporarily if the camera is standard RCA.
- Swap in a known-good RCA cable if the picture drops with trunk movement.
- Replace the adapter only after the power and trigger checks pass.
Step 4
- Move camera power off the reverse lamp and onto a fused switched source.
- Keep the reverse lamp only as the trigger if noise persists.
- Retest with the vehicle in reverse and the engine running.
Prevention
Test the image before reassembling trim, and leave the RCA and trigger joints accessible until the image switches reliably. That makes later diagnosis far easier if the camera starts dropping out or the radio stops seeing reverse.
Frequently asked questions
how to wire a reverse camera to a head unit
Connect the camera’s 12V and ground, run the RCA video to the rear camera input, and connect the reverse trigger wire to 12V from the reverse lamp if that matches your setup. Then set the head unit to rear camera mode and verify the video format matches the camera.
how to connect backup camera to head unit
Use the yellow RCA for video, the black wire for ground, and the red wire for power unless the kit uses a different color code. If the radio does not switch automatically, confirm the reverse input sees 12V when the shifter is in reverse.
how to wire backup camera to android head unit
Match the camera format in the Android settings first, usually CVBS or AHD. Then connect the RCA video and the reverse trigger wire. Many Android units will not auto-switch until the BACK or REVERSE lead sees 12V.
how to connect reverse camera to head unit with rca
Plug the camera’s yellow RCA into the radio’s rear camera input and power the camera with 12V and ground. If the screen stays on the wrong source, connect the thin trigger wire to the reverse lamp positive so the unit changes automatically.
how to wire factory backup camera to aftermarket head unit toyota
Check the Toyota camera connector and signal type before wiring anything. Many trims need a Toyota-specific retention interface that converts the OEM signal to RCA. Without that adapter, the new head unit may power on but never display the camera image.
how to connect wireless backup camera to head unit
Power the rear transmitter and camera from a stable 12V source, then connect the receiver output to the head unit’s camera input. Pairing and trigger logic still matter, so the reverse input wire must be correct if you want automatic switching.