How to Check Speaker Polarity with a Battery in Car Audio
Touch a low-voltage battery, such as a 1.5V to 9V one, to the speaker terminals only briefly for a pop test. If the cone moves outward on the marked positive terminal, polarity is correct. Get it wrong and you can reverse channels, weaken bass, or risk damage with repeated testing on fragile drivers. This guide shows the battery pop test, how to identify terminals, and how to verify the result before you reconnect a car audio speaker.
What you’ll need before you start
- 9V battery for a momentary pop test
- Access to the speaker terminals or the speaker wires at the wiring loom
- Multimeter for wire tracing if the speaker is hard to reach
- Speaker polarity tester as an alternative when access is limited
- Labeling tape or a field log to mark each speaker position
- Small flashlight for reading + and – marks or connector labels
A quick setup matters because the test is short, visual, and easy to mix up across multiple doors. If a speaker is buried behind trim, or if the wiring runs through a factory amplifier or crossover, choose your backup tool before you start.
How to check speaker polarity with a battery
A 9V battery can confirm cone direction fast, but it does not prove every part of a car audio path is wired correctly. Use it on one speaker at a time, and, for a basic woofer or full-range driver, stop after a brief touch that produces visible cone motion.
What the 9V pop test can tell you
The test tells you whether the speaker cone moves in the expected direction when current flows from battery positive to speaker positive. On a standard woofer or full-range speaker, outward motion usually suggests the wiring at that driver matches the marked terminals. It does not verify amplifier output, crossover routing, or hidden adapter wiring.
When this method is the right choice
Use the pop test when the cone is easy to see, the driver is a woofer or full-range unit, and you can reach the terminals without forcing trim or probing tiny pins. If the speaker is still in the car and access is tight, a polarity tester or multimeter may be the better first step.
What is speaker polarity and why does it matter?
Speaker polarity is the link between the amplifier or source positive output and the speaker’s positive terminal. Reversed polarity can make one speaker cone move opposite the others, which may weaken bass and affect stereo balance, especially when left and right channels are compared together.
Polarity versus phase
Polarity is the wiring mark: positive to positive, negative to negative. Phase is the acoustic result, which can be affected by wiring, crossover design, and signal processing. A battery pop test checks one part of that chain only, so a correct cone move is useful, but not the end of verification.
Why a reversed speaker can sound wrong
When one front door speaker is reversed, low frequencies can cancel partly instead of reinforcing each other. The result is often thin bass, a vague center image, or a channel that seems weaker than the rest. That is why a simple polarity check matters before final reassembly.
Step 1: identify the speaker and its terminals
- Read the speaker frame or connector for + and – markings.
- Trace the wiring loom colors, but treat them as clues only.
- Confirm whether the driver is a woofer, full-range speaker, tweeter, or part of a crossover network.
- Disconnect power to the audio system if access to the wiring requires it.
Factory wiring colors vary by vehicle, and aftermarket leads often use stripe conventions that are not universal. A multimeter can help trace continuity when labels are missing, but it will not show cone direction the way the battery test does.
| Speaker type | Battery pop test fit | What to expect | Better alternative if needed |
|---|---|---|---|
| Woofer | Good | Visible brief cone movement | Multimeter for wire tracing |
| Full-range speaker | Good | Visible brief cone movement | Speaker polarity tester |
| Tweeter | Poor | Hard to see, more fragile | Polarity tester or wiring diagram |
| Crossover-fed driver | Often poor | May not respond clearly | Multimeter and system tracing |
Step 2: touch the 9V battery briefly
- Hold the 9V battery by the case so the terminals stay clear of metal trim.
- Touch battery positive to the speaker’s marked positive terminal, then battery negative to the speaker’s negative terminal.
- Lift off immediately after a brief pop or movement.
- Test only one speaker at a time and write down the result before moving to the next one.
Use the battery only momentarily. Do not leave it connected, and do not repeat the test over and over on a small driver that barely moves. If the speaker is behind a grille with poor visibility, remove it enough to see cone motion clearly before deciding anything.
What should the cone do when you test it?
On a standard woofer or full-range speaker, outward cone movement means the battery was applied to the correct polarity: battery positive to speaker positive, battery negative to speaker negative. Inward movement means the leads are reversed. If movement is tiny or unclear, stop and verify the speaker type and wiring path.
How to read the result
Brief, visible motion is the goal. A cone that barely twitches is not enough proof if the speaker is hidden, small, or fed through extra circuitry. A clear push outward is useful for verification, but it still should be recorded alongside the wire colors, terminal marks, and channel position.
What if the cone hardly moves?
That can mean a tweeter, a crossover in the path, a weak connection, or a speaker that is not easy to observe from the access point. Recheck the terminals and the speaker type, then switch to a multimeter or polarity tester before reconnecting anything.
When should you avoid the battery test?
A battery pop test is not the right tool for every driver type. Avoid it on tweeters, on some crossover-equipped speakers, and on channels behind factory amplifiers or other signal-processing paths where cone motion may not reflect the full wiring chain.
Tweeters and crossover-fed speakers
Tweeters are small and often fragile. Many crossover-equipped setups also block a simple DC pop from giving a clear answer. In those cases, a dedicated speaker polarity tester or a wiring diagram plus a multimeter is safer and more reliable than forcing a battery check.
Factory amps and hidden signal paths
Suppose a rear door speaker has no obvious wire colors and the signal comes through a factory amp under the seat. A battery on the speaker terminals may tell you the cone moves, but not whether the amp output, adapter wiring, or crossover path is correct. Trace the circuit first.
Common mistakes to avoid during polarity checks
Most errors come from rushing the test, trusting wire colors too much, or failing to record each result. The battery method is simple, but the workflow around it matters more than the pop itself when you are checking several doors, dash speakers, and rear channels.
- Do not hold the battery on the terminals for more than a brief touch.
- Do not mix up left and right channels during reassembly.
- Do not trust wire color alone; verify with + and – markings or a meter.
- Do not skip the log for each speaker position.
- Do not assume a tweeter or crossover-fed driver will answer the same way as a woofer.
A common first-timer mistake is to test a front left door speaker, set the battery down, and then forget which wire belonged to which terminal. Mark the wiring loom immediately after each check. That one habit prevents swapped channels later.
How to record and verify every speaker in the car
Use a simple field log so each speaker position gets a clear polarity note before the panels go back on. Mark the door, dash, or rear location, then record which wire or terminal acted as positive during the test. If any result is unclear, switch tools before reassembly.
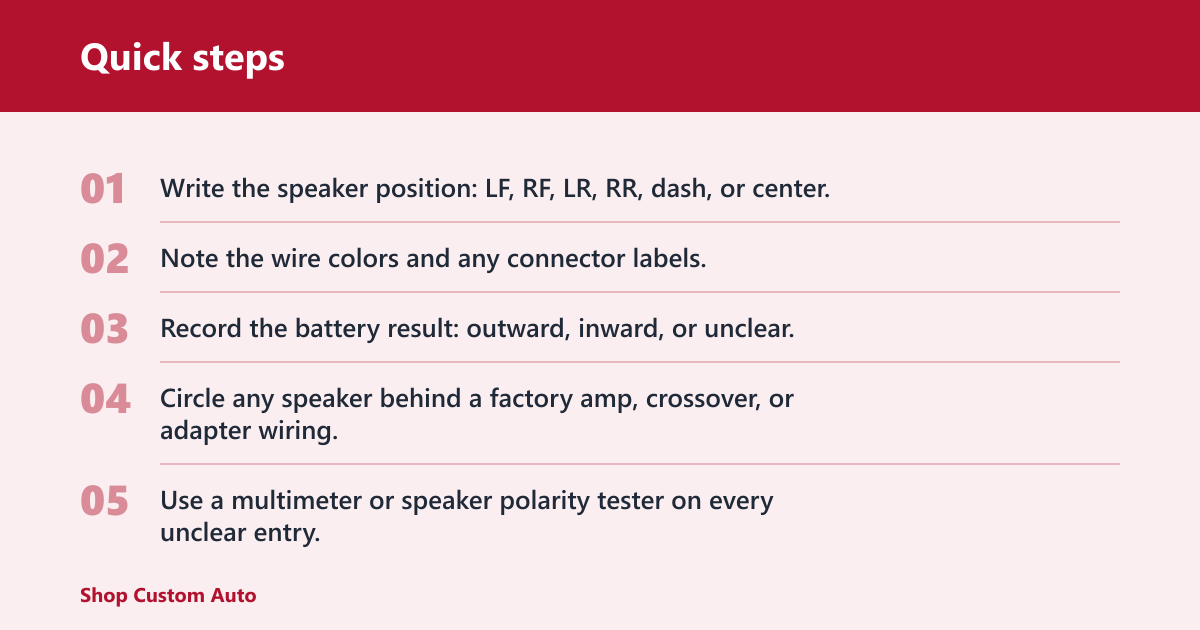
- Write the speaker position: LF, RF, LR, RR, dash, or center.
- Note the wire colors and any connector labels.
- Record the battery result: outward, inward, or unclear.
- Circle any speaker behind a factory amp, crossover, or adapter wiring.
- Use a multimeter or speaker polarity tester on every unclear entry.
| Position | Wire color or label | Battery result | Action |
|---|---|---|---|
| LF door | Gray / gray-black | Outward | Mark as verified positive lead |
| RF door | White / white-black | Inward | Swap leads before final connection |
| Rear left | Unknown adapter wiring | Unclear | Use multimeter or polarity tester |
| Dash tweeter | Factory plug | Not tested | Avoid battery test; use another method |
Say your front door woofer pops outward, but the rear speaker behind a factory amp barely moves. Do not force the same test on both. Verify the rear path with a multimeter first, then check the speaker only if the driver type makes that useful.
If that didn’t work, try this next
If the cone motion is unclear, or the speaker is not a good battery-test candidate, move to a polarity tester first. If the wiring is still uncertain, trace continuity with a multimeter. If a factory amplifier or crossover is in the path, verify the circuit at the wiring loom before touching the driver again.
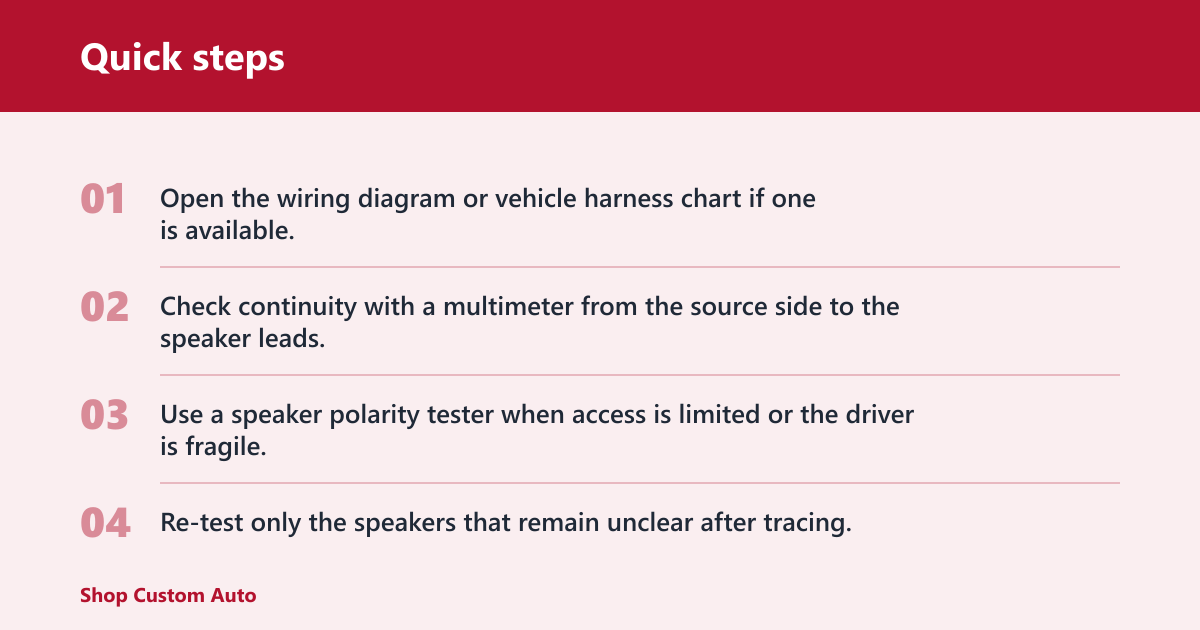
- Open the wiring diagram or vehicle harness chart if one is available.
- Check continuity with a multimeter from the source side to the speaker leads.
- Use a speaker polarity tester when access is limited or the driver is fragile.
- Re-test only the speakers that remain unclear after tracing.
Prevention: label each connector before it leaves the door or dash opening. A small piece of tape with LF+, LF-, RF+, or RF- prevents channel swaps far better than trying to remember wire colors later.
Frequently asked questions
how to test speaker polarity 9v battery
Touch the 9V battery to the speaker for a brief moment: battery positive to speaker positive, battery negative to speaker negative. On a standard woofer or full-range speaker, the cone should move outward. Record the result immediately, then disconnect the battery and move to the next speaker.
How to check battery polarity
Look for the + and – symbols molded into the battery case. The smaller terminal is negative on most 9V batteries, and the larger snap terminal is positive. If the marks are worn, use a multimeter set to DC volts and confirm the red probe on the raised snap reads positive.
How to check speaker polarity
Use the speaker’s + and – marks first, then confirm with a battery pop test on a woofer or full-range driver. If the cone moves outward when positive touches positive, the polarity at that speaker is correct. If not, swap the leads and write the final result in your log.
Will a 9V battery damage my speaker?
A brief touch is usually the common safe practice for checking a woofer or full-range speaker, but do not hold the battery on the terminals. Small tweeters, fragile drivers, and crossover-fed speakers are different. If the cone is tiny or hard to see, use a polarity tester instead.
Which speaker wire is positive and negative in a car?
There is no universal color rule across all vehicles. Factory wiring colors vary, and aftermarket wires may use striped conventions that still need verification. Use the + and – marks on the speaker, then confirm with a multimeter or a battery pop test before final connection.
What should the cone do when I touch the battery?
On a standard woofer or full-range speaker, the cone should move outward briefly when the battery positive is on the speaker positive terminal. Inward movement points to reversed wiring. If the motion is tiny or unclear, stop and verify the speaker type, access, and wiring path.