How to Find Speaker Sizes for My Car
Find your car’s speaker size by checking the factory fitment for your exact year, trim, and speaker location, then verify the cutout diameter, mounting depth, bolt pattern, and connector type before buying. Skip those measurements and you can end up with speakers that rattle, need adapters, or do not fit at all. This guide shows how to measure the opening, decode size charts, and confirm the exact replacement fitment.
Speaker fitment checklist
Use this checklist before you order anything. It keeps the focus on fitment, not only nominal diameter, so you can match the speaker to the location, mounting space, and connector style in the car.
| Vehicle year/make/model/trim | Speaker location | Nominal size | Measured cone/frame/cutout/depth | Connector type | Adapter needed | Notes on clearance issues |
|---|---|---|---|---|---|---|
| 2020 Toyota Camry LE | Front door | 6.5-inch | Cone 6.5-inch; frame 6.9-inch; cutout 5.6-inch; depth 2.7-inch | 2-pin factory plug | Yes, bracket and harness | Window glass path limits depth |
| 2018 Honda Civic LX | Dashboard | 3.5-inch | Cone 3.5-inch; frame 4.1-inch; cutout 3.0-inch; depth 1.8-inch | 2-pin factory plug | Sometimes, spacer ring | Grille opening can clip tall tweeters |
| 2016 Ford F-150 XLT | Rear door | 6.75-inch | Cone 6.75-inch; frame 7.1-inch; cutout 5.9-inch; depth 3.0-inch | 3-pin factory plug | Yes, harness adapter | Magnet clearance is tight behind panel |
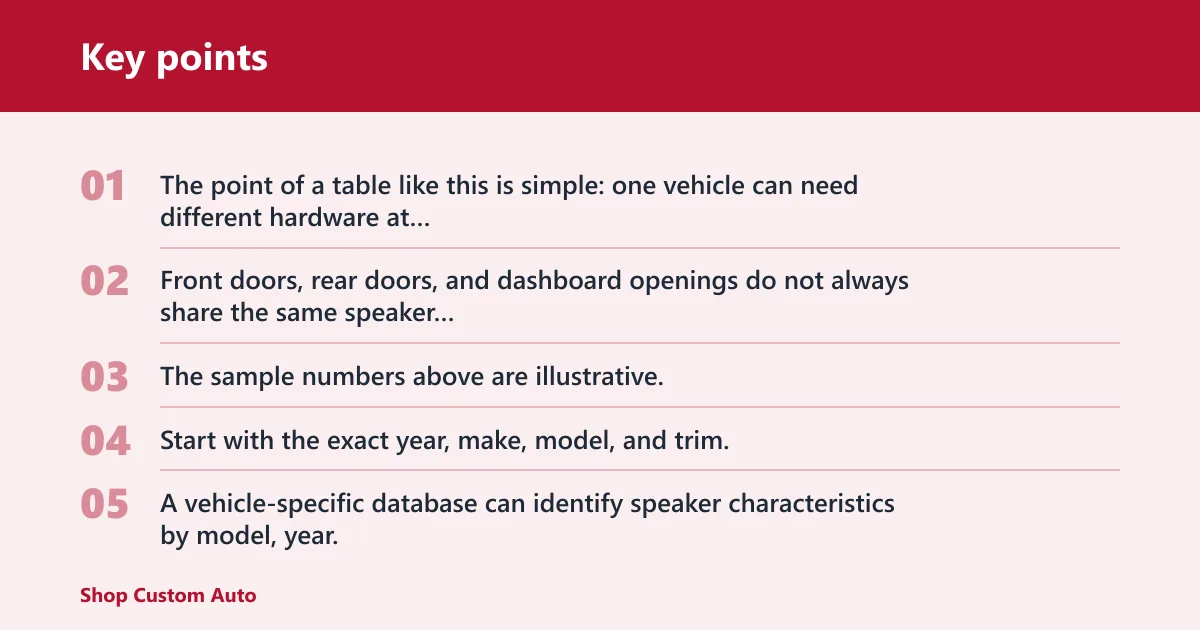
The point of a table like this is simple: one vehicle can need different hardware at different locations. Front doors, rear doors, and dashboard openings do not always share the same speaker shape or depth. The sample numbers above are illustrative, so use them as a format for comparison rather than as a substitute for vehicle-specific fitment data.
Vehicle year, make, model, and trim
Start with the exact year, make, model, and trim. A vehicle-specific database can identify speaker characteristics by model, year, and brand, but trim matters because factory audio packages often change the speaker basket, connector, or mounting depth.
Owner’s manuals may list the original speaker size and type, and they may show locations such as doors or dashboard. That gives you a useful factory baseline, but premium audio options or a midyear change can alter the answer.
Speaker location and nominal size
Record where the speaker sits and the nominal size listed for that location. Car speaker sizes are commonly expressed in inches, and common formats include 4, 5.25, and 6.5 inches. A single vehicle can use more than one size across dashboard, front doors, and rear doors.
Say your compact sedan lists 4-inch dash speakers and 6.5-inch front doors. Buying four 6.5-inch speakers because they seem like a better upgrade will not fix the dash opening. Location comes first, then size.
Measured cone, frame, cutout, and depth
Measure the installed speaker after removing the grille or panel so you can access the actual part and opening. Measure more than one dimension. Cone size, frame size, cutout size, and depth can all differ, and a part can match one of them while failing on another.
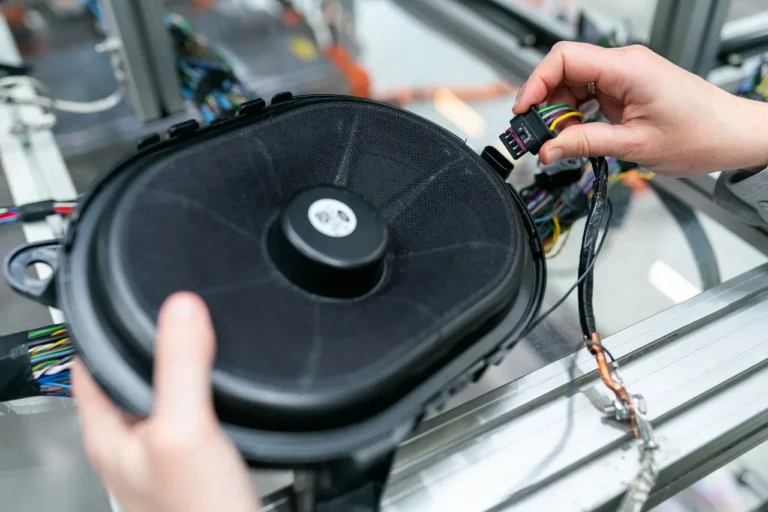
Cone size is the visible diaphragm area. Frame size is the outer basket or mounting flange. Cutout size is the opening in the panel or bracket. Mounting depth is how much room the speaker needs behind the surface.
Connector type, adapter needed, and clearance notes
Write down the connector type before you buy. Many factory speakers use plugs that do not match aftermarket terminals, so you may need a harness adapter. Also note any brackets, spacer rings, or polarity issues that would affect install.
Clearance notes matter just as much as diameter. A speaker can match the listed size and still hit the window track, dash structure, or grille because the magnet or basket is too deep for the space available.
What size speakers does my car have?
Check the owner’s manual first, then verify the listing with an online fitment database for your exact year, make, model, and trim. If the manual is missing or vague, the database narrows the likely factory sizes and locations fast enough to guide the next step.
Check the owner’s manual first
The owner’s manual may list the original speaker size and type. It may also show locations such as doors or dashboard. That makes the manual the best low-effort starting point, especially when you want a factory-spec baseline before removing panels.
Look up your vehicle in a fitment database
A vehicle-specific database can identify speaker characteristics by model, year, and brand. Use it to check whether the front doors, rear doors, and dashboard share one size or use separate parts. This is especially helpful when the manual does not list the full audio layout.
Watch for trim-level and option-package differences
Trim-level and option-package variation is a common reason one same-year vehicle uses different speakers from another. A base trim may use simple 4-inch or 5.25-inch locations, while a premium package may change depth, connectors, or even the mounting bracket.
Picture two 2021 crossovers with the same badge. One has a basic radio and a standard 6.5-inch front door speaker; the other has an amplified system and a different plug. The model year matches, but the fitment does not.
How do I know the size of my car speakers?
You know the size by combining factory information with direct measurement. If you can access the speaker, remove the grille or door panel carefully, then measure the actual opening and the speaker body. If you cannot or do not want to dismantle panels, a car audio professional can confirm fitment for you.
Remove the grille or door panel carefully
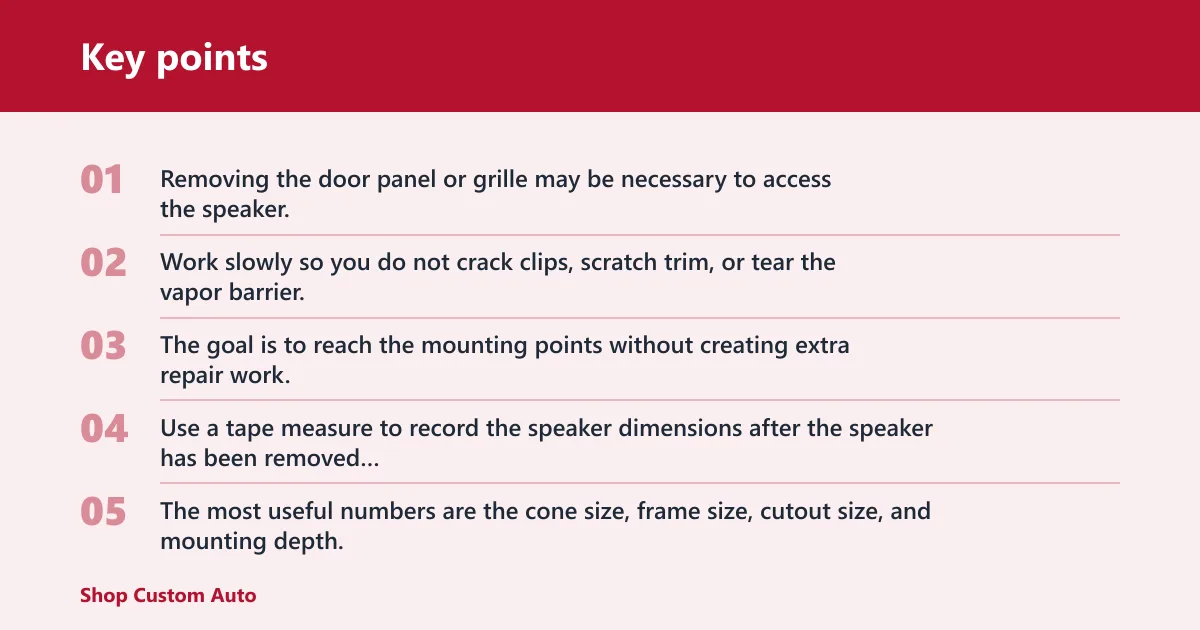
Removing the door panel or grille may be necessary to access the speaker. Work slowly so you do not crack clips, scratch trim, or tear the vapor barrier. The goal is to reach the mounting points without creating extra repair work.
Measure the installed speaker with a tape measure
Use a tape measure to record the speaker dimensions after the speaker has been removed or fully exposed. The most useful numbers are the cone size, frame size, cutout size, and mounting depth. Write them down together so you do not rely on a single dimension that may not match the replacement part.
Record diameter and mounting depth
Measuring depth matters when mounting space is limited. A replacement can match the nominal speaker diameter and still fail if the magnet or basket extends too far into the cavity. Depth is often the dimension that separates an easy swap from a no-fit problem.
A common first-timer mistake is ordering a 6.5-inch replacement because the catalog says the car uses 6.5-inch speakers, then finding the window hits the magnet before the panel goes back on. The size label was correct. The depth was not.
Do I measure the cone, frame, or opening?
Measure all three if you can. Cone size helps identify the nominal speaker size, frame size tells you whether the mounting flange will sit correctly, and opening or cutout size tells you whether the speaker will physically pass through the panel and bracket. Depth completes the fit check.
Cone size versus frame size
Cone size is often the number printed on product listings, but the cone is not the whole speaker. The frame can be wider than the cone, and that outer width is what must fit the factory mount. If you measure only the visible cone, you can overestimate compatibility.
Cutout size and why it matters
Cutout size is the hole the speaker has to fit into. It matters because a nominally correct 5.25-inch or 6.5-inch speaker may still not seat if the opening is too small or if the factory bracket changes the effective opening. This is one of the most common mismatch points.
Depth and magnet clearance
Depth is critical in doors and dashboards where glass, ducting, or structural braces sit behind the speaker. Even when the front face fits, the magnet may strike something behind the panel. That is why depth should always be checked alongside diameter.
Common car speaker sizes and where they fit
Car speaker sizes commonly include 3.5, 4, 5.25, 6, 6.5, and 6.75 inches. Those are the sizes you will see most often on fitment charts, but the exact opening and adapter requirements still depend on location and trim.
3.5-inch and 4-inch locations
3.5-inch and 4-inch speakers are often found in dashboard locations, small rear locations, or compact factory systems. These spaces tend to have shallow depth and tighter grille openings, so the shape of the frame can matter almost as much as the size label.
5.25-inch and 6-inch locations
5.25-inch and 6-inch speakers often appear in older door applications and some rear-side locations. They may need adapter rings or brackets if the factory opening was made for a different basket style. Check the mounting ear pattern before ordering.
6.5-inch and 6.75-inch locations
6.5-inch speakers are described as versatile, and 6.5-inch speakers come in coaxial and component types. 6.75-inch speakers are also common in doors, especially where the factory opening favors a larger basket or adapter plate.
Why a matching size may still not fit
A matching size on paper is not enough. The replacement can still fail because of mounting depth, adapter shape, or connector mismatch. Fitment is a stack of checks, not a single number.
Mounting depth limits
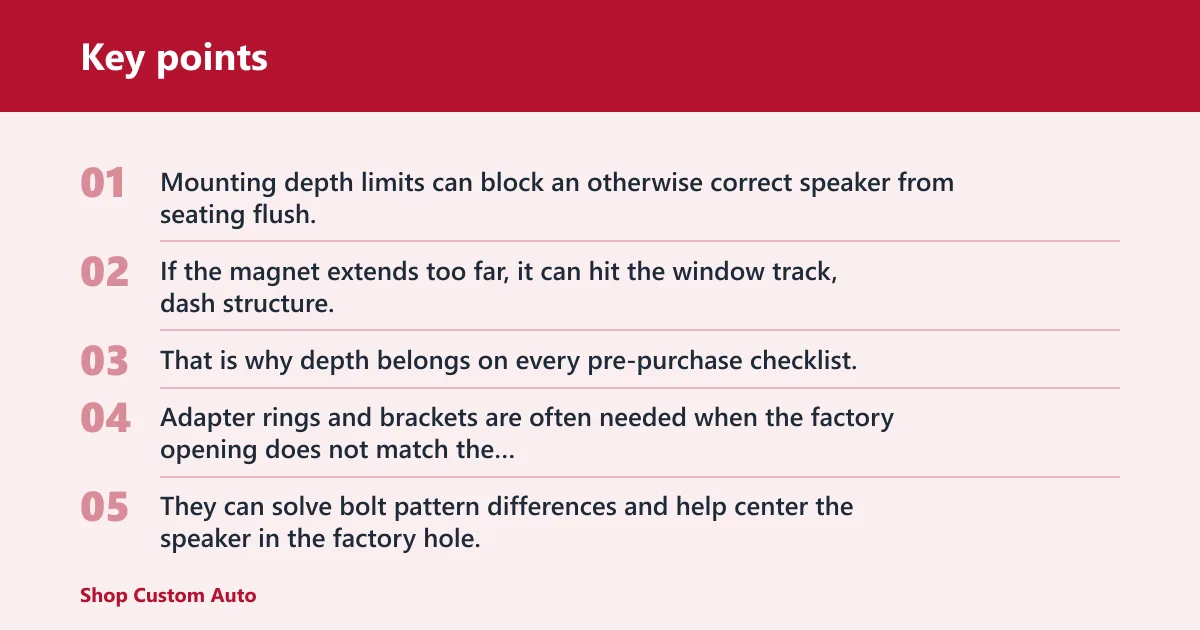
Mounting depth limits can block an otherwise correct speaker from seating flush. If the magnet extends too far, it can hit the window track, dash structure, or a brace behind the panel. That is why depth belongs on every pre-purchase checklist.
Adapter rings and brackets
Adapter rings and brackets are often needed when the factory opening does not match the aftermarket mounting pattern. They can solve bolt pattern differences and help center the speaker in the factory hole. Without them, even a correct size may sit crooked or loose.
Connector and polarity checks
Connector compatibility matters because factory plugs often do not match speaker tabs. Check polarity, too. If the positive and negative leads are reversed, the speaker may still play, but bass response and balance can suffer. That is an avoidable mistake.
Consult a car audio professional if you are unsure, especially if you do not want to dismantle panels. They can often confirm fitment from the vehicle data, connector style, and trim package before parts are ordered.
Frequently asked questions
What size speakers fit my car
The right size depends on location, trim, and factory package, not just the model year. A car may accept 4-inch speakers in the dash and 6.5-inch speakers in the doors. Check the exact location, then verify cutout size, depth, and connector type.
What size speakers does my car have: look in the owner’s manual?
Look in the owner’s manual first, because it may list the original speaker size and type and may show where each speaker sits. If it does not, use a fitment database or measure the installed speaker directly. Trim-level differences can change the answer.
Should I use the owner’s manual or measure the speaker?
Use both, but in that order. The manual gives you the factory starting point, while direct measurement confirms the real opening and depth in your specific car. If a trim or option package changed the audio hardware, measurement is the final tie-breaker.
What if the new speaker size matches but still doesn’t fit?
Check depth, adapter rings, bracket shape, and connector compatibility. A speaker can match the listed diameter and still fail because the magnet hits the window track, the frame clashes with the grille, or the mounting ears do not line up with the factory holes.
Can a professional confirm speaker size without removing panels?
Often, yes. A car audio professional can use vehicle data, trim information, and connector details to narrow the fitment before any disassembly. That is useful when you want to avoid clip damage or do not want to pull a door panel yourself.
What are the common car speaker sizes?
The common sizes are 3.5, 4, 5.25, 6, 6.5, and 6.75 inches. Those numbers are common starting points, not a final fitment guarantee. You still need to confirm location, depth, and mounting hardware before you order replacements.