How to Wire Component Speakers with a Crossover
Wire the head unit or amplifier output to the crossover input, then run the crossover’s tweeter output to the tweeter and woofer output to the midbass. If the crossover has IN, TWEETER, and WOOFER labels, match them exactly. Wrong wiring can leave one driver silent, create harsh highs, or send low frequencies to a tweeter and damage it. This guide shows the signal path, terminal labels, polarity checks, and the common mistakes that stop a passive component set from working on the first try.
What you’ll need
- Component speaker kit with woofer or midrange, tweeter, and passive crossover
- Speaker wire, commonly 14 AWG to 16 AWG for many installs
- Crimp connectors, spade terminals, or solder and heat-shrink tubing
- Wire stripper and cutter
- Panel removal tools
- Multimeter or polarity tester
- Mounting screws, zip ties, and foam tape or mounting pads
- Basic hand tools for trim and speaker removal
- Battery wrench for the car battery negative terminal
How the signal path works
The signal path is straightforward: source output goes into the passive crossover input, then the crossover sends filtered highs to the tweeter and filtered mids and lows to the woofer. That path differs from an active DSP system, where filtering happens before amplification and each driver may get its own channel.
Passive versus active wiring
A passive crossover sits between the source or amplifier and the drivers. It is made for one speaker impedance in most cases and routes frequencies to the right driver. Do not mix passive crossover outputs with active crossover outputs unless the system is built for that layout.
How do you wire component speakers with a crossover?
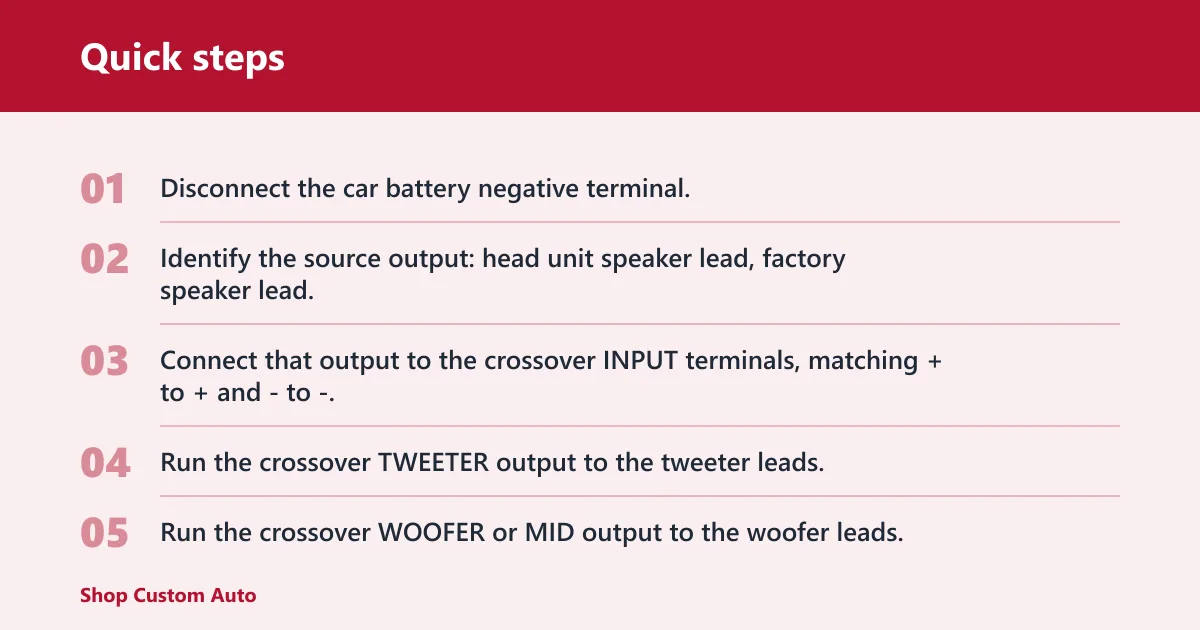
Feed the source into the crossover input first, then send the crossover’s tweeter and woofer outputs to the matching drivers with polarity kept the same end to end. If the crossover is labeled INPUT, TWEETER, and WOOFER or MID, those labels control the full signal path and should not be guessed.
How do you install component speakers with a crossover?
Mount the crossover on a flat spot that stays dry, stays fixed, and sits clear of pedals, window tracks, seat rails, and sharp trim edges. Then route the source wire to INPUT and the driver wires to the matching outputs. Short runs help, and tidy routing keeps wires from getting pinched. Crossovers can sit close to the amp or car radio, or near the speakers.
Where should you mount it?
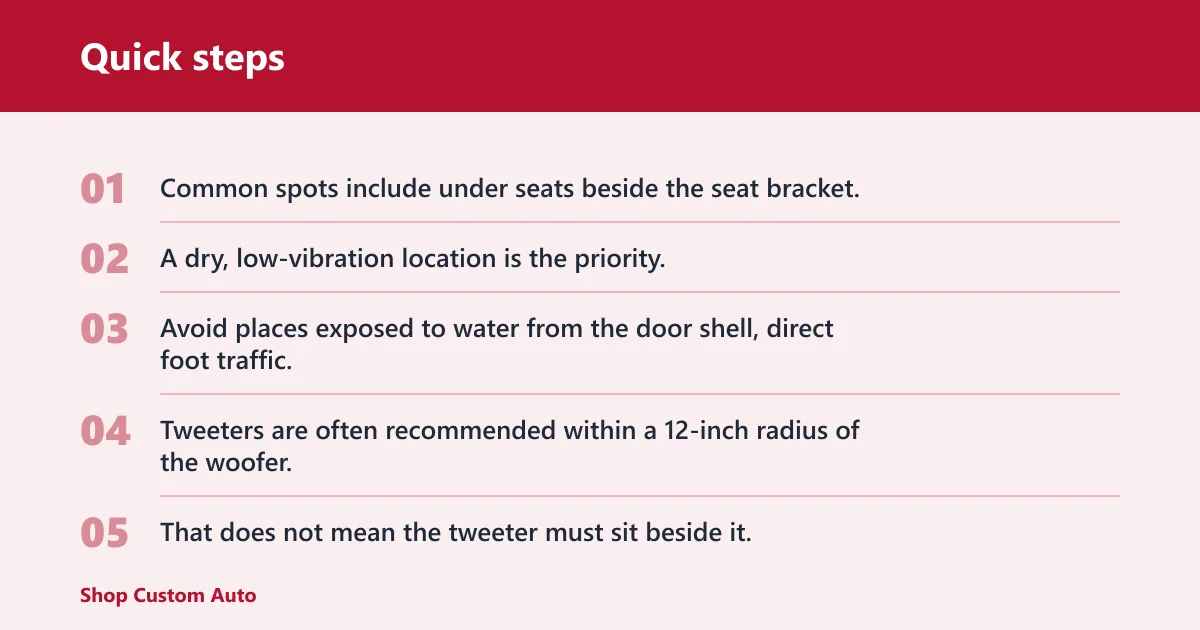
Common spots include under seats beside the seat bracket, behind trim panels near the kick area, on the inside of a door panel away from the window path, behind kick panels, and near the speakers. A dry, low-vibration location is the priority. Avoid places exposed to water from the door shell, direct foot traffic, or trim pieces that flex hard on every drive.
How close should the tweeter be to the woofer?
Tweeters are often recommended within a 12-inch radius of the woofer. That does not mean the tweeter must sit beside it, but closer placement usually helps imaging and phase alignment. Dash, kick panel, sail panel, and door locations all work differently, so choose the spot that fits the car and keeps the pair reasonably close.
Say your woofer is in the lower door and the tweeter is in the sail panel. That can work well if the crossover is wired correctly and the tweeter points at the listening area, but the longer acoustic path may change how centered the sound feels.
How do you wire component speakers without a crossover?
A standard passive component set generally should not be wired without its crossover. The crossover is the part that divides frequencies between woofer and tweeter. Without it, the tweeter can receive full-range signal and the woofer can get content it should not play.
When not to mix passive and active parts
If the car has an active DSP or an amplifier with active crossover settings, that does not replace the passive crossover unless the speaker set is built for active use. Do not connect a passive tweeter directly to a full-range output. Keep the system design consistent from source to driver.
Component crossover wiring matrix
This matrix shows the correct input path for the most common setups. The key is where the signal starts, not where the crossover sits physically. A passive crossover can sit near the amp, radio, or speakers, but the input must still come from the correct source output.
| Setup | Correct crossover input path | What to connect first | Notes |
|---|---|---|---|
| Factory head unit | OEM speaker leads to crossover INPUT | Use the factory speaker wire pair from the radio or door harness | Good for OEM integration if the signal is full range |
| Aftermarket head unit | Head unit speaker output to crossover INPUT | Use the radio’s speaker output pair | Keep left and right channels separate |
| External amp | Amp speaker output to crossover INPUT | Use the amp’s full-range output channel | Do not feed an already filtered tweeter-only output |
| Factory wiring reuse | OEM wire run to crossover INPUT, then crossover to drivers | Trace the factory pair before cutting or adapting | Verify polarity because factory harness colors vary |
Common mistakes
Most wiring problems come from polarity errors, swapped terminals, or putting the crossover in the wrong place. The symptom usually points to the mistake: weak bass, no tweeter output, harsh sound, or one speaker that seems dead even though the channel is powered.
| Symptom | Likely wiring error | Fix |
|---|---|---|
| Weak bass and smeared imaging | Speaker polarity reversed on one driver | Reconnect + to + and – to – at the crossover and driver |
| No tweeter output | Tweeter tied to WOOFER/MID or bad input feed | Move tweeter leads to the TWEETER terminals and verify INPUT power |
| Harsh highs or silence from one side | Swapped crossover outputs | Confirm each output matches the label before sealing panels |
| Intermittent sound after reinstall | Crossover mounted where trim or water affects it | Move it to a dry, secure, low-vibration location |
| Volume drops on long runs | Wire gauge too small for the route | Use thicker wire for longer door-to-dash or amp-to-door runs |
A common first-timer mistake is using the woofer output for the tweeter because the labels look similar in a dim footwell. That usually gives either no tweeter output or harsh distortion, depending on the crossover design and the rest of the wiring.
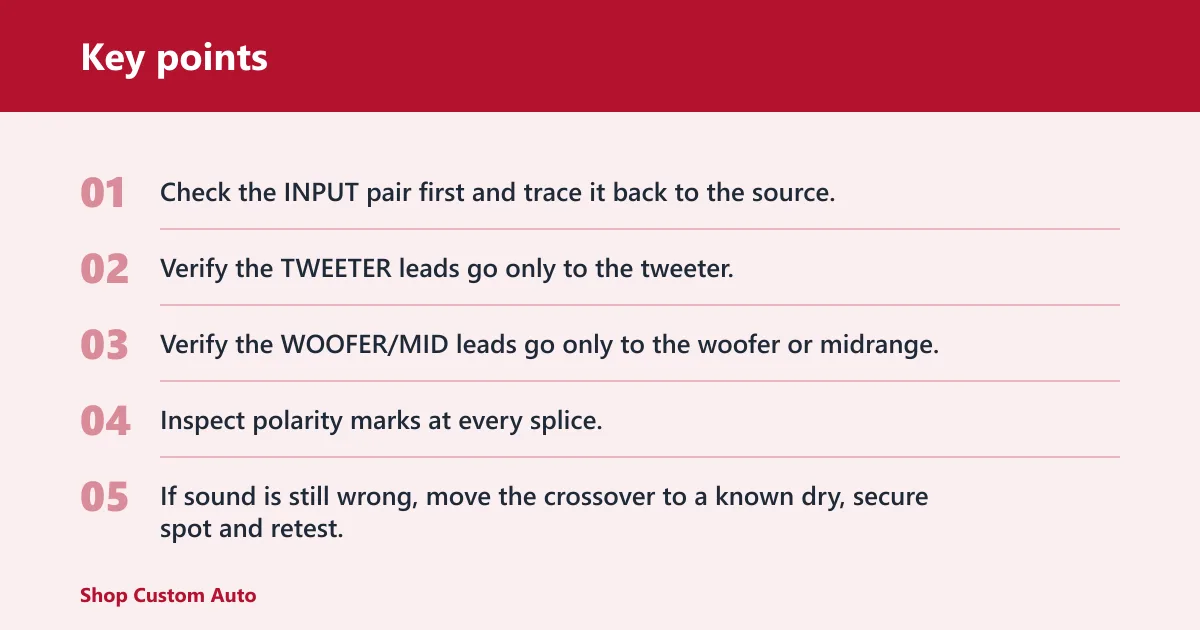
- Check the INPUT pair first and trace it back to the source.
- Verify the TWEETER leads go only to the tweeter.
- Verify the WOOFER/MID leads go only to the woofer or midrange.
- Inspect polarity marks at every splice.
- If sound is still wrong, move the crossover to a known dry, secure spot and retest.
Frequently asked questions
Do you have to use a crossover with component speakers?
Yes, for a standard passive component speaker kit. The woofer and tweeter need frequency division before the signal reaches them. Without that passive crossover, the tweeter can receive content it should not play and the system will not operate as intended.
Where should you mount the crossover?
Pick a dry, secure, low-vibration spot such as under a seat, behind a panel, near the speakers, or near the radio or amp. Avoid places exposed to water, heavy vibration, or moving trim. Secure mounting keeps the wiring from flexing and pulling loose.
What happens if speaker polarity is reversed?
Reversed polarity can cause an out-of-phase condition, weak bass, and smeared imaging. Fix it by tracing the positive and negative leads from the source to the crossover and from the crossover to each driver, then reconnecting every pair + to + and – to -.
What wire gauge should you use for component speakers?
Many installers use 14- to 16-gauge wire for a new component speaker system. For longer runs, thicker wire is the better choice because it reduces voltage drop. If the wire must travel from the dash to a distant door or amp location, do not choose the smallest practical size.