Why Speaker Polarity Matters in a Car
Speaker polarity matters because one reversed speaker can wipe out bass, make the sound thin, and pull the image off-center. A quick polarity check tells you whether you have a wiring mistake or a bad driver. Skip it, and you can replace good parts, chase a fake channel fault, or keep a system sounding weak. This guide shows how polarity affects car audio and how to test for reversed wires, open circuits, and other wiring problems.
What speaker polarity means
Speaker polarity is the link between the positive and negative terminals on a car speaker and the matching speaker wires. Correct wiring makes the cone move in the same direction as the rest of the system. Reversed wiring flips that motion and can put speakers out of phase with each other.
Positive and negative terminals
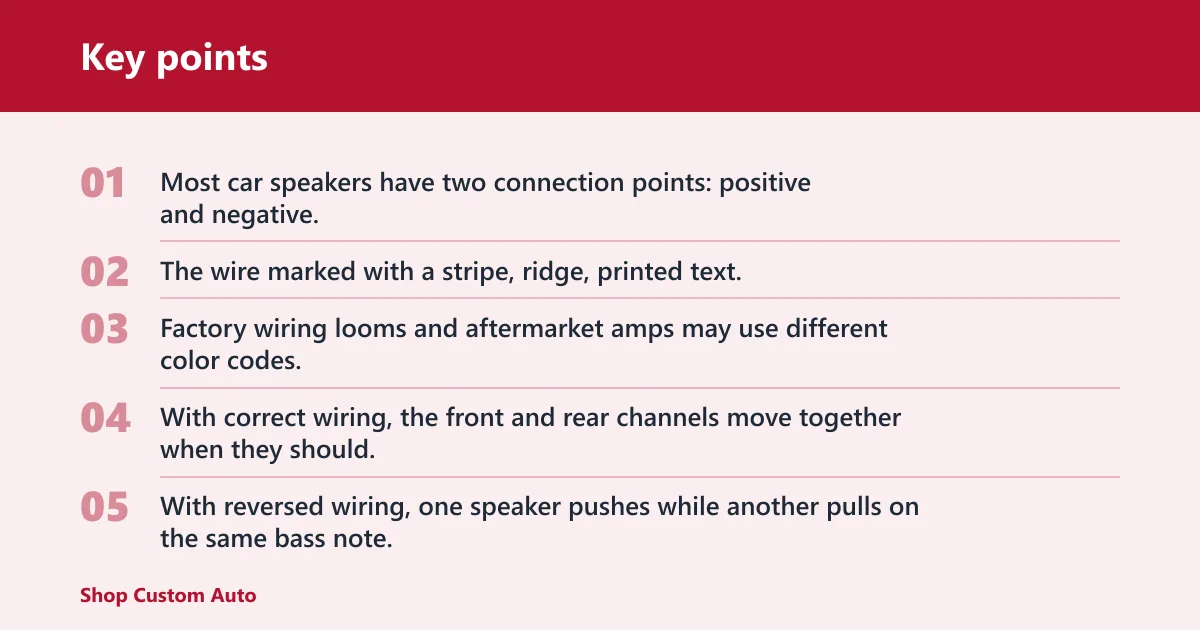
Most car speakers have two connection points: positive and negative. The wire marked with a stripe, ridge, printed text, or a consistent color is often the positive lead, but you should confirm that before connection. Factory wiring looms and aftermarket amps may use different color codes, so do not assume every vehicle follows the same pattern.
Correct vs reversed wiring
With correct wiring, the front and rear channels move together when they should. With reversed wiring, one speaker pushes while another pulls on the same bass note. That conflict does not always make a speaker silent, but it can make the system lose punch and blur left-right placement.
Phase alignment in a car cabin
A car cabin is a shared acoustic space, so output from different speakers reaches your ears at slightly different times. ZDNET notes that speaker systems can include multiple speakers and separate tweeters and woofers, and that those systems can produce immersive audio. In a car, that same complexity makes phase errors easier to hear, especially at the listening positions in the front seats.
Why does speaker polarity matter in a car?
Speaker polarity matters in a car because the cabin mixes output from front and rear channels, reflected sound, and bass from multiple drivers. When one speaker is reversed, low frequencies can cancel across the cabin, and the center image can drift or lose focus. The result is often thin sound that seems larger than one bad speaker alone should cause.
Bass cancellation between channels
Low frequencies are where polarity errors usually show up first. If the left and right front speakers are out of phase, the same bass note arrives with opposite cone movement and weaker pressure. That can make the whole dash area sound light on bass even when both speakers still play.
Thin sound and weak center image
Polarity errors do more than cut bass. They can make vocals seem hollow, pull kick drum to one side, and blur the center image. When the front stage loses focus, the issue may feel like a head unit problem, but the first check should still be the wiring.
Why the cabin makes errors easier to hear
Doors, glass, seats, and the dash all reflect sound. That means a reversed speaker can interact with another speaker, especially in the front channel, and the cancellation may change as you move your head. A small wiring mistake can therefore sound larger inside a car than on a bench.
How do you know if speaker polarity is wrong?
Wrong polarity usually shows up as weak bass, a thin door speaker, or a vague stereo image, but those signs are not proof by themselves. The key is to separate a phase problem from a dead channel, faded balance, an EQ change, or a damaged driver. One symptom alone does not confirm reversed wiring.
Signs at the speaker level
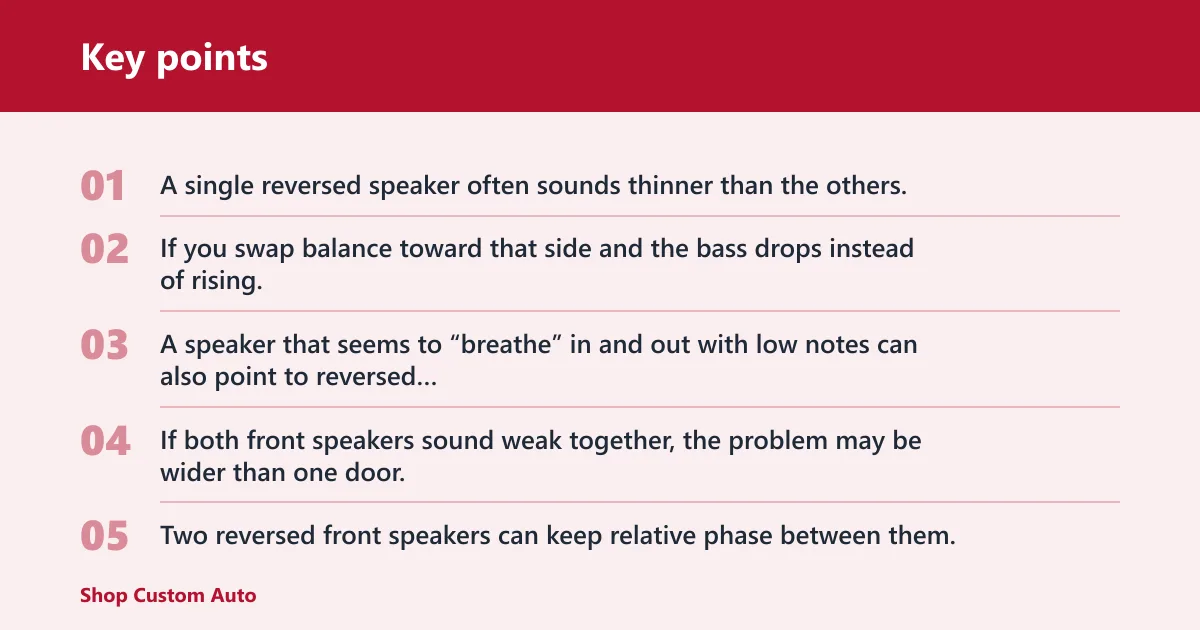
A single reversed speaker often sounds thinner than the others. If you swap balance toward that side and the bass drops instead of rising, polarity is a good suspect. A speaker that seems to “breathe” in and out with low notes can also point to reversed leads.
Signs across the whole system
If both front speakers sound weak together, the problem may be wider than one door. Two reversed front speakers can keep relative phase between them, yet still leave the whole front stage thin if the front pair is out of step with the rear or sub. Balance and fade settings can create similar confusion.
When the issue points to another fault
If a speaker cuts out, crackles, or only works with the door open, think about broken wire, loose terminal, or a damaged speaker before polarity. If the sound changes when you adjust head-unit fade, balance, or EQ, the fault may be a setting or amp channel issue rather than reversed wires.
Troubleshooting matrix
| Symptom | Likely polarity-related cause | Best test method | Next action |
|---|---|---|---|
| Weak bass from both front speakers | Front pair is out of phase with each other or with the sub | Play a bass-centric test tone and compare left, right, and both together | If bass gets stronger with one side muted, inspect front wiring for a reversed lead |
| One door speaker playing thin | That speaker’s leads are reversed at the terminal or connector | Use the 1.5V battery pop test on a loose speaker, or a polarity tester if mounted | Confirm the cone moves the same way as a known-good speaker, then swap the leads if needed |
| A speaker only works intermittently | Usually not polarity; more often a loose connection or broken conductor | Use a multimeter for continuity while flexing the wiring run | Repair the open or bad terminal first; polarity checks will stay unclear until the circuit is stable |
| Unclear wire-color setup | Wire colors or markings do not match the vehicle’s wiring convention | Use a multimeter, then a speaker polarity tester if wires are hidden | Label the positive lead before connection and verify each channel one at a time |
The right test depends on access. Use a battery for loose speakers, a multimeter for wire identification, a polarity tester when wiring is buried, and a test tone after installation. The goal is not to guess the positive lead; it is to confirm phase before blaming the speaker itself.
Battery pop test for loose speakers
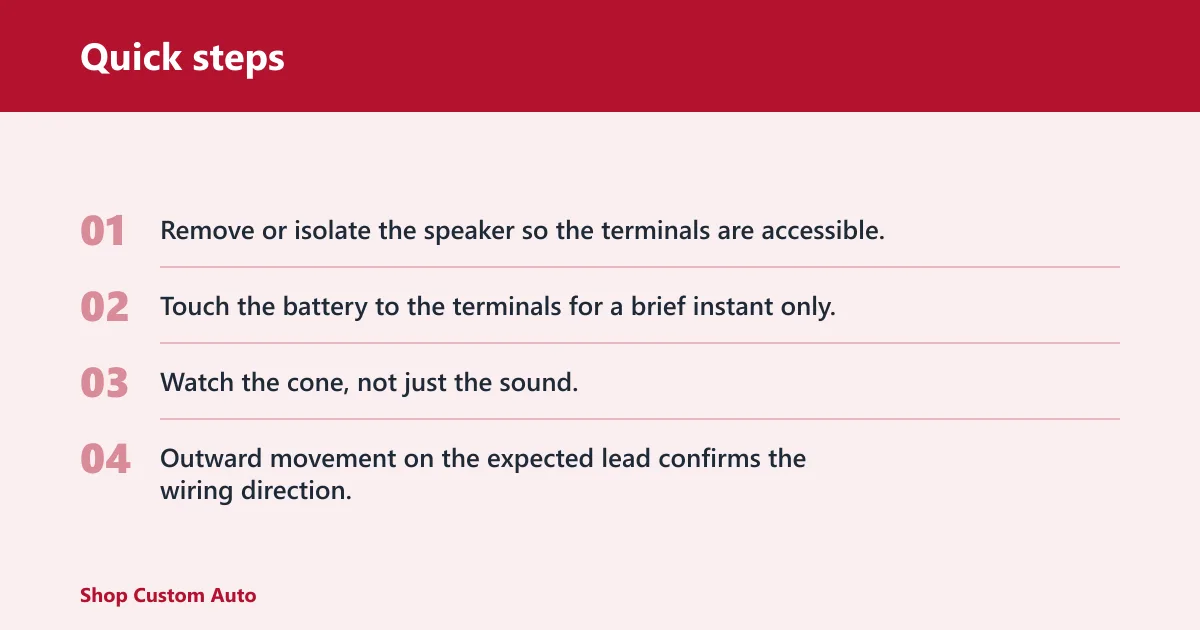
The 1.5V AA or AAA battery method is a quick cone-movement check for a removed or loose speaker. Touch the battery to the terminals only for a short moment. If the cone moves outward when the battery positive touches the speaker positive, the leads are typically oriented correctly for that speaker. Reverse movement points to reversed connection.
- Remove or isolate the speaker so the terminals are accessible.
- Touch the battery to the terminals for a brief instant only.
- Watch the cone, not just the sound.
- Outward movement on the expected lead confirms the wiring direction.
This works best on loose speakers because the cone movement is easy to see. It is not a long-duration test. Do not hold the battery on the terminals.
Multimeter checks for wire identification
A multimeter can help identify leads with DC voltage or continuity, especially where the wiring run is hidden or hard to trace. It is useful for confirming that a wire belongs to a given channel and for finding opens. By itself, though, it does not guarantee polarity unless you have a reference point or compare both ends of the run.
Suppose a door speaker has two similar-looking wires in a factory plug. A continuity check can tell you which wire reaches the radio or amp channel, but it will not tell you whether the speaker terminal you found is the positive or negative side unless you compare it with a known standard.
Speaker polarity tester for hidden wiring
A speaker polarity tester is the fastest option when wires are hidden inside a dash, door, or factory plug. It indicates polarity and phase, which makes it better than trial-and-error when access is poor. If the tester shows opposite polarity on a speaker that should match the others, you have a likely wiring fault.
Phone-based test tone and listening check
A phone app or audio file can play a test tone, bass sweep, or polarity track after installation. This method can reveal phase cancellation when you compare left, right, and both channels together. It is less precise than a battery, multimeter, or dedicated tester, and it depends on speaker access and the listening conditions in the cabin.
Speaker wires and color codes
Speaker wires often use color coding, stripes, or printed markings to identify the positive lead and negative lead before you connect anything. Factory wiring looms may follow one scheme at the radio and another at the door, while aftermarket amplifiers may use their own output colors. Always map the run first.
Finding the positive lead
Look for the marked wire, the wire with a tracer stripe, or the wire identified by the wiring diagram. If the speaker is already installed and access is limited, confirm the lead with a tester rather than trusting memory. Mark the positive lead before you disconnect the factory plug.
Finding the negative lead
The negative lead is usually the companion wire in the same pair. Do not use chassis metal as a shortcut unless the system is designed that way. Some factory systems use twisted pairs and hidden runs, so a wire that looks “ground-like” may still be part of the speaker circuit.
Factory harnesses versus aftermarket wiring
Factory wiring can hide splices, adapters, and retained amp modules. Aftermarket wiring may be easier to read, but only if the installer kept the color convention consistent. If a multi-speaker system uses front, rear, tweeter, and woofer channels, verify each pair separately before final install.
When polarity is not the problem
Not every weak or odd speaker is reversed. A damaged cone, loose connector, failed amp channel, or head-unit setting can mimic polarity trouble. If one test gives a mixed result, stop before re-pinning wires and confirm the rest of the signal path.
Damaged speaker or loose connection
A speaker with a torn surround, rubbing voice coil, or intermittent terminal may sound weak no matter how the polarity is set. A loose crimp or corroded connector can also make a speaker seem thin or dead. If the battery pop test produces erratic cone movement, the speaker itself may be faulty.
Head-unit balance, fade, or EQ settings
Balance and fade can make one side seem reversed when the real issue is that the signal is reduced. EQ can cut bass enough to imitate phase loss. Reset the tone controls and center the balance and fade before you decide that wiring is at fault.
Amp or channel faults that mimic reversal
An amp channel with a bad output stage, or a head unit with a failed channel, can create the same thin or uneven sound that reversed polarity causes. If one side stays weak after the wiring checks, swap channels if the system allows it. A fault that follows the channel is not a polarity issue.
Quick troubleshooting checklist for a car speaker that sounds weak or odd
- Center balance, fade, and EQ.
- Check whether one speaker or the whole pair is affected.
- Use the battery pop test on loose speakers.
- Use a multimeter to confirm the channel and look for opens.
- Use a polarity tester when wiring is hidden.
- Play a bass-centric test tone and compare left, right, and both together.
- Repair damaged wiring or terminals before rechecking polarity.
A common first-timer mistake is blaming the speaker because the bass is weak on both front doors. If the front pair is reversed against the rest of the system, the cabin can swallow the low end and make two good speakers sound bad.
Frequently asked questions
Do speakers have polarity?
Yes. Car speakers have a positive terminal and a negative terminal, and the wiring needs to match those terminals correctly. The speaker may still play if the leads are reversed, but it will not move in step with the rest of the system. That mismatch is what creates phase problems.
Why does car speaker only work sometimes?
An intermittent speaker is often caused by a loose connection, broken conductor, bad crimp, or damaged driver rather than polarity. A reversed speaker still plays consistently; it just plays out of phase. If the sound cuts in and out with door movement or vibration, inspect the wiring path first.