
What Amp Wiring Kit Do I Need for My Setup?
Choose the amp wiring kit by your amplifier’s RMS power, cable length, and future load: roughly 8-gauge for lower-power setups, 4-gauge for midrange setups, and 0-gauge for higher-power setups or longer runs. Pick too small, and you risk voltage drop, heat, blown fuses, and weak output. This guide gives a simple decision path for RMS, run length, system type, and expansion so you buy the right kit the first time.
Power, ground, and signal connections in a wiring kit
An amp wiring kit moves battery power to the amplifier, carries a short ground path back to chassis metal, and provides a remote turn-on lead so the amp wakes up with the radio. The power wire, ground wire, fuse holder, and signal wiring each do a different job, and each one has to fit the amplifier and the vehicle layout.
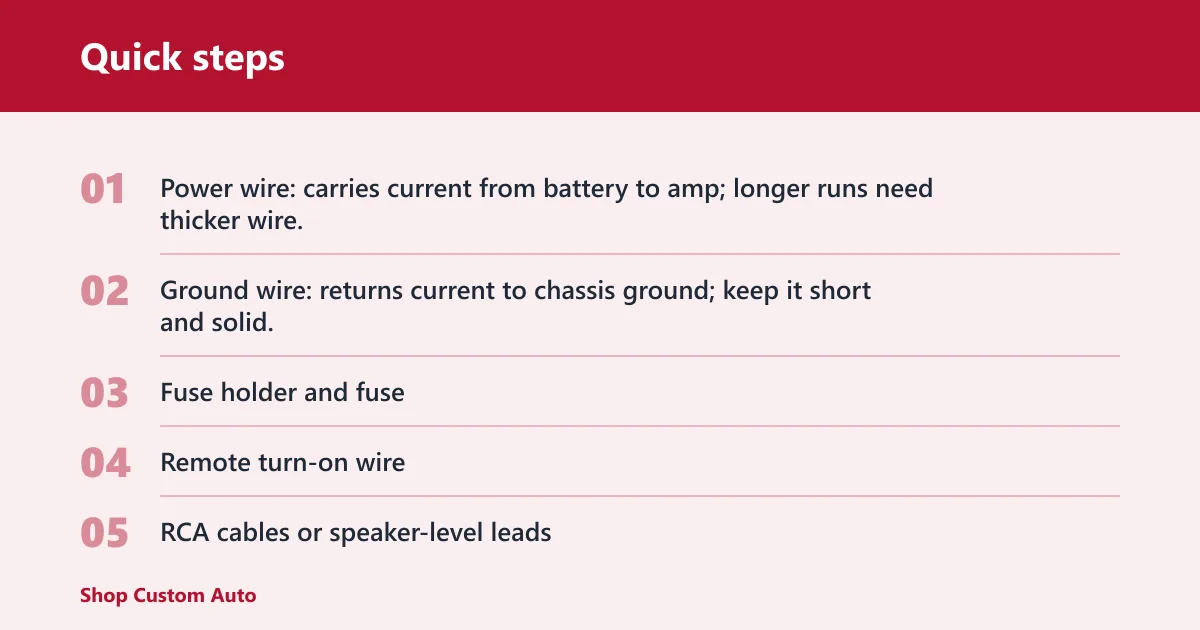
The power wire is the main battery-to-amplifier feed. The ground wire should be the same gauge as the power wire and as short as practical, with a clean bare-metal attachment point. The inline fuse belongs near the battery so the wire is protected before it runs through the vehicle.
What the kit parts do
- Power wire: carries current from battery to amp; longer runs need thicker wire.
- Ground wire: returns current to chassis ground; keep it short and solid.
- Fuse holder and fuse: protect the power wire from a short.
- Remote turn-on wire: tells the amp when the head unit or factory interface is on.
- RCA cables or speaker-level leads: carry signal from the source to the amp.
- Ring terminals and hardware: help make secure battery and ground connections.
What you’ll need
Start with the kit itself, then verify the parts that are easy to omit in budget boxes. If the kit does not list the wire material, gauge, fuse holder type, and included signal leads, treat it as incomplete until you check the package details.
- Amp wiring kit matched to your amplifier RMS and run length
- Fuse holder with the correct fuse size range
- Power wire and ground wire
- Remote turn-on wire
- RCA cables or speaker-level input leads if the amp needs them
- Ring terminals and basic crimp hardware
- Wire cutters, stripper, crimp tool, trim tools, zip ties, and loom
- Optional factory-radio interface if the radio has no RCA outputs
Common kit contents to verify
Many kits include cable jackets, but the useful question is whether the copper count and gauge match the load. OFC copper is the safer pick for longer runs and higher current. CCA can work in smaller, shorter installs, but it needs more caution because it has higher resistance and drops more voltage.
Start with amplifier RMS power, not peak marketing numbers. RMS is the continuous power rating that better tracks current demand. Then check the battery-to-amp run length, the system type, and whether the build may grow later. A short run to a small full-range amp can use lighter wire than a long trunk run to a sub amp.
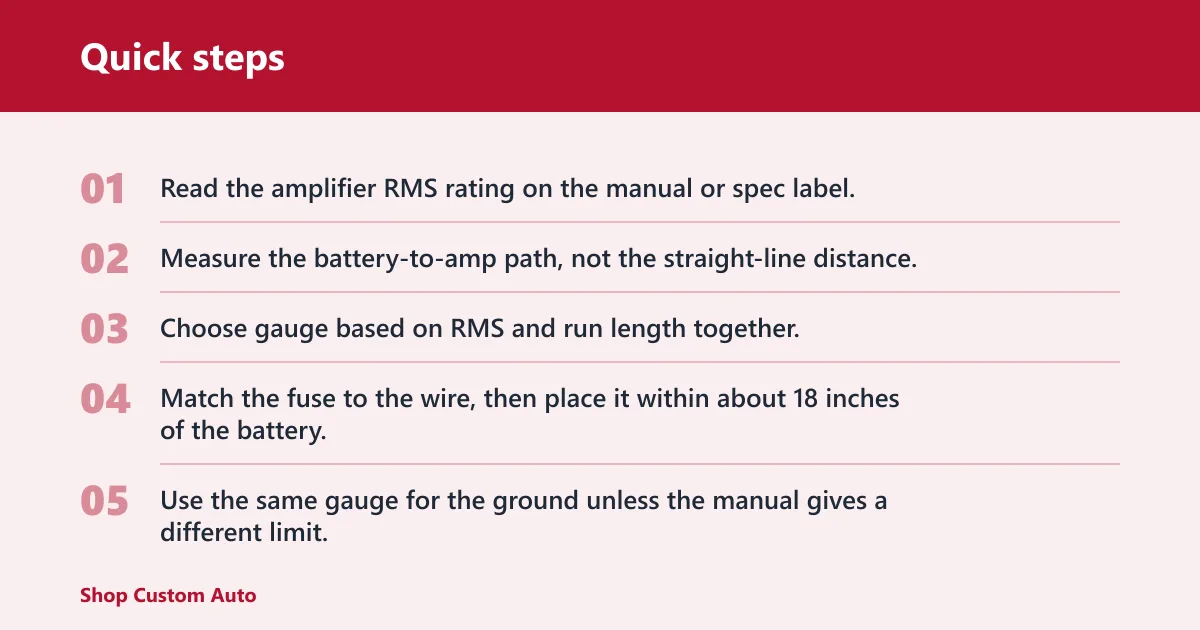
- Read the amplifier RMS rating on the manual or spec label.
- Measure the battery-to-amp path, not the straight-line distance.
- Choose gauge based on RMS and run length together.
- Match the fuse to the wire, then place it within about 18 inches of the battery.
- Use the same gauge for the ground unless the manual gives a different limit.
- Size up one step if you plan to add another amp later.
Say your sub amp is rated at 600 watts RMS and sits in the trunk, with a long cable run from the battery. A 4-gauge OFC kit is the practical starting point, even if a short-run chart might tempt you toward smaller wire. The longer path raises resistance, so the better choice is the larger feed.
Suppose you have a compact 4-channel amp at 250 watts RMS mounted under a seat. An 8-gauge OFC kit can fit that job if the run is short and the amp manual does not require larger wire. If the same amp sits far from the battery, 4-gauge gives more margin.
Wiring kit sizing matrix
This matrix uses common build sizes and gives a practical starting point. If the amplifier manual lists a larger minimum, follow the manual. If the vehicle run is unusually long, move up one gauge.
| System type | Amplifier RMS range | Recommended gauge | OFC or CCA | Fuse size range | Distribution block needed? |
|---|---|---|---|---|---|
| Single-amp full-range | Up to 300 watts | 8-gauge | CCA works for short runs; OFC is better | 30A to 40A | No |
| Single-amp full-range | 300 to 600 watts | 8-gauge to 4-gauge | OFC preferred | 40A to 60A | No |
| Monoblock sub amp | 400 to 1,000 watts | 4-gauge | OFC strongly preferred | 60A to 100A | No, unless adding a second amp |
| Monoblock sub amp | 1,000 to 1,500 watts | 0-gauge main feed | OFC recommended | 100A to 150A | Yes, if feeding more than one amp |
| 4-channel full-range | 200 to 600 watts | 8-gauge or 4-gauge | OFC preferred | 30A to 60A | No |
| Dual-amp build | Two amps, 600 watts total and up | 0-gauge main feed, then split | OFC recommended | 100A to 150A main; branch fuses by amp | Yes |
Do you need 4 gauge or 8 gauge?
Use 8-gauge for smaller full-range amps and short runs. Use 4-gauge when the amp current draw rises, the run gets longer, or you want more headroom for future expansion. The difference matters because resistance rises with wire length, and CCA loses more voltage than OFC at the same gauge.
When 8-gauge fits
8-gauge fits many single full-range amps under about 400 watts RMS, especially when the cable run is short and the amp sits near the battery. It is also common for modest 4-channel builds where the system does not pull heavy current.
When 4-gauge is safer
4-gauge is the better default once the amp moves into the mid-power range, the run gets long, or the system may later add a second amplifier. If the choice is close, 4-gauge is the safer step up because it leaves more room for current and reduces the chance of weak output.
Do you need 0 gauge or 4 gauge?
Use 4-gauge for many single amps up to about 1,000 watts RMS when the run is reasonable and the layout is simple. Choose 0-gauge when the main feed has to carry more current, the run is long, or a dual-amp system will branch from one battery cable. That keeps the main line from becoming the bottleneck.
When 4-gauge still makes sense
4-gauge still works for many monoblocks and four-channel systems where the total draw is moderate. It is a common fit for one amp, one fuse, and one clean chassis ground without extra branching hardware.
When 0-gauge is the better main feed
0-gauge is the practical choice for high-output sub amps, long trunk runs, and builds that may expand later. A common first-timer mistake is buying a 4-gauge kit for a planned two-amp system, then adding a sub amp later and needing a full rewire.
Can one amp wiring kit run two amps?
Yes, one kit can feed two amps if the main wire is large enough and the split happens through a proper distribution block. A single small kit should not be stretched to cover a high-demand pair. For dual-amp builds, the main feed and fuse should be sized for the combined load, then each branch should be protected as needed.
When a distribution block is needed
Use a distribution block when one main power wire has to split into two amp feeds. A fused block adds branch protection; an unfused block is only appropriate when downstream fusing is handled elsewhere and the wiring plan still meets protection rules. For most dual-amp systems, a fused block is the cleaner choice.
Separate power runs for high-demand systems
If the combined current draw is high, separate power runs from the battery can be better than forcing one small feed to do everything. That is common when a sub amp and a full-range amp both pull enough current to outgrow a single 4-gauge line.
Common mistakes
The most common problems are undersized wire, a fuse that does not match the cable, a ground point that is painted or loose, and signal cables routed too close to power wire. Each one can cause heat, shutdowns, or alternator whine. The fix is usually plain: size the wire correctly and keep the layout clean.
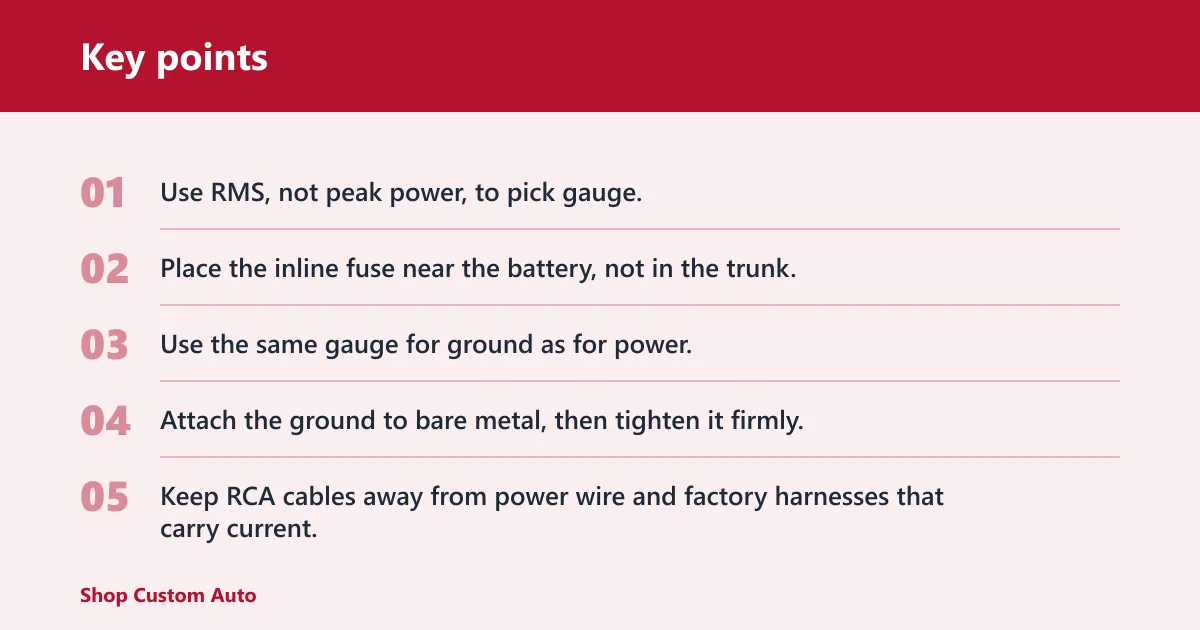
- Use RMS, not peak power, to pick gauge.
- Place the inline fuse near the battery, not in the trunk.
- Use the same gauge for ground as for power.
- Attach the ground to bare metal, then tighten it firmly.
- Keep RCA cables away from power wire and factory harnesses that carry current.
- Replace thin, low-quality RCAs if noise appears after routing changes.
- Add 2 to 3 feet of extra wire only where the route needs slack, then recheck fit and routing.
Picture a dual-amp setup where the owner tries to feed both amps from one 8-gauge wire and a cheap unfused split. The likely result is voltage drop and nuisance fuse blowing when bass hits. Moving to a 0-gauge main feed with a proper distribution block fixes the weak link instead of masking it.
Factory radio and noise basics
If you are keeping a factory radio, the amp wiring kit may need speaker-level input leads or a factory interface instead of RCA cables from the head unit. That matters because many factory systems do not provide preamp outputs. To keep noise down, route signal wiring away from power wire, avoid crushed cables, and ground the amp to clean metal with a short run.
Frequently asked questions
What amp wiring kit do I need for my setup?
Match the kit to the amplifier’s RMS rating, the cable run, and whether you plan to expand. As a quick start, 8-gauge fits small amps, 4-gauge covers many mid-power builds, and 0-gauge suits larger or dual-amp systems. Follow the amplifier manual if it calls for larger wire.
How do I match an amp wiring kit to my amplifier RMS?
Use the amp’s continuous RMS figure, then choose the wire size that covers that current with room for the run length. A 250-watt amp can often use 8-gauge, a 600-watt amp often lands in 4-gauge, and a 1,000-watt-plus setup usually points to 0-gauge or a main feed with a distribution block.
Is OFC better than CCA for an amp wiring kit?
Yes. OFC copper has lower resistance and better flexibility, so it holds voltage better over longer runs. CCA can save money on small, short installs, but it becomes a weaker buy as power, distance, or future expansion increases. For trunk-mounted sub amps, OFC is the safer choice.
What should an amp wiring kit include?
A complete kit should include power wire, ground wire, an inline fuse holder, a fuse, ring terminals, and a remote turn-on lead. For signal, look for RCA cables or speaker-level input leads. If the kit leaves out the fuse holder quality or wire material, compare that against the amp’s current demand before buying.
Can I use an amp wiring kit with a factory radio?
Yes. Many factory-radio installs use speaker-level input or a factory integration interface instead of RCA outputs from the radio. The power kit does not change, but the signal side does. Check whether the amplifier accepts high-level input or needs an adapter before you order parts.