
Best Amp Ground Location in a Car: Where Should It Go?
Ground the amplifier to bare, unpainted chassis metal, ideally within about 18 inches of the amp, using the shortest practical wire and a solid bolted connection. A weak or moving ground can add noise, trigger protection mode, and overheat the amp. This guide shows where to place the ground, what spots to reject, and how to verify the point before you button up the install.
What you’ll need
- Ground wire sized to match the power wire gauge or the amplifier’s current requirement
- Crimped ring terminal that fits the wire and ground bolt or screw
- Crimp tool or proper hex crimper
- Wrench, socket, or driver for the chosen bolt
- Sandpaper, abrasive pad, scraper, or small wire brush
- Multimeter with continuity, resistance, and DC voltage functions
- Rust inhibitor or terminal protectant for the finished connection
Where should an amp ground go?
Start with solid chassis metal close to the amplifier. A proper amp ground is a short, low-resistance path from the amplifier ground wire to bare body metal, not a random nearby fastener. Trunk floor, rear body metal, or a verified factory grounding stud usually beat moving parts, thin brackets, and painted panels.
Start with the shortest route to solid chassis metal
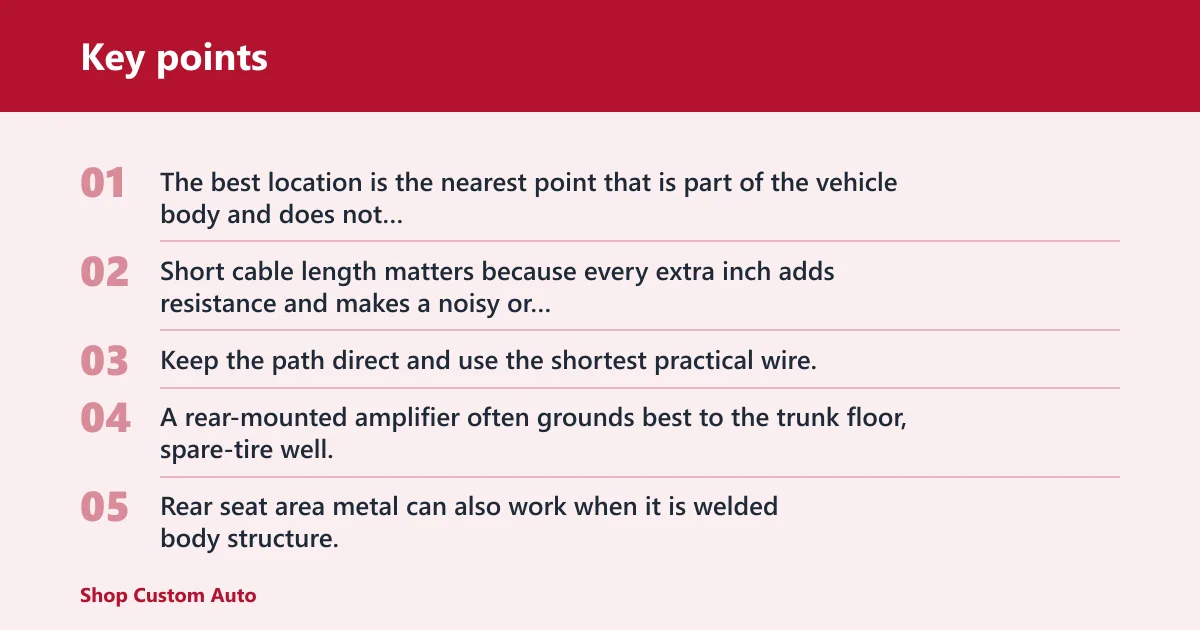
The best location is the nearest point that is part of the vehicle body and does not move with seats, hinges, or trim. Short cable length matters because every extra inch adds resistance and makes a noisy or weak ground more likely. Keep the path direct and use the shortest practical wire.
Why trunk floor and rear body metal usually win
A rear-mounted amplifier often grounds best to the trunk floor, spare-tire well, or rear body panel because those locations are close and normally tied to the chassis. Rear seat area metal can also work when it is welded body structure, not a seat track or hinged assembly. Solid body metal is the goal.
When a factory grounding stud is the cleanest option
A factory grounding stud can be the best choice if it is already bolted to bare body metal and has room for a ring terminal. The stud still needs verification. If it sits on painted metal, thin sheet, or a removable bracket, treat it as a candidate, not an answer.
Ground point decision table
Use this table to rank common spots before you drill or bolt. A location passes only if it is solid body metal, accessible for proper tightening, and stable under vibration.
| Location | Accessibility | Metal quality | Vibration risk | Paint cleanup needed | Pass/fail recommendation |
|---|---|---|---|---|---|
| Trunk floor | High near rear amps | Usually strong body metal | Low if flat and rigid | Yes, to bare metal | Pass |
| Rear seat bolt | High | Acceptable only if it bites chassis metal | Medium if seat hardware shifts | Often yes | Conditional pass |
| Seat-belt bolt | Medium | Can be solid chassis metal | Low if it is structural | Usually no at the bolt head, but verify contact area | Conditional pass |
| Factory grounding stud | High | Often excellent | Low | Sometimes minimal | Pass if verified |
| Spare-tire well | High | Usually good body metal | Low | Yes if coated | Pass |
| Rear strut tower | Medium | Strong structure, but not always convenient | Low | Sometimes yes | Pass if nearby and clean |
A seat-belt bolt is acceptable only if the point is verified as solid chassis metal and not isolated by paint, insulation, or a floating bracket. A seat bolt can work for the same reason, but seat tracks and swivel hardware are reject items. They move, flex, or depend on hardware not meant for audio grounding.
How do you prepare the metal?
Strip the contact spot to clean bare metal, fit the ring terminal to the correct bolt, and clamp the hardware tightly. Paint, powder coat, seam sealer, and rust can all raise resistance. That can create noise, voltage drop, or amplifier protection mode even when the connection looks tight from the outside.
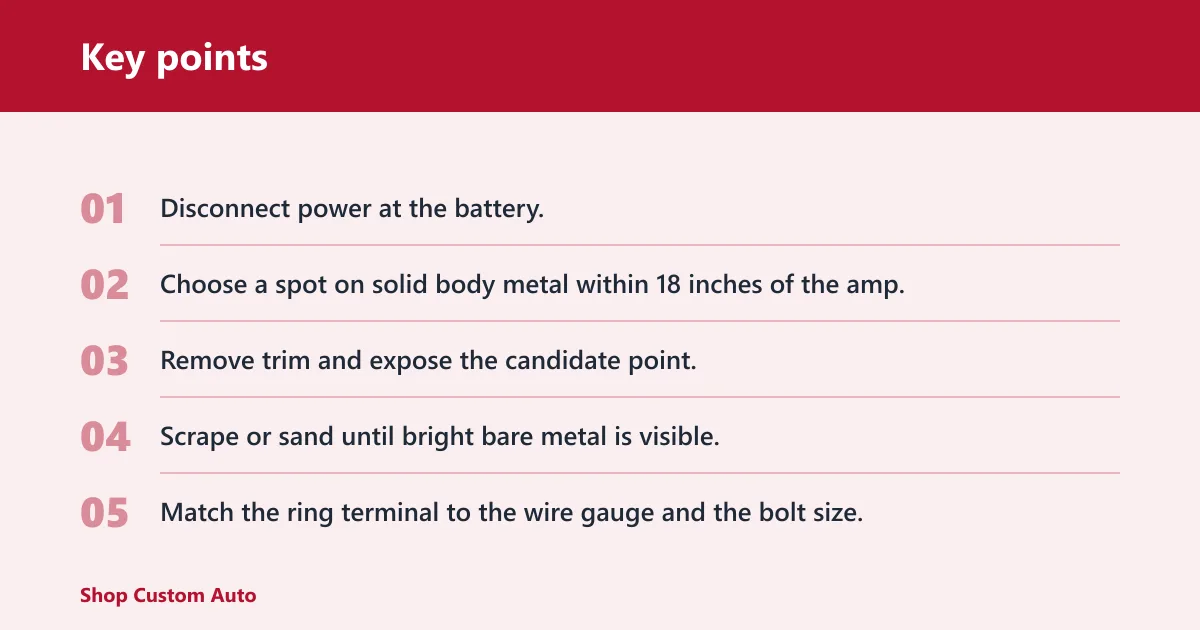
- Disconnect power at the battery.
- Choose a spot on solid body metal within 18 inches of the amp.
- Remove trim and expose the candidate point.
- Scrape or sand until bright bare metal is visible.
- Match the ring terminal to the wire gauge and the bolt size.
- Crimp the terminal tightly, then tug-check the crimp.
- Bolt the terminal down on clean metal with firm torque.
- Protect the exposed area around, not under, the contact with corrosion inhibitor after the install.
How much bare metal do you need? Enough for the full footprint of the ring terminal plus a little margin for a clean bite. If the washer lands on paint, the ground can still be weak. The metal under the ring matters more than the shiny area around it.
Suppose a rear-seat amp keeps cutting out over bumps. A bolt under the seat may look solid, but if the seat track shifts a fraction of an inch, the ground resistance changes. Move the ground to the trunk floor or a verified factory stud and recheck the reading.
How do you test a ground?
Use a multimeter before you reinstall trim and after the system is powered. Visual inspection is not enough. A good ground should show continuity to chassis, low resistance, and very little voltage drop when the amplifier is drawing current.
- Set the multimeter to continuity and probe the ground point to nearby bare chassis metal.
- Set the meter to resistance and check from the amp ground terminal to chassis; aim for a very low reading, close to zero.
- Run a voltage drop test with the system on and music playing at a normal level.
- Measure between the amp ground terminal and battery negative; the reading should remain low under load.
- Recheck after reassembly and a short drive, especially if the ground is near a seat or trim panel.
A common first-timer mistake is to stop at the beep on continuity mode. That only says the circuit is connected, not that it is strong enough under load. A loose ring terminal, a rusty washer, or hidden seam sealer can still cause a bad ground that appears fine with no current flowing.
Common mistakes
Bad grounds usually fail for mechanical reasons, not electrical mystery. The most common problems are painted contact points, thin brackets, moving seat hardware, and loose bolts. A ground can test fine at rest and still fail once vibration, heat, or current demand rises.

- Grounding to painted metal: Paint insulates the contact point. Scrape to bare metal and retest.
- Using thin brackets or seat tracks: These flex and loosen under vibration. Pick body metal instead.
- Ignoring rust or seam sealer: Corrosion and sealant add resistance. Clean down to bright metal.
- Sharing unstable hardware: Do not stack the amp ground on a fastener that also holds moving trim or a loose accessory.
- Chasing amp protection mode first: Check the ground before replacing the amplifier or rerouting power.
A rear strut tower is often acceptable, but only if the chosen bolt or stud gives direct contact to body metal and the wire can stay short. A trunk floor point is usually easier to verify because it is flat, rigid, and close to a rear-mounted amp. That makes testing and tightening simpler.
What causes amp ground noise or protection mode?
High resistance in the ground path is the usual cause. Poor metal contact, rust, loose hardware, or an overly long wire can create voltage drop and make the amp work harder than it should. Symptoms include distortion, alternator whine, overheating, shutdown, or a protection light that appears after playing for a while.
If that didn’t work, try this next
- Move the ground to a different verified body point, such as the trunk floor or a factory grounding stud.
- Shorten the ground wire if it is longer than needed, keeping the path direct.
- Replace the ring terminal and re-crimp it if the cable can wiggle in the lug.
- Check the amplifier’s power wire gauge and make sure the ground wire matches it or the amp’s current demand.
- Inspect the vehicle-side metal for hidden paint, seam sealer, or rust under the washer.
Say your amp is mounted in the trunk and the ground is on a rear seat bolt. If the amp drops into protection when bass hits, the fix is not a louder signal. Move the ground to nearby trunk floor metal, clean it properly, and verify it again with the meter.
Prevention: mark the finished ground point and its bolt size before reassembling trim. That makes future service easier and reduces the chance of reusing a questionable fastener later.
Frequently asked questions
Where is the best place to ground an amp in a car?
The best place is the nearest solid chassis metal near the amplifier, usually trunk floor, rear body metal, or a verified factory grounding stud. Keep the wire short, use bare metal, and confirm the point with a multimeter before final assembly.
Can I ground my amp to a seat bolt?
Only if the bolt threads into solid chassis metal and the seat hardware is not part of a moving or insulated assembly. Seat tracks and brackets are poor choices. If the ground point flexes, move it to trunk floor metal or a factory stud.
Should an amp ground to the battery?
Do not make the battery the default ground point. A chassis ground is the normal choice because it creates a short return path to the vehicle body. Use the battery negative only when the amplifier maker explicitly requires it for a specific setup.
How much bare metal do I need for an amp ground?
Enough for full contact under the ring terminal and washer, with clean metal exposed all the way across that footprint. The ground needs intimate metal-to-metal contact. If the ring lands partly on paint or seam sealer, rework the spot.
Does paint under the ground screw matter?
Yes. Paint acts like insulation and raises resistance. Remove it until you reach bright bare metal, then tighten the ring terminal directly against that surface. Afterward, protect the surrounding area from corrosion without putting material between the terminal and the body.
How do I test if my amp ground is good?
Check continuity to chassis, then measure resistance and voltage drop with the amplifier powered up. A good connection stays stable under load. If the reading changes when you tap the wire or move the seat, the ground point is not reliable.