Dash Cam Hardwire Kit: What It Is and How to Install It
A dash cam hardwire kit ties your camera into one always-live fuse and one ACC fuse through a low-voltage cutoff module, so the camera can record while parked and the power cable stays out of sight. Wire it incorrectly and you can drain the starter battery, pop a fuse, or leave the camera stuck in drive mode, which means parking events never save. This guide covers what the kit does, how it stacks up against OBD-II, 12V, and battery-pack power, and how to install it the right way.
What you’ll need
- Dash cam hardwire kit with the correct camera-side connector
- Vehicle fuse diagram from the owner’s manual or fuse-box cover
- Multimeter or fuse tester/test light
- Trim removal tool for the headliner and A-pillar trim
- Fuse puller or needle-nose pliers
- Add-a-fuse taps that match the vehicle’s fuse type
- Spare fuses in the original circuit value and the dash-cam tap value
- Socket, nut driver, or screwdriver for the ground fastener
- Crimp tool if the kit requires separate terminals
- Electrical tape or cloth wiring tape for tidy routing
What is a dash cam hardwire kit?
A dash cam hardwire kit is a fuse-box power lead that connects a camera to vehicle power through fused circuits instead of a 12V plug. It usually includes a power lead, one or more fuse taps, a ground wire with a ring terminal, and often a low-voltage cutoff module. Two-wire kits power the camera. Three-wire kits also send the camera a separate ignition signal.
What comes in the box
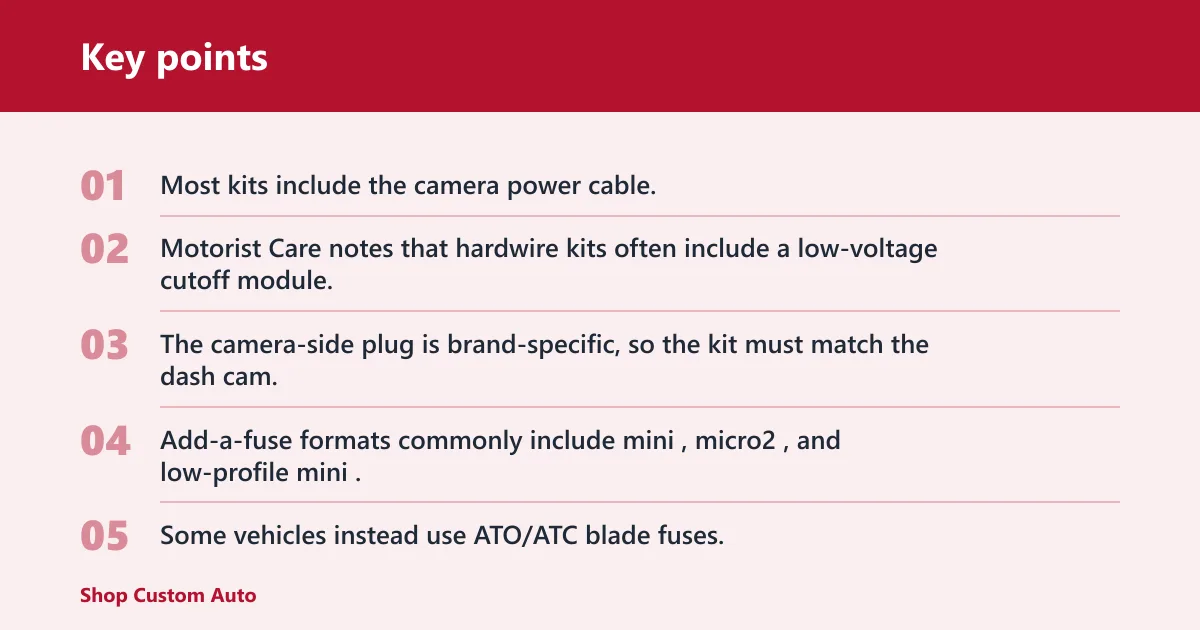
Most kits include the camera power cable, an inline box that handles voltage conversion and battery protection, add-a-fuse taps, and a ground lead. Motorist Care notes that hardwire kits often include a low-voltage cutoff module. The camera-side plug is brand-specific, so the kit must match the dash cam.
Add-a-fuse formats commonly include mini, micro2, and low-profile mini. Some vehicles instead use ATO/ATC blade fuses. Buy the tap that matches the fuse type already installed in your fuse panel, not the one that looks close in a listing photo.
2-wire vs 3-wire kits
A 2-wire kit usually has constant power and ground. It works with cameras that can detect parking mode by voltage drop, timer logic, or internal settings. A 3-wire kit adds an ACC wire so the camera can switch cleanly between driving and parking states when the ignition changes.
If the dash cam manual calls for BATT, ACC, and GND, use a 3-wire kit. If it only calls for power and ground, a 2-wire kit may be enough. The camera’s parking-mode design decides this, not the installer’s preference.
Do you need to hardwire your dash cam?
No. Hardwiring makes sense when the camera needs steady parking-mode power, a separate ACC signal, or a fully hidden cable route. It is not the best first choice for every vehicle. OBD-II power, a 12V cigarette-lighter adapter, or a dedicated battery pack can fit better in EVs, leased vehicles, and cars with sensitive battery management.
When hardwiring is worth it
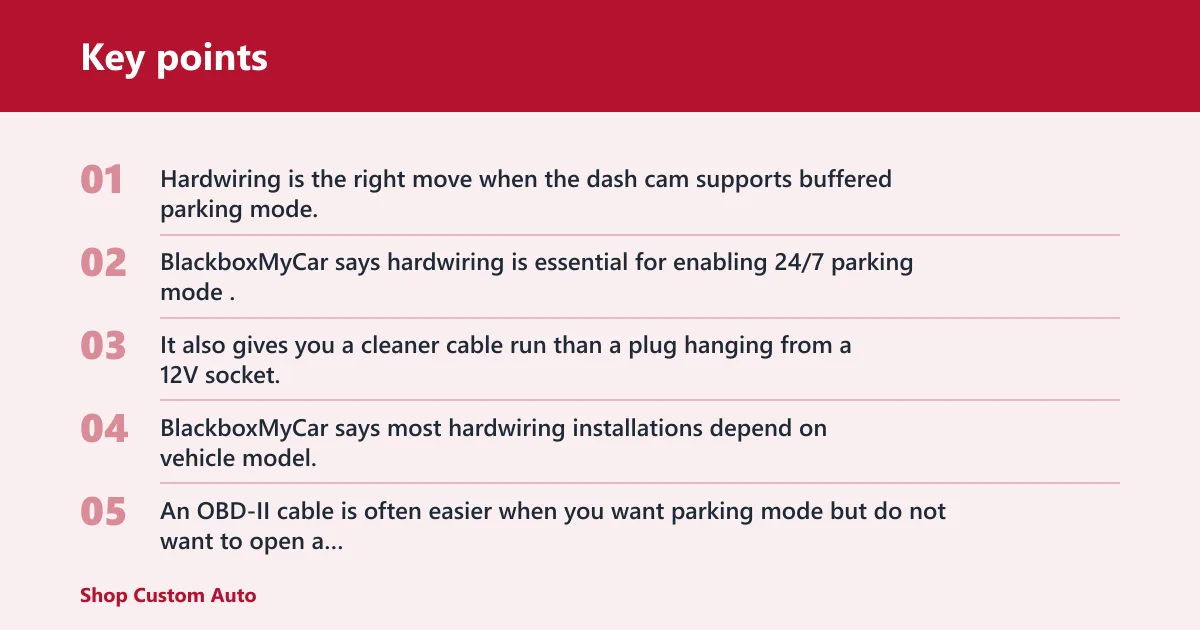
Hardwiring is the right move when the dash cam supports buffered parking mode, impact recording, motion detection, or time-lapse and you want those features active every time the car is parked. BlackboxMyCar says hardwiring is essential for enabling 24/7 parking mode. It also gives you a cleaner cable run than a plug hanging from a 12V socket.
Expect the job to vary by vehicle. The same source says most hardwiring installations depend on vehicle model, and published install estimates range from 30 to 60 minutes for a basic setup to around 1.5 hours in many vehicles.
When another power method is the better choice
An OBD-II cable is often easier when you want parking mode but do not want to open a fuse box. The same source says OBD installs can take about 20 minutes. A 12V cigarette-lighter adapter is fastest when the socket stays live and parking mode is not a priority, and plug-and-play CLA installation can take as little as 5 minutes.
A dedicated battery pack is often the better answer when the vehicle’s low-voltage system is touchy or monitored closely. The same source says a battery pack installation can take around 2 hours, but it isolates the camera load from the starter battery during parking.
Special cases: EVs, hybrids, fleets, and battery-monitoring systems
EVs and hybrids can have a conventional 12V battery even though the vehicle is electrified. That does not mean every fuse is a safe target. Some EVs are sensitive about standby draw, wake cycles, and battery-monitoring logic. In those vehicles, an OBD-II cable approved for the camera or a battery pack is often a safer first plan than direct fuse tapping.
Fleet vehicles add policy issues. You may need approval before tapping a fuse panel, and some upfitters reserve certain circuits for telematics. Lease vehicles have a similar problem: a battery pack or OBD-II solution leaves less trace and is easier to remove at turn-in.
Suppose a hybrid sits at an airport lot for four days. A hardwire kit set too low may keep the camera alive longer, but it also asks more from a small 12V battery that is already managing standby systems. In that case, a higher cutoff or a battery pack is the safer move.
Dash cam hardwire kit decision table
| Power method | Parking mode support | Install difficulty | Battery risk | Cable visibility | Best-fit vehicle scenarios |
|---|---|---|---|---|---|
| Hardwire kit | Best support for cameras that need constant power and ACC; supports buffered parking mode when the camera allows it | Moderate; basic setups are often 30 to 60 minutes, but many installs run around 1.5 hours depending on vehicle access and trim | Medium if cutoff is set well; higher if wired wrong or cutoff is too low | Lowest; cable can be hidden in the headliner and pillar trim | Drivers who want reliable parking mode, clean routing, and are comfortable working in the fuse box |
| OBD-II cable | Good on supported cameras; depends on the cable and whether the OBD port provides the needed always-on behavior | Low; about 20 minutes in many vehicles | Medium; still draws from the vehicle battery unless the cable has its own cutoff logic | Low to medium; easier to hide than a 12V plug, usually less clean than a hardwire route | Lease vehicles, newer vehicles with difficult fuse access, owners who want parking mode without fuse taps |
| Cigarette lighter adapter | Limited; works only if the socket remains live and the camera supports that power method | Very low; as little as 5 minutes | Low to medium; depends on whether the socket shuts off with ignition | Highest; visible cord unless you spend time tucking it away | Drivers who only need recording while driving, rentals, temporary installs |
| Battery pack | Very good; often the best fit for long parking sessions without using the starter battery directly | Moderate to high; around 2 hours is common | Lowest for the starter battery, though the pack still needs proper charging and setup | Low; usually hidden under a seat or in trim | EVs, hybrids, fleet vehicles, cars with battery monitoring, and owners who park for long periods |
How does a dash cam hardwire kit work?
A hardwire kit gives the camera three things: constant power for parking mode, an ACC or ignition-switched signal so the camera knows when the car is being driven, and a ground path back to the chassis. Many kits also shut power off automatically when battery voltage drops to a preset cutoff.
Constant power
The constant wire connects to a fuse that has voltage even when the ignition is off. That wire feeds the camera during parking so impact detection, motion-triggered recording, time-lapse, or buffered parking features can stay available if the camera supports them.
ACC power
The ACC wire connects to a fuse that only has voltage with the ignition on. The camera reads that signal to switch into normal driving mode. If the camera depends on ACC and never sees it, it may stay in parking mode or power-cycle oddly.
Ground and low-voltage cutoff
The ground wire bolts to bare chassis metal. A weak ground can cause intermittent booting, random shutdowns, parking mode failure, audio noise, or a camera that starts only when the cabin is warm.
The low-voltage cutoff monitors battery voltage and cuts power when the battery drops too far. Common cutoff settings for 12V systems include 11.8V, 12.0V, and 12.2V. Some kits also offer 11.6V. Higher settings protect starting power better but shorten parking runtime.
Choose the right power sources
Find the fuse box and read the diagram
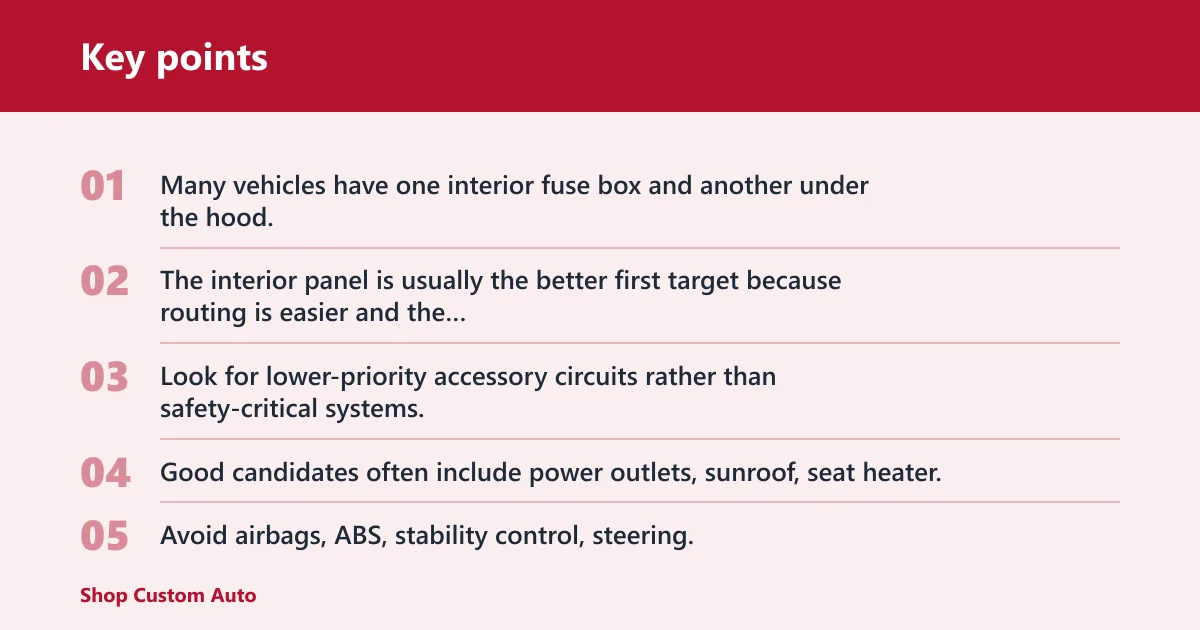
Use the owner’s manual first. Many vehicles have one interior fuse box and another under the hood. The interior panel is usually the better first target because routing is easier and the camera stays on a cleaner cabin-side path.
Look for lower-priority accessory circuits rather than safety-critical systems. Good candidates often include power outlets, sunroof, seat heater, or other nonessential accessory feeds. Avoid airbags, ABS, stability control, steering, and similar critical circuits where possible.
How to tell if a fuse is constant or ACC
Test, do not guess. With the ignition off, probe both fuse test points with a multimeter or test light. A constant fuse shows power with the ignition off. Then switch ignition on and test again, an ACC fuse only shows power when the ignition is on.
To avoid false assumptions, test the same candidate fuse in both states. A label such as PWR OUTLET is only a clue. Some vehicles leave that circuit live all the time, while others switch it off with the key.
Picture a low-profile mini fuse labeled for the rear outlet. Ignition off, both test points are live. Ignition on, it stays live. That is a constant-power candidate, not an ACC source, even if the outlet near the shifter turns off because the vehicle uses another fuse for that socket.
Which fuse should you use?
Use a circuit that is easy to verify, not heavily loaded, and not tied to safety systems. The original fuse value for that vehicle circuit stays with that circuit. The new dash-cam branch also needs its own fuse in the tap. Nexar says add-a-fuse adapters require a fuse in the new circuit tap, usually 5A.
The tap must match the vehicle’s fuse type exactly. Mini, micro2, low-profile mini, and ATO/ATC are not interchangeable. Forcing the wrong tap can create a poor connection, heat, or intermittent operation that looks like a camera problem.
Install the hardwire kit
- Power down the vehicle. Follow the vehicle manual before working in the fuse box, especially on EVs, hybrids, and cars with battery-monitoring systems.
- Confirm the constant fuse. Test the candidate with the ignition off, then on, and record which slot will feed the constant wire.
- Confirm the ACC fuse. Test a second candidate and make sure it is dead with ignition off and live with ignition on.
- Load each add-a-fuse correctly. Install the original circuit fuse in the slot for the original circuit and the dash-cam fuse in the new branch slot.
- Orient each fuse tap correctly. Use the meter to identify the supply side of the fuse socket, then install the tap so incoming power reaches the fuse before the circuit. Reverse orientation can leave the original circuit or the camera branch improperly protected.
- Connect the constant and ACC leads. Match the hardwire kit’s battery and ACC wires to the verified fuse taps, then secure any crimp or terminal connection firmly.
- Attach the ground wire. Bolt the ring terminal to a clean bare-metal chassis point under an existing fastener. Remove paint if needed so metal contacts metal.
- Route the cable safely. Tuck the wire behind the headliner and A-pillar trim with a trim removal tool, and keep it clear of curtain airbags and their deployment path.
- Connect the camera and set cutoff. Plug the camera in, choose the starting low-voltage cutoff, and set the camera’s parking-mode behavior in its menu if required.
- Test before refitting trim. Check normal recording with ignition on, parking-mode entry with ignition off, and proper shutdown when the cutoff or timer condition is met.
A common first-timer mistake is routing the cable across the face of the A-pillar airbag instead of behind the factory wiring path. The camera works at first, but the wire is now sitting where an airbag needs to expand. If the trim does not close cleanly, stop and reroute.
Choosing between 2-wire and 3-wire hardwire kits
Most dash cam hardwire kits come in two configurations: 2-wire and 3-wire. The key difference is that 3-wire kits include an ignition (ACC) line, allowing the camera to detect when the car is running and automatically switch between driving and parking modes. Without ACC detection, a 2-wire kit provides constant power, which can drain your battery if parking mode runs indefinitely. 2-wire vs 3-wire kits are compared in detail to help you match the right wiring to your camera’s features, parking needs, and battery protection settings.
Low-voltage cutoff settings
The right cutoff setting depends on battery condition, weather, and how long the vehicle sits. Lower settings keep parking mode running longer. Higher settings leave more starting reserve. The same source says a healthy battery at 100mA can support 20 to 30 hours of parking mode, which is useful as a rough upper bound, not a promise for every vehicle.
| Cutoff setting | Best use case | Battery condition | Climate | Parking duration | Trade-off |
|---|---|---|---|---|---|
| 12.2V | Most cautious setup | Older or uncertain battery; vehicles with battery monitoring | Cold weather or large temperature swings | Overnight or multi-day parking | Strongest starting protection, shortest parking runtime |
| 12.0V | Balanced starting point | Average battery in normal service | Mild climate | Typical workday or overnight | Good balance of runtime and reserve |
| 11.8V | Runtime-biased setup | Healthy battery that is tested and regularly driven | Mild to warm climate | Long day parking where extra runtime matters | More parking coverage, more battery risk |
| 11.6V | Last-resort low cutoff | Only for strong batteries and short troubleshooting trials | Warm climate | Short extra runtime experiments | Highest drain risk; easiest way to come back to a weak start |
A practical starting point is 12.0V on a vehicle with a healthy battery in moderate weather. If parking mode ends too soon and the battery tests well, lower the cutoff by 0.2V and recheck for a week. If cranking sounds slower or the vehicle sits longer than expected, move the cutoff back up by 0.2V.
Prevention: if the vehicle often sits for more than a day, keep the battery tested and charged before chasing camera settings. A weak battery and a low cutoff produce the same complaint: parking mode stops early or the vehicle starts poorly.
Common mistakes
ACC and constant leads swapped
If constant and ACC are reversed, the camera may shut off as soon as the key comes out, fail to enter parking mode, or stay in driving mode while parked. Fix it by retesting both fuses with ignition off and on, then moving each lead to the verified source.
Fuse tap installed backward
Orientation matters. One side of the fuse slot is the supply side from the panel, and the other side goes to the circuit load. If the tap is backward, one branch can be effectively unfused or act erratically. Symptoms include random resets, a fuse that blows unexpectedly, or an original circuit that stops working after the tap is installed.
Poor ground connection
A bad ground causes some of the strangest symptoms: the camera boots only sometimes, reboots when doors lock, loses parking mode overnight, or adds noise to the audio track. Move the ring terminal to bare metal, tighten it properly, and avoid painted brackets or trim screws that do not bond well to chassis metal.
Wrong fuse size or wrong fuse values
The wrong physical fuse-tap size can fit loosely enough to power the camera one day and fail the next. The wrong fuse value can either blow too easily or fail to protect the branch correctly. Match the tap style to the panel and keep the original circuit fuse at its original value.
If that didn’t work
If the camera still will not behave after correcting wiring, try the next more invasive check in order: test the camera on its original 12V adapter, test the hardwire kit output at the camera plug, inspect every crimp, then try another verified constant and ACC pair. On battery-monitored vehicles, move to an OBD-II cable or battery pack before forcing a fuse-box solution.
Frequently asked questions
What tools do I need to install a dash cam hardwire kit?
You need a multimeter or fuse tester, trim removal tool, fuse puller or pliers, the correct fuse taps, spare fuses, and a socket or screwdriver for the ground point. Keep the vehicle fuse diagram nearby so constant and ACC choices are based on the panel layout, not guesswork.
Which fuse should I use for a dash cam hardwire kit?
Use a verified constant fuse for the battery lead and a verified ignition-switched fuse for the ACC lead. Lower-priority accessory circuits are usually safer candidates than safety systems. Keep the original circuit fuse value in place, and add the dash-cam branch fuse in the tap, commonly 5A.
How do I tell if a fuse is constant or ACC?
Probe the fuse with a multimeter or test light in two states. With ignition off, a constant fuse still shows power. With ignition on, an ACC fuse becomes live. Test the same fuse both ways. Labels help, but the meter reading is what decides the install.
What happens if I wire the hardwire kit wrong?
Swapped ACC and constant wires can leave the camera stuck in driving mode or unable to enter parking mode. A backward fuse tap can affect protection or cause resets. A poor ground can cause intermittent shutdowns. The fix is to retest each connection, not to lower the cutoff and hope.
Can a hardwire kit drain my car battery?
Yes. A hardwire kit still uses the vehicle battery unless it is paired with a separate battery pack. The low-voltage cutoff reduces that risk by shutting power off at a set threshold such as 11.8V, 12.0V, or 12.2V, but it does not create zero battery risk.
Is a fuse tap required for hardwiring a dash cam?
For a clean fuse-box install, usually yes. An add-a-fuse tap lets the original circuit stay protected while adding a fused branch for the camera. Some vehicle-specific kits use other connectors, and some cameras can use OBD-II power instead, so a fuse tap is common rather than universal.