How to Power a Backup Camera From the Reverse Light
Best practice: use the reverse light as a trigger, not as the camera’s main power source. Feed the camera and monitor from fused power that turns off with the key, and use the reverse lamp only to wake the system. That approach reduces fuse stress, avoids ghost power, and makes troubleshooting easier.
Using the reverse light as a signal trigger
The reverse-light circuit is commonly used as a 12V trigger source. It should wake the camera or tell the monitor to switch only when the shifter is in reverse, while the camera itself often gets stable accessory power from another fused source. Most cameras use a 12V vehicle system.
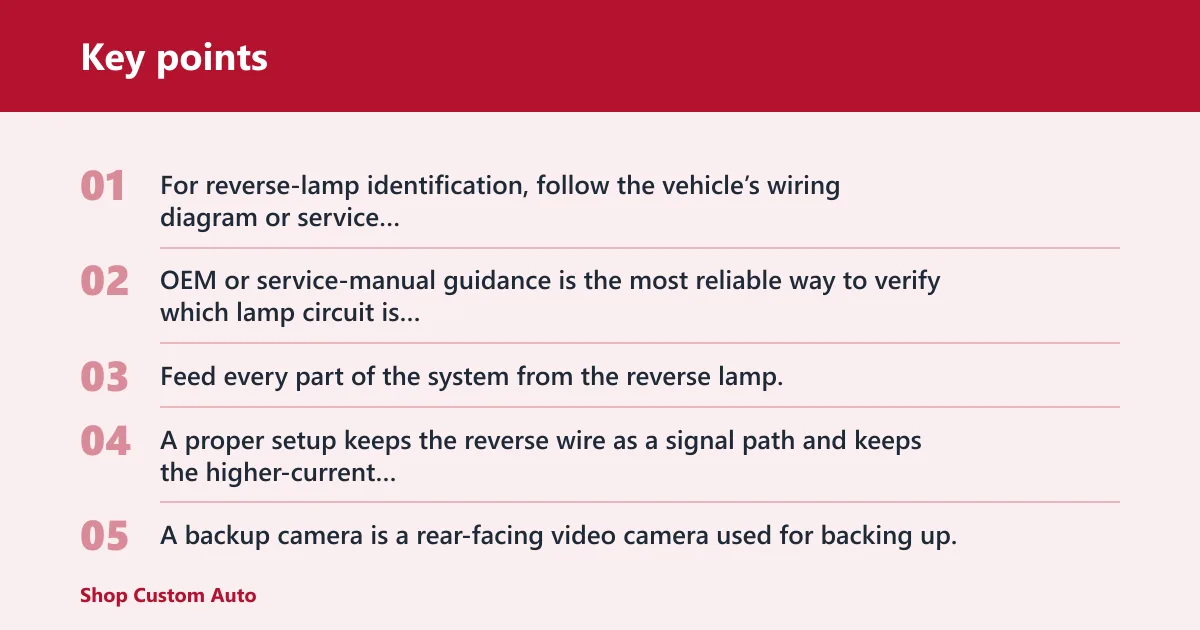
For reverse-lamp identification, follow the vehicle’s wiring diagram or service information for the specific make and model when possible, then confirm the circuit with a meter before splicing. OEM or service-manual guidance is the most reliable way to verify which lamp circuit is actually the reverse feed. The meter is still the final check.
That distinction matters. Feed every part of the system from the reverse lamp, and you can overload a small circuit, cause flicker, or make the monitor stay on longer than it should. A proper setup keeps the reverse wire as a signal path and keeps the higher-current parts on their own fused feed.
A backup camera is a rear-facing video camera used for backing up. A hardwired setup is generally more reliable than wireless because it avoids radio interference and pairing issues, but it does require careful routing and verification. For a hardwired job, plan the routing before you touch a splice.
Best practice: reverse light as trigger + fused ACC power
This is the safest and most common layout. Use the reverse light only to signal the system, then power the camera and any monitor from a fuse-tapped accessory circuit that drops out with the key. The camera’s video wire carries the image, while the reverse trigger wire on the RCA lead tells the monitor when to switch.
A fuse tap should go to an ACC or RUN circuit that is on with the ignition and off when the key is removed. That keeps the display from staying live overnight and helps prevent battery drain. Choose a circuit that only powers up when the vehicle is supposed to be awake.
When direct reverse-light camera power is acceptable
Direct power from the reverse lamp can work when the camera is specifically designed for low-current use and the vehicle’s reverse circuit has enough capacity for that small load. In that setup, the reverse lamp powers the camera directly, and the monitor still usually needs its own switched power or trigger input. Keep the load light and verify the circuit first.
This path is most acceptable when the kit instructions explicitly allow it and the circuit test shows stable voltage in reverse. If the camera or monitor draws more than the lamp circuit should carry, use the best-practice method instead. If you are unsure, use the reverse light only as a trigger.
| Method | Pros | Cons | When to use |
|---|---|---|---|
| Reverse light as trigger + fused ACC power | Lowest risk of overloading the reverse circuit; cleaner for battery drain; easier to troubleshoot | Requires a fuse tap and one extra power route | Most aftermarket installs and any time the camera or monitor needs stable power |
| Direct reverse-light camera power | Simple wiring; fewer parts | Can overload a small lamp circuit; more sensitive to voltage drop | Only when the camera is low-draw and the kit/manual allows it |
What you’ll need
- Multimeter for probing the reverse light circuit and confirming polarity
- Wire strippers and cutters
- Crimp tool
- Trim tools for panels, carpet, and hatch covers
- Backup camera kit
- RCA video cable
- Fuse tap for monitor accessory power when needed
- Posi-tap connector, or solder and heat-shrink tubing
- Electrical tape for secondary insulation
- Rubber grommet for trunk, hatch, or tailgate pass-throughs
- Ring terminal or ground lug for chassis ground
Which wire on the reverse light is positive?
The reverse-light positive wire is the one that typically shows about 12 volts only when the vehicle is in reverse. Do not trust wire color alone, because it varies by vehicle model. Use the multimeter to find the hot lead, then confirm the ground side before you splice anything.
Set the meter to DC volts, put the black probe on clean metal, and back-probe each reverse-light wire with the red probe. The wire that reads near battery voltage in reverse is the positive trigger. Typical vehicle readings are approximate, so expect roughly 12 to 14 volts with the engine off or running, depending on battery charge and charging-system state.
Suppose the left tail lamp has two similar green wires. One may be the reverse feed, and one may be a parking lamp. The meter, not the stripe pattern, tells you which one changes state in reverse.
How do you wire a backup camera to the reverse light?
Use the reverse light as a trigger for the system, or power the camera directly only if the kit and vehicle circuit can support that approach. In the best-practice path, the reverse lamp wakes the system while fused accessory power feeds the camera and display. Either way, the camera ground must go to a solid chassis ground.
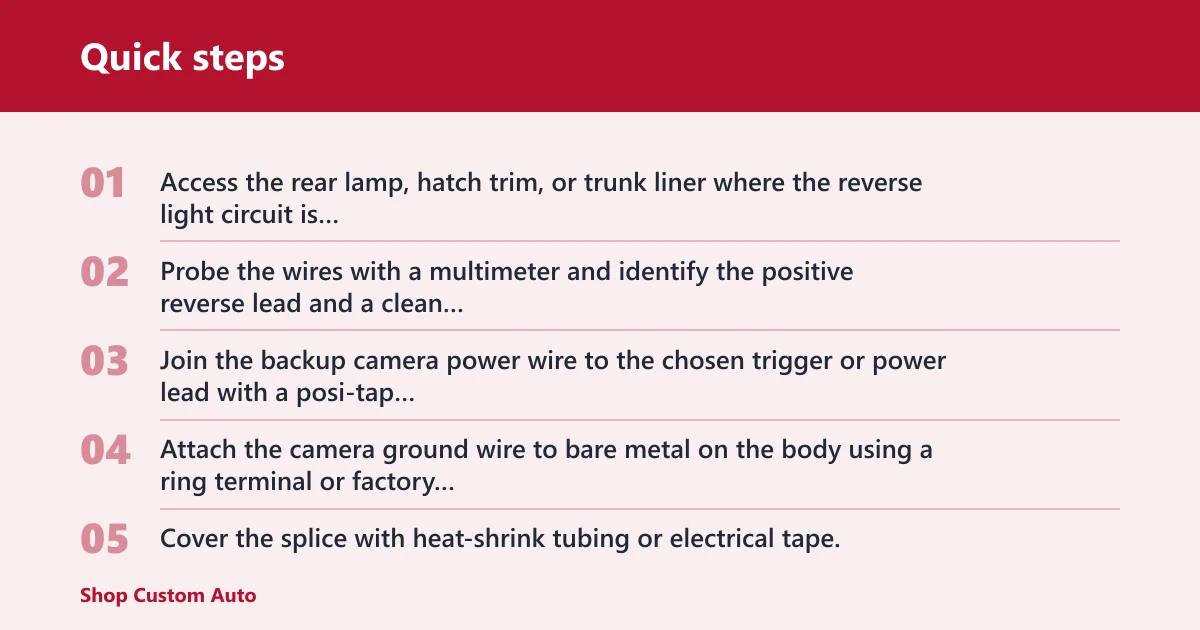
- Access the rear lamp, hatch trim, or trunk liner where the reverse light circuit is reachable.
- Probe the wires with a multimeter and identify the positive reverse lead and a clean ground point.
- Join the backup camera power wire to the chosen trigger or power lead with a posi-tap connector, crimp splice, or soldered joint.
- Attach the camera ground wire to bare metal on the body using a ring terminal or factory ground point.
- Cover the splice with heat-shrink tubing or electrical tape, then secure the harness so it cannot rub on sheet metal.
The camera power wire and the reverse trigger wire are not the same thing on every kit. On many RCA leads, the small thin wire bonded to the video cable is the reverse trigger wire for the monitor, while the separate red/black pair or pigtail may feed camera power. Confirm which conductor does what before connecting it.
Use a rubber grommet anywhere the wire passes through metal. At hatch hinges, trunk seams, and tailgate pass-throughs, bare edges can cut insulation over time.
How do you run the video cable and monitor power?
Run the RCA video cable from the rear camera to the display along factory trim routes, under carpet, or beside existing harnesses. Keep it away from sharp bends, seat tracks, and moving hatch hardware. The camera’s video line and the monitor’s power line should stay separated enough to reduce noise and pinches.
If the monitor needs accessory power, feed it from a fuse tap in the fuse box rather than the reverse light circuit. That keeps the monitor from staying live with the key off, which reduces battery drain risk. Choose an ACC or RUN circuit that turns off with the key so the monitor cannot stay energized after shutdown.
Protect every pass-through point with a rubber grommet. On trucks and hatchbacks, long cable runs and weatherproof entry points matter more than they do on a short sedan run.
Reverse-light failure table
This table gives a quick check path for the most common reverse-light-powered camera failures. Start with the meter reading, then move to the fix that matches it.
| Symptom | Likely cause | Meter reading to check | Exact fix |
|---|---|---|---|
| Camera never turns on | No power at the reverse lead | 0V at the splice in reverse | Reprobe the lamp wire, move to the correct reverse-light feed, and remake the splice. |
| Camera powers on, monitor stays on black screen | RCA cable not seated or video input wrong | 12V at camera power, no video sync at display | Seat both RCA ends fully and select the rear-camera input in the monitor menu. |
| Monitor never switches to camera view | Trigger wire not tied to reverse signal | 0V at trigger wire in reverse | Move the trigger lead to the reverse-light positive wire or the correct reverse signal input. |
| Image flickers in reverse | Poor ground or weak splice | Voltage drops below about 11V under load | Clean the ground point, tighten the connection, and replace a loose tap or butt splice. |
| No image, but power is present | Video cable pinched or damaged | 12V at camera, open signal path | Inspect the RCA run through trim and replace the damaged cable section. |
| Camera image is noisy or snowy | RCA routed beside high-current wiring | Stable 12V, interference on the signal line | Reroute the RCA cable away from power wires and keep it away from speaker amp runs. |
| System works only with the hatch half open | Broken wire in hatch flex boot | 12V disappears when the hatch closes | Inspect the boot, repair the broken conductor, and protect it with a proper grommet. |
| Reverse fuse blows after install | Camera power tied directly into a low-current lamp circuit | Short to ground or excessive draw | Move camera power to a fused accessory feed and keep the reverse lamp as trigger only. |
| Image appears mirrored wrong | Display setting mismatch | Normal 12V, wrong orientation setting | Open the monitor settings and toggle mirror or normal image mode. |
| Battery is weak after parking | Monitor or converter stays live with ignition off | Parasitic draw with key removed | Move monitor power to an accessory fuse that drops out with the key off. |
Common mistakes
A common first-timer mistake is using the license plate light as a default substitute for the reverse light. Car Audio Hunt notes that either can be used as a camera power source in some setups, but the circuit behavior is not always the same. Check the meter first, or you can end up with a camera that stays on or never wakes correctly.
Another mistake is assuming the camera and monitor should share one power source. If the monitor gets tied to the wrong rear circuit, it may draw current all night. A fuse tap in the fuse box is the cleaner choice when the display needs accessory power.
Say your truck has a 2-meter hatch harness and the image cuts out every time the tailgate moves. That usually points to a strained cable or a bad pass-through, not a bad camera. Replace the worn section and feed it through a rubber grommet before you close the trim.
If that didn’t work, recheck the ground first, then the video path, then the trigger wire. That order catches most wiring errors without tearing apart the whole install again.
Can you power it from the license plate light or fuse box?
You can power the camera from the license plate light only if that circuit behaves like a proper reverse signal and the meter confirms it. Do not assume it is a safe substitute. In many vehicles, the better plan is reverse light for trigger and fuse-box power for the monitor or camera feed.
A fuse box is often the better source for the monitor because it can be tied to ignition-accessory power. That keeps the screen from drawing current with the key off. If the monitor or adapter stays live after shutdown, move the fuse tap to a circuit that shuts off with ACC or RUN.
Some installer sources estimate material and labor costs widely depending on vehicle and routing complexity, but those figures vary enough that they are not helpful without a vehicle-specific quote. Focus on correct circuit identification and safe power routing first.
How do you test a backup camera before putting trim back?
Test power, video, and switching before reinstalling any panel. Put the vehicle in reverse with the parking brake set and confirm the camera wakes, the display switches, and the image is steady. If anything fails, fix it now while the wires are still exposed.
Use the multimeter first, then the display. Confirm that the reverse trigger shows voltage only in reverse, that the camera has a stable supply, and that the monitor’s accessory feed shuts off when the key is removed. If any reading is inconsistent, correct the wiring before closing the interior.
- Turn the key to the accessory position.
- Shift into reverse with the wheels chocked and the brake set.
- Measure 12 volts at the camera power wire and confirm the monitor receives its accessory feed.
- Check the screen for a clear image with no flicker or rolling lines.
- Move the harness gently at the hatch and trunk areas to confirm the signal stays stable.
Do not close the trim until the camera, monitor, and trigger all work together. A 5-minute check now is much easier than reopening a full interior panel later.
FAQ
Do I need a multimeter to connect a reverse camera?
Yes. A multimeter is the safest way to identify the reverse-light hot wire, confirm polarity, and avoid wire-color mistakes. Set it to DC volts, probe the rear lamp wires, and verify which lead shows battery voltage only in reverse.
How do I splice backup camera wires safely?
Use a posi-tap connector, soldered joint, or proper crimp splice, then insulate it with heat-shrink tubing or electrical tape. Keep the splice tight, dry, and away from sheet-metal edges. Match positive to positive and negative to negative.
Why does my backup camera turn on but not the monitor?
The camera can have power while the monitor still misses the reverse trigger or lacks accessory power. Check the monitor’s fuse tap, input selection, and trigger wire with a meter. If the camera has 12 volts but the display never switches, the fault is usually in the trigger path.
What happens if the camera image is reversed or mirrored?
That usually means the monitor setting is wrong, not that the camera is bad. Open the display menu and switch between mirror and normal image modes. Retest in reverse before closing the dash trim.
Will a backup camera drain the battery if wired wrong?
Yes, if the monitor or converter stays live after the key is off. Put accessory power on a fuse that drops out with ignition, and verify zero draw after shutdown. If the screen remains on in park, move the fuse tap to a better circuit.
Can I trust wire colors when I’m finding the reverse wire?
No. Wire colors vary by vehicle, trim level, and harness location, so color alone is not proof. Use the vehicle’s wiring diagram or service information when available, then verify the circuit with a meter. The reading matters more than the insulation color.
What voltage should I expect at the reverse light?
Expect an approximate battery-level reading, usually around 12 to 14 volts depending on whether the engine is running and how healthy the battery is. Readings are approximate, not exact. The key point is that the wire should change state only when the transmission is in reverse.
Should the RCA cable carry power too?
Usually no. The RCA cable carries video, while a separate small wire on some RCA harnesses may carry the reverse trigger signal to the monitor. Keep power routing separate from video routing unless the kit instructions specifically combine them.
When is direct reverse-light power acceptable?
Direct power is acceptable only when the camera is designed for that use, the circuit has enough capacity, and the kit instructions support it. If there is any doubt, use the reverse light as a trigger and power the camera from a fused ACC feed instead.