How to Test Subwoofer Phase with a Test Tone and Music
Play a fixed sine tone near your subwoofer crossover, compare 0 and 180 at the driver seat, and keep the setting that sounds louder and more even. If the difference is small, leave it on normal and confirm with music.
Use the same crossover point, the same source volume, the same sub level, and the same seat position for every pass. Phase matters here because the sub and front speakers are summing at the listening position, and the best setting is usually the one that gives stronger, cleaner bass around the crossover region.
Quick answer
Fix the system first, then compare 0 and 180 at the driver seat with a tone near the crossover. That gives you a repeatable A/B test instead of a random bass check. The goal is simple: find the setting that sums best with the front speakers where you actually listen.
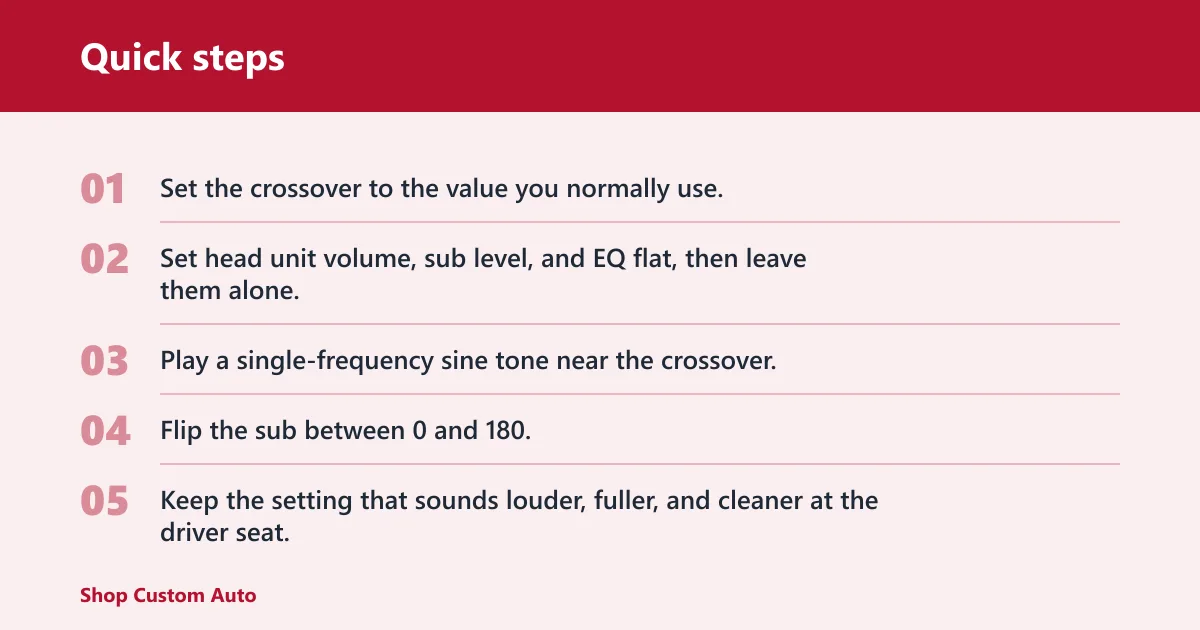
- Set the crossover to the value you normally use.
- Set head unit volume, sub level, and EQ flat, then leave them alone.
- Play a single-frequency sine tone near the crossover.
- Flip the sub between 0 and 180.
- Keep the setting that sounds louder, fuller, and cleaner at the driver seat.
- Confirm that choice with a short music check.
Say your crossover is set to 80 Hz. An 80 Hz tone at a fixed volume shows summing changes better than a song with moving bass notes. If the result is close, repeat the same pass once before you decide.
What you’ll need
- A test tone app, file, or signal generator that can play a single-frequency sine wave
- A head unit or source with repeatable volume control
- Access to the subwoofer’s 0/180 switch, amp polarity control, or DSP output setting
- A phone RTA app or SPL meter app for relative comparison
- One or two music tracks with steady low-end content for the verification step
A phone app is enough for a relative check. You are not looking for an absolute SPL number; you are comparing one setting against another under the same conditions.
What frequency should you use?
Pick a test tone near the crossover point, often around 60 to 100 Hz in car audio. That is the region where the sub and front speakers overlap, so phase changes are most audible there. Testing far below that range can hide the real summing problem.
If your crossover is 70 Hz, use a 70 Hz tone or a nearby tone such as 75 Hz. If your crossover is 90 Hz, use 90 Hz. Keep the tone fixed for both settings so the comparison stays repeatable.
| Crossover setting | Good test tone | Why this works |
|---|---|---|
| 60 Hz | 60 Hz sine tone | Checks summing right at the overlap point |
| 80 Hz | 80 Hz sine tone | Typical car-audio phase test region |
| 100 Hz | 100 Hz sine tone | Useful when the sub crosses high |
Does music or a sine wave work better for testing subwoofer phase?
Use the sine wave for the primary A/B test because it is repeatable and easy to compare. Use music after the tone test to confirm that the result still sounds right in normal playback. A steady test tone makes changes easier to hear and measure.
Choose a track with sustained kick drum or steady bass notes. Skip songs with changing bass lines, sparse intros, or mixed recording levels, because they can make one setting seem better for the wrong reason.
Picture a track where the bass drops in and out every few seconds. That makes a poor comparison tool. A fixed 80 Hz tone keeps the test tied to one frequency, one level, and one decision point.
How do you test subwoofer phase?
Start with the same crossover, source volume, and sub level for both trials. Play the fixed test tone and switch between 0 and 180. Choose the setting that sounds louder and fuller at the driver seat, or shows the stronger meter reading. If the result is close, repeat the test once more before deciding.
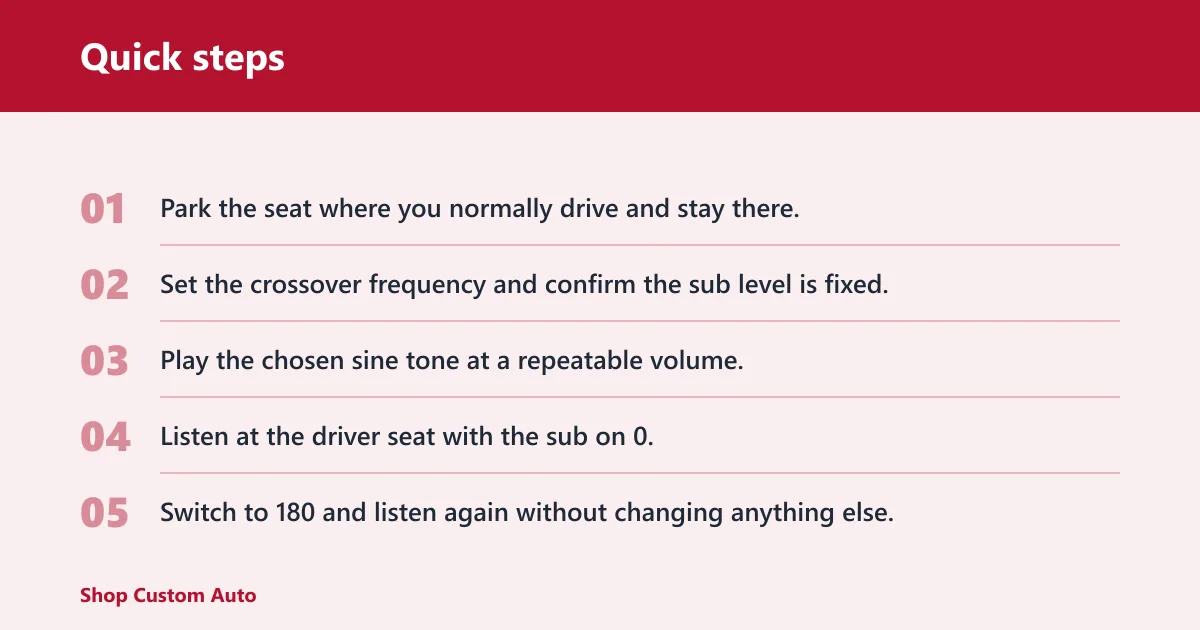
- Park the seat where you normally drive and stay there.
- Set the crossover frequency and confirm the sub level is fixed.
- Play the chosen sine tone at a repeatable volume.
- Listen at the driver seat with the sub on 0.
- Switch to 180 and listen again without changing anything else.
- Pick the setting with stronger, cleaner bass at the crossover region.
- Move to music and confirm the same setting still blends best.
Suppose the 0 setting sounds a little louder at the driver seat, while 180 sounds slightly thinner. That usually means 0 is summing better at that crossover point. A phone RTA or SPL meter app can help here, but only as a relative check between two passes.
How can I tell if my subwoofer is in phase with the front speakers?
Look for the setting that fills in the crossover region instead of leaving a hole or making the bass lumpy. In phase, the sub and front speakers add together at the seat. Out of phase, they can cancel around the overlap and make bass sound weaker even if the sub itself is loud.
At the driver seat, the better setting usually sounds fuller on kick drums and more solid on bass notes near the crossover. Seat-to-seat results can differ, so use the driver seat as the main reference and treat the passenger seat as a secondary check only.
If the driver seat sounds thin but the passenger seat sounds strong, that is a clue that the cabin is shaping the response differently across the car. That is normal. Set the system for the seat you actually use to drive.
Common mistakes
Most bad results come from changing too many things at once. Keep the test locked down, then compare one setting at a time. If the volume, crossover, or seat changes between passes, the result stops being trustworthy.
- Testing from the wrong seat: Use the driver seat first, then check the passenger seat after the decision.
- Using the wrong frequency: Stay near the crossover, not far below it.
- Changing volume between passes: Keep head unit volume and sub level fixed.
- Using a moving bass track: Use a sine tone for the comparison step.
- Ignoring time alignment: Delay can change the result at the crossover region.
One common first-timer mistake is lowering the tone to 40 Hz because it sounds bassy. That can hide the real summing problem. Another is making the 0 and 180 comparison at different seat positions, which turns the test into two different measurements.
Subwoofer phase worksheet
Use this log to keep the test repeatable. Fill it out while the system stays on the same source, volume, and crossover.
| Step | Field | Entry |
|---|---|---|
| 1 | Chosen crossover frequency | 80 Hz |
| 2 | Test tone frequency | 80 Hz sine tone |
| 3 | Head unit volume | 24 of 40 |
| 4 | Sub level | 0 dB, unchanged |
| 5 | 0/180 result | 0 = louder, 180 = thinner |
| 6 | Music track result | Steady kick drum track confirmed 0 |
| 7 | Final setting notes for driver seat and passenger seat | Driver seat: 0. Passenger seat: 180 was slightly fuller, but driver seat stayed the priority. |
Use the same worksheet again if you later change the crossover, add DSP delay, or move the sub enclosure. Those changes can alter the result at the listening position.
If that didn’t work, try this next
If the 0/180 test is unclear, the next step is usually to check delay. DSP time alignment changes arrival time in milliseconds, and that can change the apparent phase result at the crossover. It does not replace the phase test; it changes the timing that the phase test is working against.
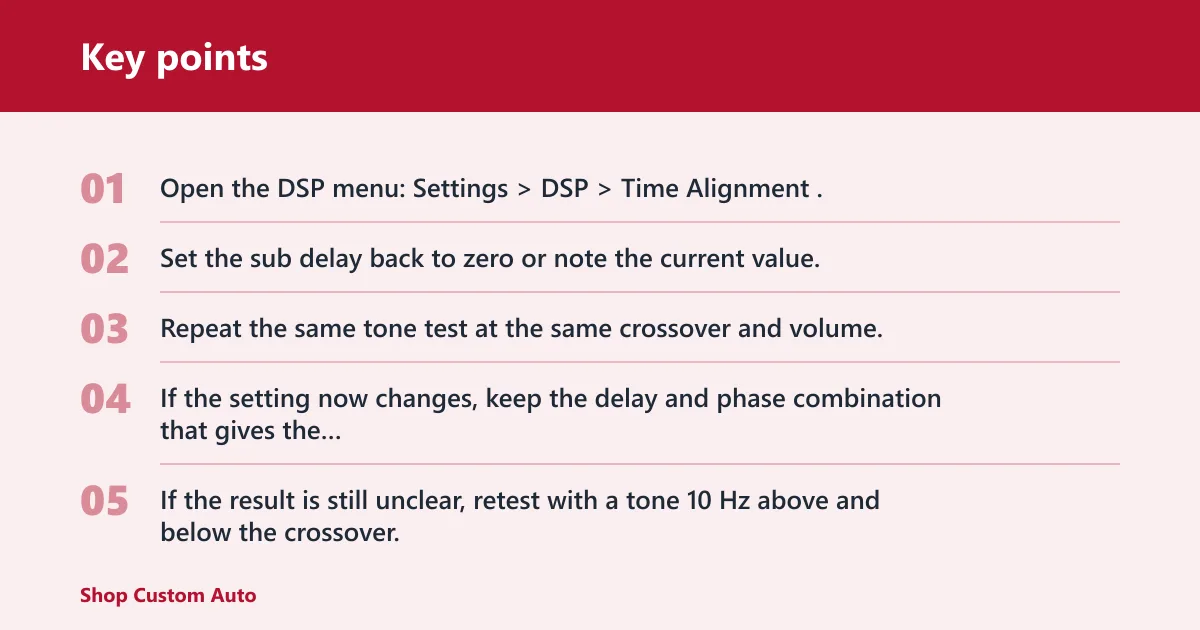
- Open the DSP menu: Settings > DSP > Time Alignment.
- Set the sub delay back to zero or note the current value.
- Repeat the same tone test at the same crossover and volume.
- If the setting now changes, keep the delay and phase combination that gives the strongest driver-seat result.
- If the result is still unclear, retest with a tone 10 Hz above and below the crossover.
How do you know whether delay is involved? If changing delay by a few milliseconds shifts the stronger setting, the system is not simply a polarity issue. It is a timing and summing problem at the crossover region.
Prevention: once you find the best combination, save the DSP preset or write down the delay and phase setting so you can return to it after later changes.
Frequently asked questions
What test tone should I use to check subwoofer phase?
Use a single-frequency sine tone that matches your crossover point as closely as possible. A fixed 70, 80, or 90 Hz tone is easier to compare than a sweep. Keep the playback level the same for both 0 and 180 so the result reflects summing, not volume drift.
Should I use 0 or 180 degrees when testing phase?
Start by comparing both. Neither setting is always correct, because the car’s cabin, crossover point, enclosure placement, and DSP delay all affect summing. Keep the setting that is louder and cleaner at the driver seat; if the difference is tiny, 0 is usually a safe baseline.
Why does bass get louder or quieter when I flip phase?
Flipping the setting changes how the sub lines up with the front speakers at the listening position. When the waves add together near the crossover, bass gets stronger. When they partially cancel, bass gets weaker or less focused. That effect is most obvious around the crossover region.
Can time alignment replace subwoofer phase testing?
No. Time alignment changes arrival time in milliseconds, which can improve the crossover blend, but it does not tell you which polarity setting sums best by itself. Set the phase first, then use delay to fine-tune the driver-seat result. Recheck both after any change.
How do I know if my subwoofer is wired backwards?
Use a polarity check, not a music guess. A quick 1.5 V battery pulse on the driver terminals can reveal cone direction on a disconnected woofer, but that only confirms wiring polarity. It does not prove the sub is in phase with the front speakers in the car.
What should I listen for when testing phase at the driver seat?
Listen for fuller kick drums, stronger notes around the crossover, and less of a dip where the sub meets the front speakers. The better setting should sound more solid without adding boom. If one choice sounds louder but also blurrier, repeat the test and confirm with a steady music track.