How Does a Dash Cam Hardwire Kit Work?
A dash cam hardwire kit typically converts fuse-box power to the voltage the camera needs, often 12V to 5V, while checking ACC and constant power so the camera turns on with ignition and can keep parking mode without draining the battery. Bad wiring can leave you with a dead battery, false parking-mode triggers, or a camera that shuts off while driving. Here’s how the kit works, how to connect it to ACC and constant fuses, and how to diagnose the most common install problems.
What a dash cam hardwire kit does
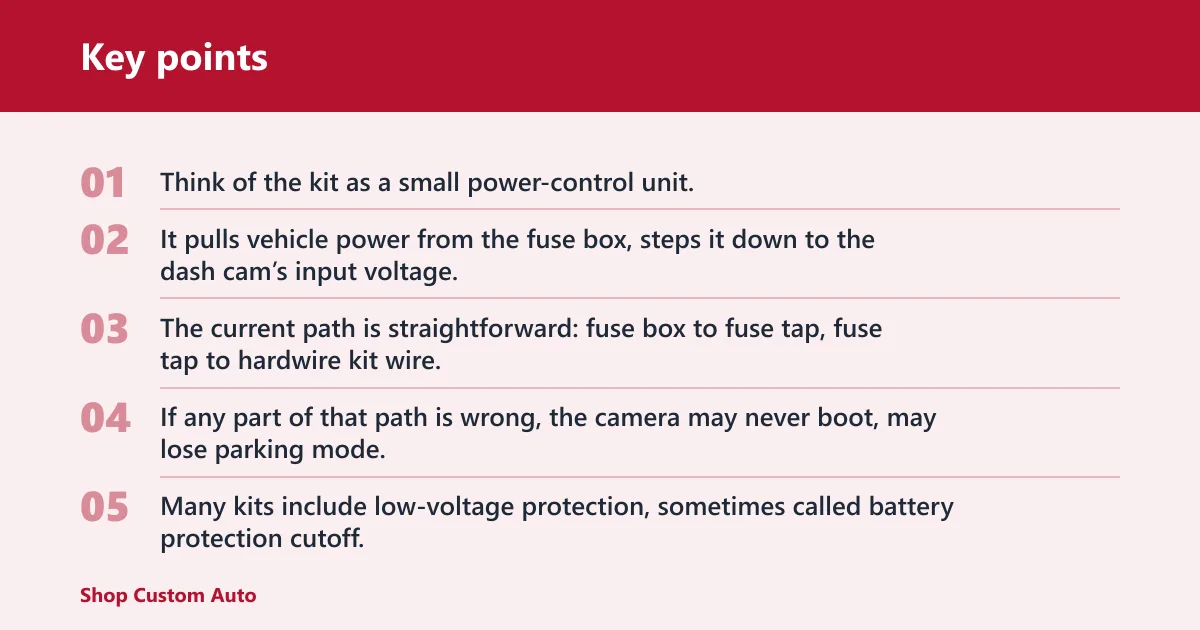
Think of the kit as a small power-control unit. It pulls vehicle power from the fuse box, steps it down to the dash cam’s input voltage, and uses two separate circuits to tell driving from parking.
The current path is straightforward: fuse box to fuse tap, fuse tap to hardwire kit wire, kit to dash cam power input, and ground wire to bare chassis metal. That last step closes the circuit. If any part of that path is wrong, the camera may never boot, may lose parking mode, or may shut off at random.
Power path and protection
Many kits include low-voltage protection, sometimes called battery protection cutoff. That feature watches vehicle voltage and disconnects the dash cam if the battery drops to a selected threshold. Some kits use a voltage setting only; others add a time limit or a mixed mode that reacts to both time and voltage.
That protection matters because parking mode keeps the camera awake after shutdown. The camera may record motion, impacts, or time-lapse clips, and each of those can draw current. Without a cutoff, the car battery can keep feeding the system until starting becomes unreliable.
Say your camera works fine while driving but the car will not start after a long airport parking stay. That points to a cutoff set too low, a constant fuse on a high-draw circuit, or a parking mode setting that stays active longer than intended.
How the wires connect
The kit commonly uses three connections: ACC, constant 12V, and ground. The ACC wire tells the kit when ignition is on. The constant wire supplies parked power. The ground wire returns current to the chassis. Together, they let the camera change modes without a separate switch.
Fuse tap type and correct orientation
A fuse tap plugs into an existing fuse slot and gives the kit a protected source of vehicle power. It needs to match the fuse style in the vehicle, such as mini, low-profile mini, micro2, or standard. It also has an in/out orientation. If it is reversed, the tap may power the wrong side of the circuit or fail to feed the accessory lead at all.
Correct orientation matters because a fuse slot has a feed side and a load side. The tap should place the original vehicle fuse on the protected circuit and the add-a-fuse lead on the accessory branch. If installed backward, the fuse may still fit but the circuit logic can fail.
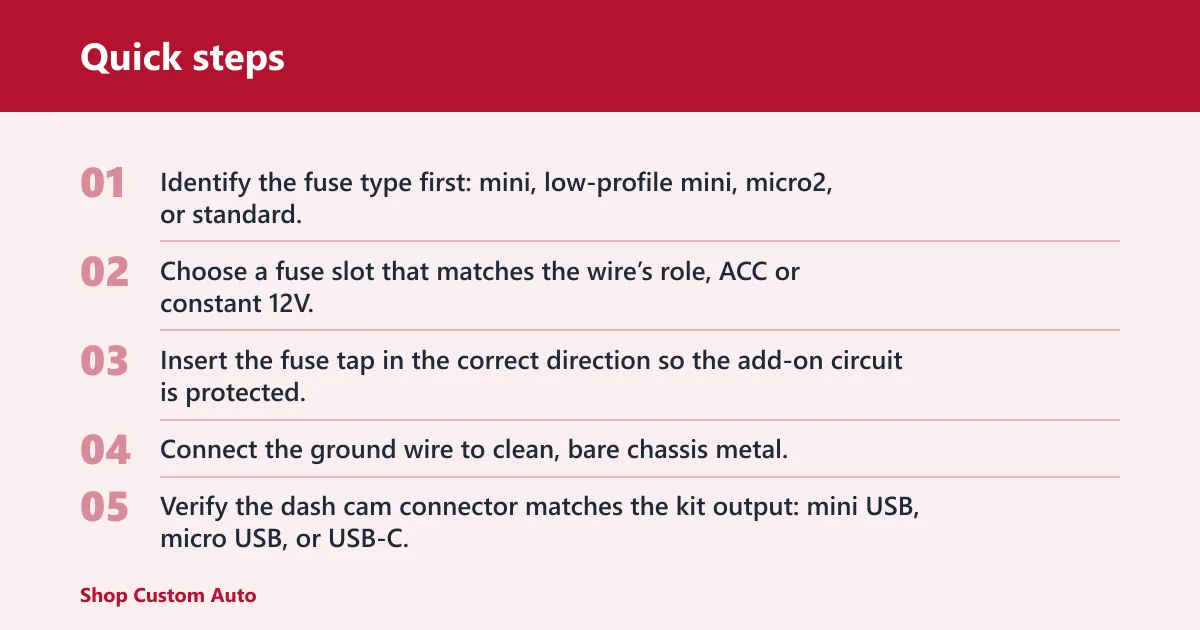
- Identify the fuse type first: mini, low-profile mini, micro2, or standard.
- Choose a fuse slot that matches the wire’s role, ACC or constant 12V.
- Insert the fuse tap in the correct direction so the add-on circuit is protected.
- Connect the ground wire to clean, bare chassis metal.
- Verify the dash cam connector matches the kit output: mini USB, micro USB, or USB-C.
Ground wire and clean chassis contact
The ground wire must bite into bare metal, not paint, powder coat, or loose trim hardware. A weak ground can cause a camera that powers only sometimes, a setup that reboots over bumps, or complete failure to start. The connection point should be tight and free of corrosion.
Picture a camera that powers on when the door closes but dies at the first pothole. That often points to a loose ground lug, a painted contact point, or a fuse tap that is seated but not truly clipped into the slot.
What does the ACC fuse do?
The ACC fuse gives the hardwire kit a switched signal that changes state with ignition. When the car turns on, the dash cam knows it is in driving mode. When the car turns off, the same signal tells the kit to switch into parking behavior if a constant feed is present.
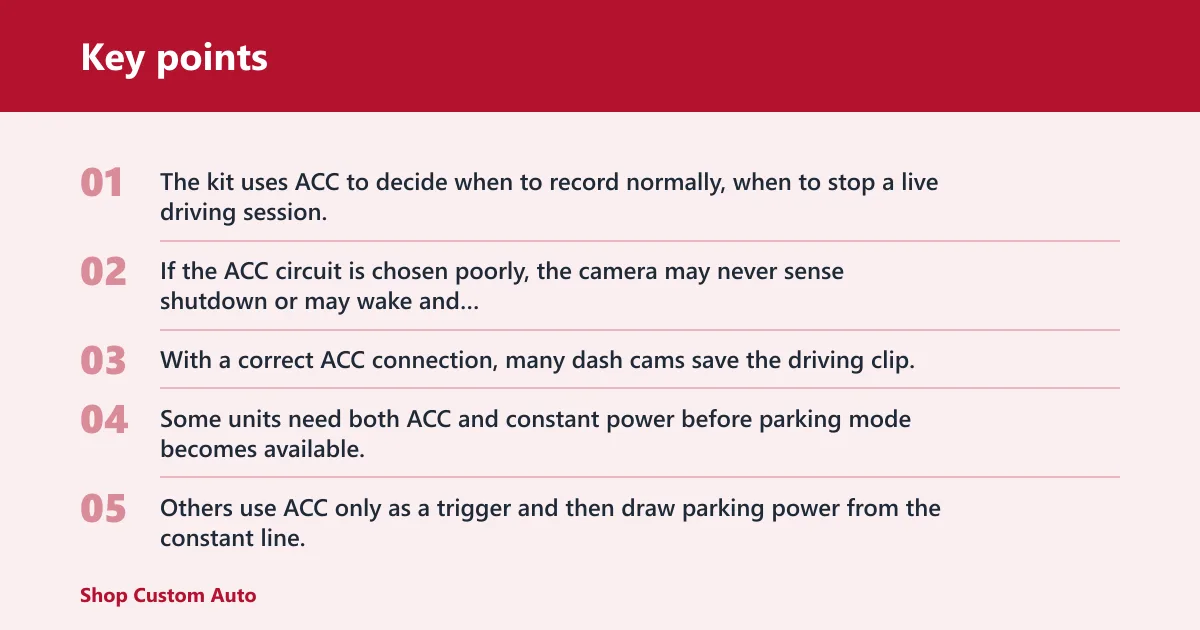
That signal is not mainly about raw power. It is about status. The kit uses ACC to decide when to record normally, when to stop a live driving session, and when to enter parked recording rules. If the ACC circuit is chosen poorly, the camera may never sense shutdown or may wake and sleep at the wrong times.
How it changes recording behavior
With a correct ACC connection, many dash cams save the driving clip, end the current session, and then watch for parking mode conditions. Some units need both ACC and constant power before parking mode becomes available. Others use ACC only as a trigger and then draw parking power from the constant line.
Using a fuse that stays live all the time for ACC is a common mistake. The camera may think the ignition is always on, so parking mode never starts. Another mistake is tapping a circuit that drops power during cranking or accessory delay, which can cause random resets.
Why the wrong fuse choice causes trouble
An ACC fuse should be a true ignition-switched circuit, such as a radio, accessory outlet, or another non-critical switched accessory that behaves the way the camera expects. Avoid critical systems and any circuit that can create safety or control issues if its fuse is shared or altered.
For constant power, choose a fuse slot that remains live with the ignition off and is allowed by the vehicle’s fuse layout. That usually means an interior convenience circuit, not a safety, engine, or control module feed. The fuse chart in the owner manual is the first place to check.
How parking mode gets power
Parking mode uses the constant 12V feed and the ACC signal together. The constant line keeps the camera alive after shutdown. The ACC line tells the kit the car is parked. Battery protection then limits how long the camera can stay awake before the voltage cutoff triggers.
Parking mode types
Parking mode can use motion detection, impact detection, or time-lapse recording. Motion and impact modes wait for activity, then save an event clip. Time-lapse records continuously at a lower frame rate. Time-lapse often draws less current than full-time recording, but it still adds load while the vehicle is off.
The choice affects current draw and storage use. A motion-triggered mode may miss very small movement if sensitivity is set too low. A time-lapse mode may fill the card faster than expected if the interval is short. The kit itself does not decide that behavior; the dash cam does.
Battery cutoff and drain control
Battery protection cutoff prevents the hardwire kit from drawing the battery down past a set voltage. The threshold varies by model, and the setting matters. If the cutoff is too low, parking mode lasts longer but battery risk rises. If it is too high, the camera may stop parking recording too early.
Some kits use selectable settings such as low, medium, and high instead of exact numbers. Others expose voltage values directly. Either way, the goal is the same: protect starting reserve while still leaving enough time for parked recording.
Which fuse should you use?
Choose a fuse that matches the wire’s job and the vehicle’s fuse map. The ACC side should be switched with ignition. The constant side should stay live with ignition off. Both sides must fit the correct fuse type, and neither should be a critical system circuit.
| Fuse choice | Best use | What to confirm | Common mistake |
|---|---|---|---|
| Mini / low-profile mini / micro2 / standard | Physical fit for the fuse tap | Matches the vehicle slot shape | Buying the wrong tap body |
| ACC fuse | Ignition-switched trigger | Power changes with key or start button | Picking a live-all-the-time circuit |
| Constant 12V fuse | Parking mode power | Live with ignition off | Using a critical system fuse |
| Ground point | Circuit return path | Bare metal and tight contact | Painting, rust, or loose hardware |
A practical rule: use a switched accessory fuse for ACC and a non-critical always-live fuse for constant power. If the vehicle’s fuse box does not offer a suitable always-live circuit, parking mode may not be worth the compromise, because the kit cannot create constant power from a switched-only layout.
Hardwire kit flowchart
This troubleshooting map ties symptoms to likely fault points and next actions. Start with the symptom you see first. Then test one thing at a time: fuse tap orientation, fuse selection, ground quality, connector match, and cutoff setting. That order catches most install problems fast.
| Symptom | Likely fault point | Test to run | Next action |
|---|---|---|---|
| No power | Wrong fuse tap orientation, blown fuse, bad ground, wrong connector | Check the tap direction, test voltage at ACC and constant leads, inspect the ground point | Flip the tap if reversed, replace the blown fuse, clean the ground, confirm mini USB / micro USB / USB-C match |
| Power only with ignition on | ACC used correctly but constant fuse missing or dead | Test the constant fuse slot with ignition off | Move the constant lead to a true always-live fuse slot |
| Parking mode not activating | ACC wire on the wrong fuse, constant feed absent, camera setting disabled | Turn the car off and see whether the camera detects shutdown | Relocate the ACC lead, verify constant power, enable parking mode in the camera menu |
| Battery drain | Cutoff set too low, parking mode draw too high, constant circuit too exposed | Check cutoff setting and parked runtime | Raise the cutoff, reduce parked recording time, choose a lower-draw parking mode |
| Random shutoffs | Loose ground, poor tap seating, voltage drop, wrong cable type | Wiggle-test the ground, inspect the tap, verify output and connector type | Re-seat the tap, tighten the ground, use the correct dash cam power input cable |
A common first-timer mistake is using a kit with the wrong camera connector. A dash cam with a mini USB power input will not start from a USB-C lead unless the adapter and output are designed for that exact model. Connector shape and voltage output both matter.
Is hardwiring better than the 12V socket?
Hardwiring is better when you want parking mode, cleaner cable routing, or a setup that powers on and off with the vehicle automatically. The 12V socket is enough when you only need driving recording and do not care about parked surveillance or battery cutoff control.
That choice comes down to the parking goal. If the camera must record while parked, hardwiring is usually the right method because the socket often loses power with ignition off. If the camera only needs a power source during trips, the socket is simpler and usually easier to remove.
2-wire and 3-wire kits differ in how much control they give you. A 2-wire kit usually carries constant power and ground, which can support basic parked recording on some cameras but offers less clear ignition signaling. A 3-wire kit adds ACC, so the dash cam can tell driving from parking more reliably.
If the vehicle has a reliable accessory socket that stays live, that socket can work for a basic camera. For parking mode, though, hardwiring gives you the ACC trigger, the constant feed, and battery protection in one setup. That is the point of the kit.
Frequently asked questions
How does a dash cam hardwire kit work?
A hardwire kit pulls vehicle power from the fuse box, steps it down to the dash cam’s input voltage, and watches ACC plus constant power so the camera can switch modes. It also often adds battery protection cutoff, which stops parked recording before the car battery drops too far.
Does a dash cam have to be hardwired?
No. A dash cam can often run from a 12V socket or USB power source for driving only. Hardwiring becomes useful when you want parking mode, cleaner cable routing, or battery cutoff control. If those are not goals, the socket is usually enough.
What does an ACC fuse do in a dash cam hardwire kit?
The ACC fuse tells the kit when ignition is on, or when accessory power is active. That signal helps the camera know when driving starts and when parking mode should begin after shutdown. If ACC is taken from the wrong circuit, the camera may never enter parked recording or may reset at the wrong time.
Can a hardwire kit drain my car battery?
Yes, if the cutoff is set too low, parking mode runs too long, or the kit lacks low-voltage protection. A proper kit reduces that risk by disconnecting at a chosen voltage threshold. Battery age, cold weather, and parked recording draw also affect how quickly voltage falls.
What is the difference between 2-wire and 3-wire hardwire kits?
A 2-wire kit usually uses constant power plus ground, so it can supply parked recording but has less ignition-awareness. A 3-wire kit adds ACC, which gives the dash cam a clearer signal for driving versus parking. For most parking-mode setups, the 3-wire layout is easier to manage.
Which fuse should I use for a dash cam hardwire kit?
Use a switched ACC fuse for the ignition signal and a separate always-live constant 12V fuse for parked power, if the camera needs parking mode. Match the fuse tap to the fuse type in the car, and avoid critical systems. The fuse chart in the owner manual should guide the choice.