
How to Ground an Amp in a Car Properly: Step-by-Step
Ground an amp to bare chassis metal about 18 inches from the amplifier, using the same gauge as the power wire, and verify the ground reads near 0 V from the amp case to battery negative under load. A poor ground can cause voltage drop, noise, protect-mode shutdowns, and false diagnosis of bad amps or speakers. This guide shows how to choose the ground point, prep it, and test it with a meter before you blame the amplifier.
What you’ll need
- Digital multimeter with DC volts and resistance ranges
- Ring terminal sized to the ground wire
- Wire brush, sandpaper, or abrasive pad
- Socket set or wrench for the fastener
- Crimp tool and wire stripper
- Star washer, if the fastener setup allows one
- Short ground wire matched to the power wire gauge
- Battery-terminal wrench for disconnecting power
- Voltmeter, if that is the tool available for output checks
Choose the ground point
The best ground point is bare, solid chassis metal with direct continuity back to the battery negative path. Start with a factory bolt point or another bolted chassis location. Avoid painted panels, loose hardware, corrosion, cracked sheet metal, adhesive-backed panels, and aluminum structures unless the vehicle manual or a verified install method supports that location.
Look for bare chassis metal
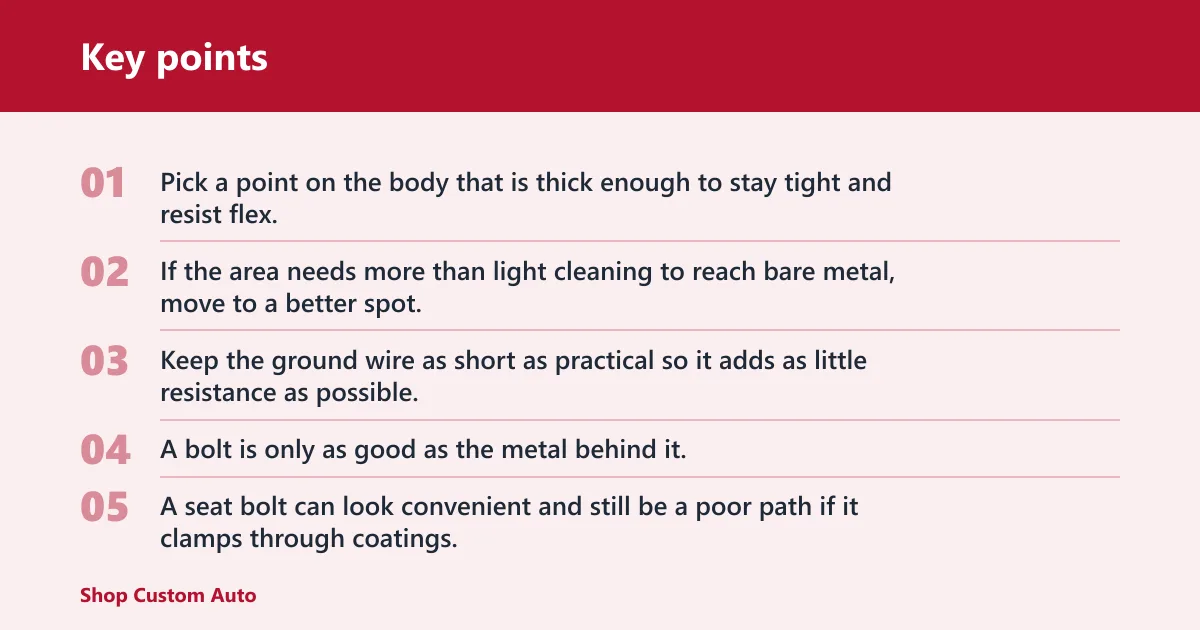
Pick a point on the body that is thick enough to stay tight and resist flex. If the area needs more than light cleaning to reach bare metal, move to a better spot. Keep the ground wire as short as practical so it adds as little resistance as possible.
Check bolt quality and metal continuity
A bolt is only as good as the metal behind it. A seat bolt can look convenient and still be a poor path if it clamps through coatings, hinge hardware, or insulated substructure. A published example measured a seat belt bolt at 20 ohms to battery ground, which is far too high for amplifier grounding.
When battery-negative grounding makes more sense
Some installs work better when the ground returns directly to the battery negative terminal. That option makes sense when the chassis path is long, the body uses mixed metals, or the ground point sits on a questionable structure. It is a valid return path, but the wire still needs the same gauge as the power wire.
Disconnect power first, strip the contact area to bare metal, and fasten the ground wire to a solid point with matching gauge and tight hardware. Keep the run short and protected from damage. A secure, low-resistance return path matters more than convenience.
- Disconnect the negative battery cable before moving the ground wire.
- Remove paint, coating, rust, and oxidation until you have bare metal.
- Crimp the ring terminal to the same gauge as the amp’s power wire.
- Attach the terminal to a solid chassis bolt or battery negative point.
- Tighten the fastener firmly, then route the wire away from sharp edges and moving parts.
For wire size, match the ground wire to the power wire gauge exactly. A common published minimum is 8 AWG for under 600 W, 4 AWG for 600–1,200 W, and 1/0 AWG for 1,200–3,000 W. Bigger power needs a return path that can carry the same current without adding drop.
Suppose a compact amp is mounted under a seat and the only nearby bolt lands on painted metal. Strip the paint, check that the bolt clamps bare steel, and measure the ground path before final tightening. If the reading still looks unstable, move to a different chassis point or battery negative.
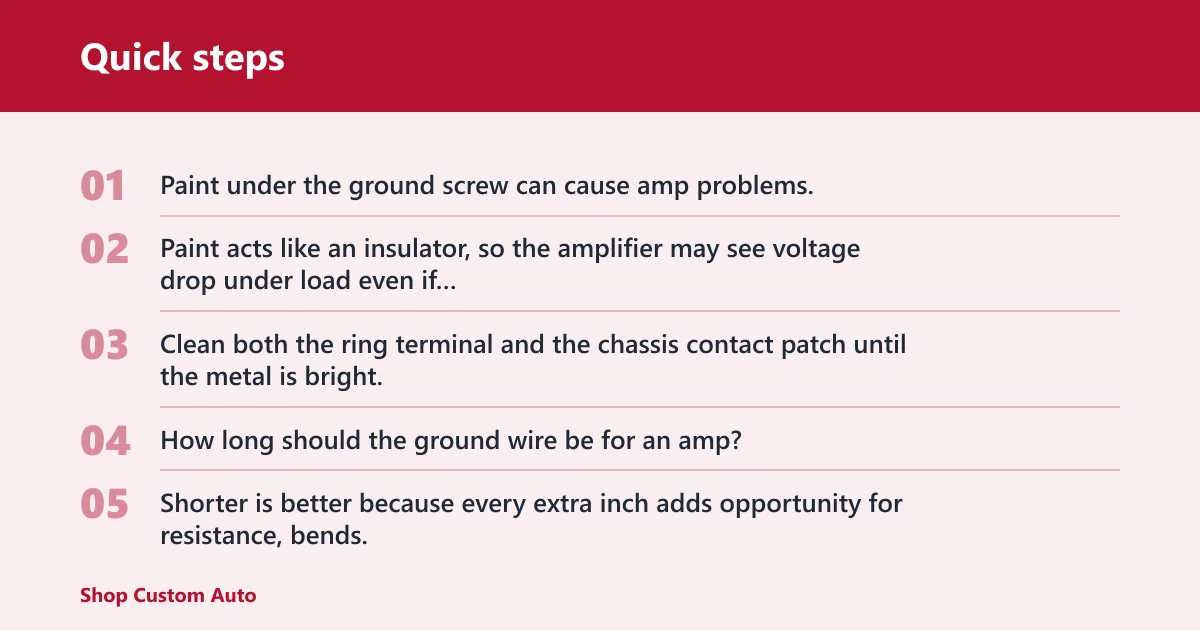
Paint under the ground screw can cause amp problems. Paint acts like an insulator, so the amplifier may see voltage drop under load even if the screw feels tight. Clean both the ring terminal and the chassis contact patch until the metal is bright, then recheck with the meter.
How long should the ground wire be for an amp? As short as practical. Shorter is better because every extra inch adds opportunity for resistance, bends, abrasion, and loose routing. Mount the amp where a short path to a verified ground point is possible instead of stretching the wire across the cabin.
What happens if an amp is not grounded properly? The amp may shut down, run hot, make weak bass, or add noise that sounds like a bad signal source. It can also pass a quick power-on check and still fail under load, which is why the voltage-drop test matters more than a casual continuity beep.
How to test amp ground with a multimeter
Set the digital multimeter to DC volts, then check voltage drop from the amp ground point to battery negative while the amp is powered and asked to work. The goal is a reading near 0 V. That test tells you whether the return path is carrying current cleanly, which an idle resistance check cannot prove by itself.
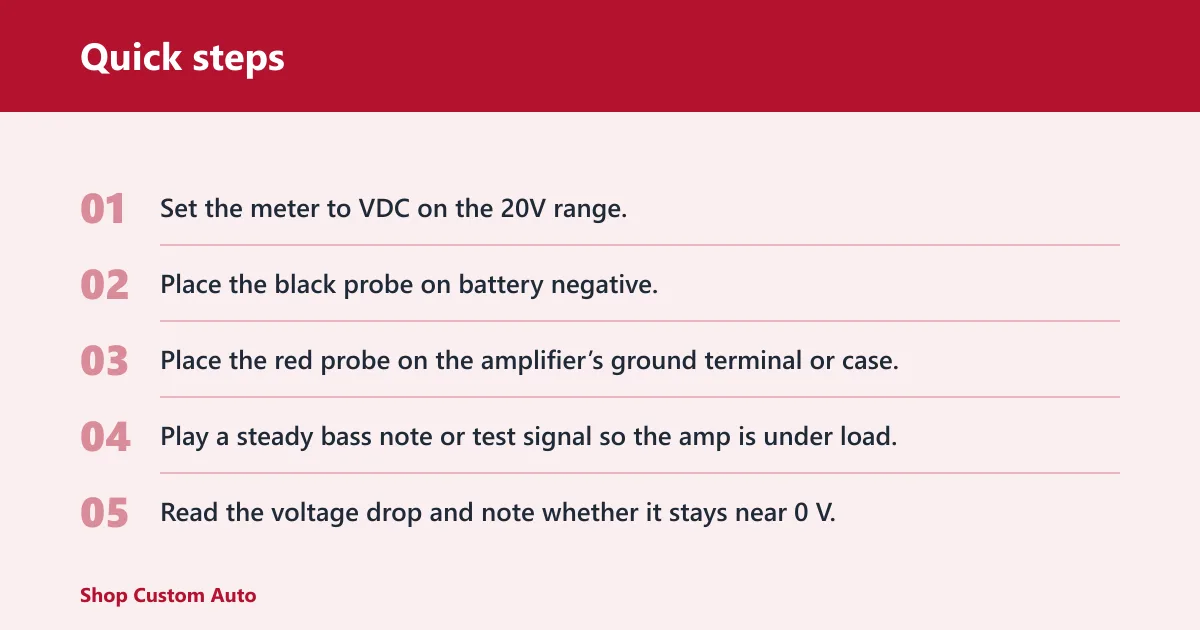
- Set the meter to VDC on the 20V range.
- Place the black probe on battery negative.
- Place the red probe on the amplifier’s ground terminal or case.
- Play a steady bass note or test signal so the amp is under load.
- Read the voltage drop and note whether it stays near 0 V.
- If the reading rises, move the red probe to the chassis bolt and repeat.
A near-zero reading under load points to a good return path. A rising reading means the problem is at the ground point, the bolt, the contact surface, or the chassis path. Do not accept a high-ohm seat-bolt ground just because the amp powers up; that setup can still cause shutoff, noise, or weak output.
What the meter settings mean
The multimeter method uses VDC settings for the test, and the suggested range is 20V because most car amplifiers do not exceed 20 volts on the supply side. A normal amplifier supply reading is 11 to 14.25 volts, but that number belongs to power checks, not the ground-drop test.
If that didn’t work, move the red probe from the amp ground point to the battery negative point and then to the chassis bolt. That comparison helps separate a bad contact from a bad vehicle return path. If the reading only improves at battery negative, the chassis path is the problem.
Ground verification checklist table
| Ground location | Prep required | Acceptable reading | Fail reading | Next action |
|---|---|---|---|---|
| Bare chassis bolt | Remove paint, rust, and sealant; tighten to clean bare steel | Near 0 V drop under load | Any steady reading that climbs or stays above a trace amount | Relocate to a thicker factory ground point or battery negative |
| Seat bolt | Verify direct metal-to-metal contact, not coated hardware or hinge parts | Near 0 V drop under load | More than a trace reading or an unstable number | Stop using it and move to chassis steel or battery negative |
| Battery-negative terminal | Clean the terminal clamp and ring terminal; tighten securely | Near 0 V drop under load | Any rise that appears only after load is applied | Inspect the terminal clamp, ring terminal, and wire gauge |
Common mistakes
Paint under the ground screw is a direct problem. It adds resistance and can leave the amp acting like the power feed is weak even when the fuse is fine. Scrape to bare metal, then retest.
Loose or corroded hardware is the next common miss. A tight-looking bolt can still hide oxidation between layers, and hidden corrosion in floor pans or brackets can block current. If the bolt or bracket feels soft, thin, or flaky, move the ground point.
Chasing the wrong fault first wastes time. Check the amp fuse, power wire, and speaker leads after the ground proves bad, not before. A cracked or blown amp fuse can mimic a ground fault because the amplifier never gets steady supply voltage.
A common first-timer mistake is choosing a convenient seat bolt because it is close. Consider an amp that powers on, then drops into protect when bass hits. If the ground test shows more than a trace drop, the issue is the bolt path, not the amp itself.
How to properly ground a car amplifier
Use a bare, solid return path, keep the wire short, and match the ground wire gauge to the power wire gauge. Then verify the connection with a loaded voltage-drop test before you move on to signal checks. That order keeps you from swapping parts that were never bad.
- Confirm the ground point is bare metal with sound chassis continuity.
- Confirm the amp fuse and power feed are intact.
- Confirm the ground wire gauge matches the power wire gauge.
- Confirm the loaded voltage drop from amp ground to battery negative stays near 0 V.
- Only then inspect RCA cables, speaker wiring, and amp settings.
If the amp still faults after the ground checks, inspect the power side next. A fuse holder with a cracked element, a loose power lug, or a weak battery connection can look like a bad ground because the amp never receives steady supply voltage. A voltmeter can help with output checks when a multimeter is not available, but it is not the right tool for ground verification.
Frequently asked questions
Where to ground amp in car?
Use a solid chassis bolt on bare metal first, then verify the return path with a loaded voltage-drop test. If the body structure seems questionable, use the battery negative terminal instead of a convenient but uncertain bolt. The test result should stay near 0 V under load.
Can you ground an amp to a seat bolt safely?
Only if the bolt clamps bare, continuous chassis metal and the meter proves the path stays near 0 V under load. Many seat bolts land on coated or isolated structures, so a seat bolt should be treated as suspect until tested. If the reading rises, move it.
Should you ground an amp to the battery?
Yes, when the chassis path is poor or the vehicle uses a structure that does not give a clean return. Ground to battery negative with the same gauge as the power wire, then clean the terminal and retest. Battery-negative grounding is valid, not automatic.
What size ground wire for an amp do you need?
Use the same gauge as the power wire.