
How to Mount a License Plate Camera Bracket Securely
Mount a license plate camera bracket with stainless hardware, a rubber isolator, threadlocker, and torque that matches factory guidance. Keep it off painted metal enough to prevent rattles and trapped water. If you ignore vibration or corrosion, the camera can blur, loosen, rust the mounting points, or fall off. This guide covers hardware choice, backing support, sealing, torque, and checks that keep the bracket tight long term.
What a secure mount needs
A secure license plate camera bracket does four things at once: it holds its mounting points without flex, keeps the plate readable, preserves the rear-view angle, and stays serviceable after water and road grit hit it. A mount that feels tight in the driveway but shifts after a short drive is not secure.
Security can fail in several ways, including bracket flex, vibration loosening, corrosion at mixed-metal contact points, and poor fitment that leaves the frame or camera hanging off the edge. Treat all four as part of the install, not as later problems.
What you’ll need
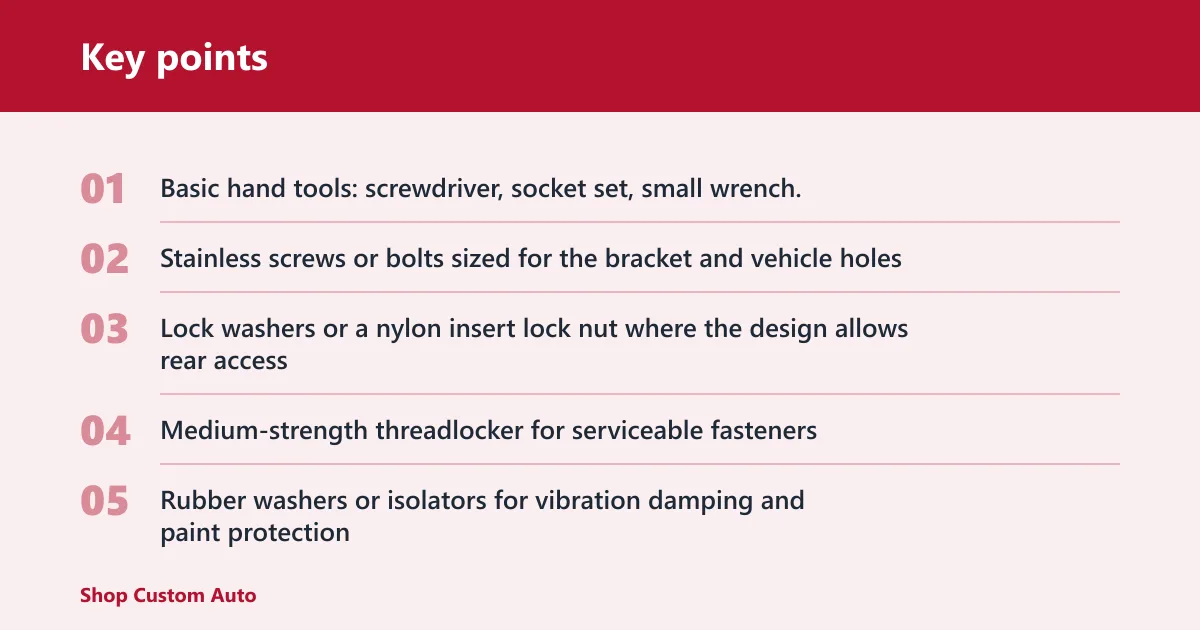
- Basic hand tools: screwdriver, socket set, small wrench, and trim tool if the bumper cover or trim panel has access points
- Stainless screws or bolts sized for the bracket and vehicle holes
- Lock washers or a nylon insert lock nut where the design allows rear access
- Rubber washers or isolators for vibration damping and paint protection
- Non-marring cleaning cloth and mild cleaner for the mounting surface
- Vehicle-specific hardware if your sedan, truck, SUV, or motorcycle needs different thread size or reach
- A flashlight and a helper or phone camera for view checks
- Dry-fit the bracket to confirm plate size, hole spacing, and camera clearance.
- Set the camera angle before final tightening so the rear-view angle can be set correctly.
- Add stainless hardware, a rubber washer or isolator, and a mechanical lock where the design allows it.
- Tighten to snug-tight, then stop before crushing the bracket, stripping threads, or bowing the plate.
- Check that the plate numbers and state name remain visible after the bracket is cinched down.
- Drive a short loop, then recheck for play, rattles, paint wear, and camera drift.
- Retorque only if the hardware moved, then mark the fastener heads so later movement is easier to spot.
How do you mount a license plate camera bracket securely?
Mount it by matching the bracket to the plate pattern, setting the camera angle first, and using stainless hardware with vibration control, then verifying that the frame stays still under hand pressure and after a short drive. Secure means no visible wobble, no tag obstruction, and no fastener movement after retorque.
First, align the bracket on the plate or bumper points without forcing the metal. If the frame needs to bend to fit, the fit is wrong or the mount is undersized for the vehicle.
Say your sedan has a recessed rear plate pocket and the bracket sits flush, but the camera housing points slightly upward. Fix the aim before final tightening, because a one-degree shift at the bracket can turn into a bad parking view once the car is moving.
How do you stop it from vibrating loose?
Use medium-strength threadlocker on serviceable fasteners, pair it with lock washers or a nylon insert lock nut where the design allows, and isolate the bracket from painted surfaces with rubber washers if buzz is the problem. A license plate camera bracket should resist vibration without becoming impossible to remove later.
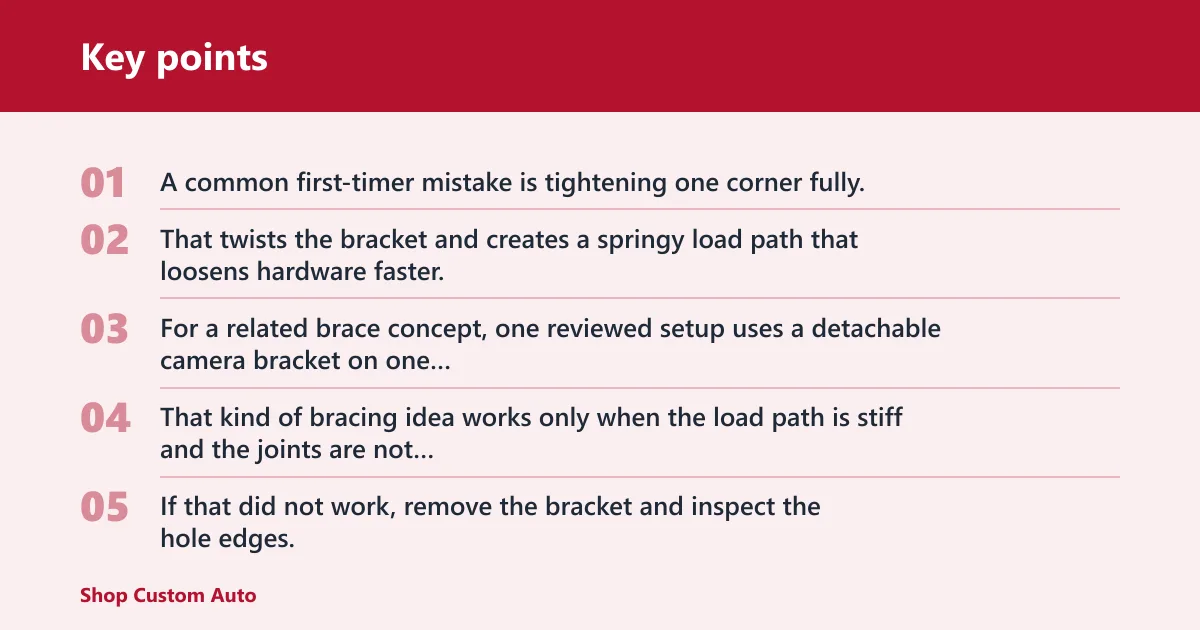
A common first-timer mistake is tightening one corner fully, then trying to “pull” the rest into place. That twists the bracket and creates a springy load path that loosens hardware faster.
For a related brace concept, one reviewed setup uses a detachable camera bracket on one end and can be used with the Manfrotto 035 Super Clamp to create a brace; the cited arm is the Manfrotto 244 Variable Friction Magic Arm, and the reviewed setup lists $130 for the arm and $25 for the clamp. That kind of bracing idea works only when the load path is stiff and the joints are not overextended.
If that did not work, remove the bracket and inspect the hole edges, then replace any stretched washer, stripped screw, or cracked frame before reinstalling. If the bracket still shifts, the mount style is wrong for the vehicle opening.
Do you need a side mount license plate bracket or a rear mount?
Choose a rear mount when the plate sits flat, the bumper or hatch has enough clearance, and the camera can aim straight back without obstruction. Choose a side mount license plate bracket when tow hardware, a deep recess, or bumper shape blocks a direct rear mount and the offset design still keeps the tag readable.
Side mounts can solve width or clearance problems, but they can also push the plate closer to an edge where the camera view skews and the plate visibility changes. On wider vehicles, that offset may be acceptable; on narrow motorcycles, it can create a larger exposure to vibration and wind.
Picture a truck with a receiver hitch centered under the plate. A side offset may clear the hitch, but it can also place the camera off-center, so the rear parking view needs a recheck after full tightening.
Will a license plate camera bracket fit without blocking my tag?
It will fit only if the frame thickness, camera position, and mounting ears stay outside the license plate characters and state name. A backup camera license plate mount or license plate frame camera should never cover the top or bottom edge enough to make the plate unreadable from normal viewing distance.
Keep the camera housing low enough to clear the plate text, but not so low that it hangs into the parking view. If the frame is thick or the lens sits too far inward, obstruction risk goes up fast.
Secure mount checklist
| Failure mode | Root cause | Fix | Verification step |
|---|---|---|---|
| Bracket flex | Thin frame, wrong fitment, or unsupported span | Use a stiffer bracket or add a brace point where the design allows | Press by hand; the bracket should not spring back or shift |
| Rattling at speed | Loose fastener, missing lock feature, or dry metal contact | Add lock washers, nylon insert lock nuts, and medium-strength threadlocker | Drive a short loop and listen for repeatable buzz |
| Paint wear | Hard contact against painted metal | Add rubber washers or isolators | Inspect the contact patch after retorque; no shiny rub mark should appear |
| Camera drift | Angle set before the bracket was fully supported | Reset the camera, then tighten in small alternating turns | Check the rear-view image and confirm the horizon stays level |
| Corrosion at fasteners | Mixed metals, trapped water, or exposed threads | Use stainless hardware, seal exposed threads, and avoid metal-on-metal water traps | Inspect after wet weather for white residue, rust, or swollen hardware |
| Tag obstruction | Frame too thick or bracket shifted downward | Reposition the bracket or switch mount style | Read the full plate and state name from several angles |
License plate camera bracket matrix
| Vehicle type | Recommended hardware | Why it fits that use | Check after install |
|---|---|---|---|
| Sedan | Stainless screws, rubber washers, medium threadlocker | Usually enough for a flatter rear panel with modest vibration | Confirm the frame stays flush and the trunk lid still opens freely |
| Truck | Stainless bolts, lock washers, nylon insert lock nuts | Handles heavier exposure, bumper flex, and longer fastener reach | Check clearance around the receiver, step pad, or tailgate handle |
| SUV | Stainless screws, isolators, and threadlocker | Balances hatch movement with a clean rear mount or offset fit | Confirm the camera view still clears hatch trim and rear wiper motion |
| Motorcycle | Short stainless fasteners, lock nuts, and rubber isolators | Minimizes shake on a narrow mount with less material around it | Inspect for plate edge contact and fastener movement after a short ride |
Common mistakes
Overtightening cracks the frame or distorts the bracket, especially when plastic meets metal. Stop at snug-tight and let the lock feature do the rest.
Mixing bare steel with aluminum or painted surfaces outdoors invites corrosion and galvanic issues. Use stainless hardware where possible, and keep water from sitting in the joint.
Blocking plate characters or the state name can turn a good camera install into a bad roadside check. Reposition the bracket before you call it done.
Skipping a post-drive retorque and camera-view check leaves the loosening problem undiscovered until the bracket starts buzzing or the image tilts. Recheck after the first short drive, then again after the next wet trip.
Frequently asked questions
What screws or bolts should I use for a license plate camera mount?
Use stainless screws or bolts sized to the factory holes or the bracket kit, then add a lock washer or nylon insert lock nut if the layout allows rear access. For outdoor use, medium-strength threadlocker helps resist vibration while still allowing later removal with hand tools.
How do I stop a license plate camera bracket from vibrating loose?
Use a stiff bracket, add rubber isolation only where it will not let the camera shift, and combine threadlocker with a mechanical lock. After installation, drive a short loop and retorque any fastener that moved, because vibration usually shows up after the first heat cycle and road shake.
How tight should a license plate mounting bracket be?
Tight enough that the bracket cannot wobble by hand, but not so tight that the frame bends or the screw heads dish into the plastic. A good finish leaves the mount snug, the plate readable, and the camera angle unchanged after a short drive.
What tools do I need to install a license plate camera bracket?
Most installs need a screwdriver or socket set, a small wrench, and a flashlight. If the rear access is hidden, add a trim tool and use a helper or phone camera to check alignment before final tightening.
Can I install a backup camera license plate mount without drilling?
Often yes, if the vehicle already has usable plate holes or a compatible frame mount. A no-drill install still needs correct hole spacing, enough clearance for the camera housing, and enough support that the bracket does not flex under vibration.