Amp Grounding: How to Do It Right and Fix Problems?
Ground your amp to bare chassis metal close to the amplifier, use a ground wire the same gauge as the power cable or thicker, and verify the connection with a multimeter by checking voltage drop from the amp ground terminal to battery negative under load; a common target is under about 0.1 volts. A bad ground can cause alternator whine because resistance in the return path creates small voltage differences between components, which can let charging-system noise ride into the audio signal. It can also cause protect mode shutdowns, hot wiring, weak output, shutdowns, and blown fuses. This workflow shows how to choose the ground point, build the connection correctly, test it against battery negative, and decide whether the fault is the ground, the power path, or the amplifier.
What you’ll need
- Digital multimeter with continuity mode and DC voltage reading
- Ground wire matched to the amp power wire, usually 8–4 AWG for car audio
- Properly sized ring terminals
- Crimp tool for heavy-gauge terminals
- Socket or wrench set
- Wire brush, abrasive pad, or sandpaper
- Star washer or serrated hardware where appropriate
- Clean bolt, nut, or factory fastening point with good thread engagement
- Rust protection for the finished bare-metal spot
- Zip ties or clamps to secure the ground wire away from moving parts
Where is the best ground location for an amp in a car?
The best amp ground point is a nearby section of solid body metal that gives bare-metal contact, strong bolt engagement, and the shortest practical wire run. In many installs, a cargo-floor stud or solid factory bolt near the amp is a better choice than a random sheet-metal screw, and every candidate still has to pass a voltage-drop test.
How to rank real ground-point options
A car audio amplifier ground is the amp’s low-resistance return path into the vehicle chassis, with the chassis tied back to battery negative. That path matters more than a point that merely looks metallic.
Start with the point closest to the amp that is part of the body structure, not trim, bracketry, or thin sheet. Good candidates usually fall into four types:
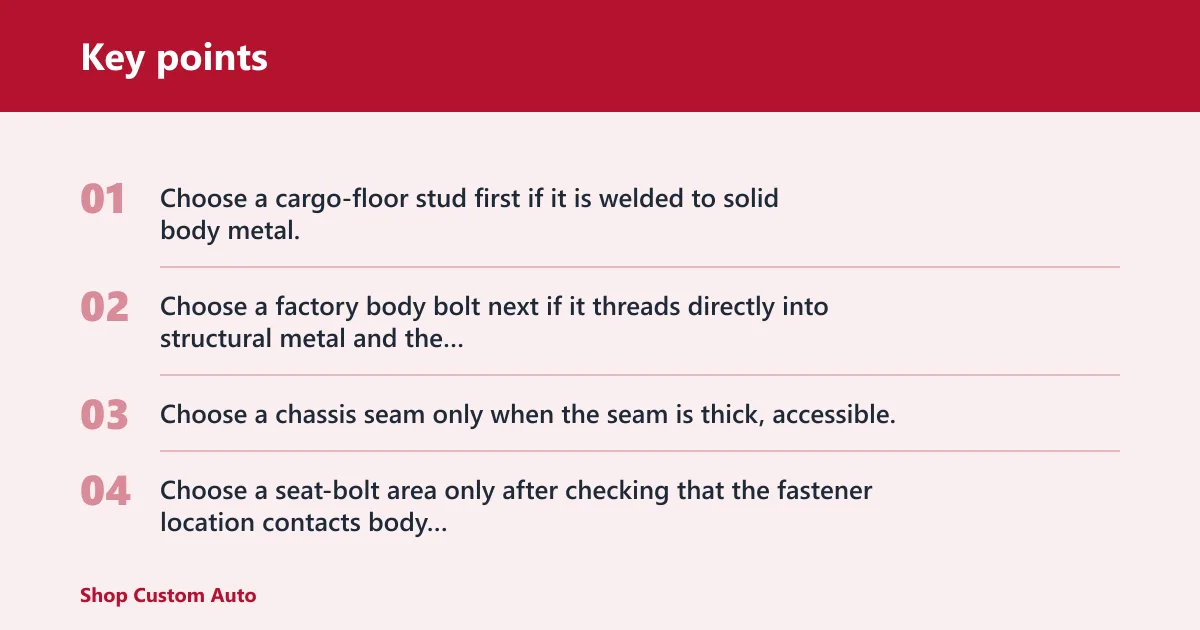
- Choose a cargo-floor stud first if it is welded to solid body metal, free of heavy coating at the contact face, and not already overloaded by other high-current devices.
- Choose a factory body bolt next if it threads directly into structural metal and the contact patch can be cleaned to bare steel.
- Choose a chassis seam only when the seam is thick, accessible, and uses hardware with full clamp load rather than a light self-tapping screw.
- Choose a seat-bolt area only after checking that the fastener location contacts body metal cleanly, does not disturb restraint hardware, and passes testing.
What disqualifies a point
Reject points with paint, rust, dirt, seam sealer, undercoating, or e-coat where the ring terminal will sit. Paint should be removed before grounding, because even a thin coating acts as an insulator between the terminal and the chassis, which raises resistance and voltage drop.
Also reject thin metal, loose captive nuts, bracket stacks, moving seat tracks, and bolts with weak thread engagement. In hatchbacks and SUVs, shared grounding in the rear cargo area is common. A point that already serves another amplifier, power inverter, or rear accessory may test worse under load than it looks at rest.
How short the ground wire should
Keep the ground wire as short as practical without forcing a poor ground point. Shorter wire cuts avoidable voltage drop, but point quality comes first. A good ground uses enough copper to carry the amp’s return current without excess resistance, so the ground wire should be the same gauge as the amp power wire or thicker.
Say your amp is mounted on the left side of an SUV cargo area and one candidate stud is 10 inches away while another factory bolt is 22 inches away. If the 10-inch stud is coated and shared with another high-current device, the 22-inch cleaned factory bolt can be the better choice after testing.
Can you ground an amp to a seat bolt safely?
You can ground an amp to a seat-bolt area only when that location threads into structural body metal, gives clean metal-to-metal contact, does not compromise restraint hardware, and passes a loaded voltage-drop test. A seat bolt is neither automatically safe nor automatically wrong; the details decide it.
When a seat-bolt area can work
A seat-bolt area can work when the bolt clamps directly to body metal, the contact face can be cleaned to bare metal, and the ring terminal sits flat without riding on carpet, bracket paint, or stacked spacers. Clamp load matters. If the terminal can shift after tightening, that point is suspect.
When to reject it
Reject any location that places the ring terminal under hardware tied to seat restraints, seatbelt anchors, pretensioners, or airbag-related brackets. Also reject coated seat brackets and stacked hardware that leaves the terminal touching painted steel instead of bare chassis metal.
Suppose a rear-seat bolt looks convenient for a 4 AWG ground, but the ring terminal sits on a painted bracket and the bolt also clamps a safety-critical anchor. That is a bad trade. Use a nearby body point instead, then test from the amp ground lug to battery negative under load.
Should you ground an amp to the battery negative?
Battery negative is the right reference point for testing, but it is usually not the preferred grounding location for the amp in a normal car audio install. A short chassis ground near the amplifier is usually better packaging, avoids long return runs, and works well when the chassis point is truly low resistance.
Why battery negative matters in testing
The battery negative terminal is the common reference point when checking whether the amp ground path is doing its job. Probe placement for the loaded test is simple: one probe on the amp ground terminal or ground lug, the other on battery negative.
Why it usually is not the install choice
Running the amp ground all the way back to battery negative adds wire length, routing complexity, and more chances for abrasion or poor termination. The battery-adjacent path is useful for diagnosis, but most trunk and cargo-area installs should use a nearby chassis point instead.
When a dedicated return path might be considered
A dedicated negative run may be considered when the rear body structure is heavily isolated by coatings, when multiple rear-mounted devices are creating a shared-ground problem, or in specialty builds with planned front-to-back power distribution. Even then, test the full path. A longer cable does not guarantee a better ground.
How do you ground an amp the right way?
Ground an amp by choosing solid body metal near the amplifier, matching the ground wire to the power wire, stripping the contact point to bare metal, fastening the ring terminal with full clamp load, and protecting the finished spot from corrosion. The goal is stable current return, low resistance, and a noise-free connection that stays tight.
- Pick the ground point before cutting wire, and favor solid chassis metal with the shortest practical path.
- Match the ground wire gauge to the amp power wire or go thicker; 8–4 AWG is usually recommended for car audio.
- Remove paint, rust, dirt, seam sealer, undercoating, and corrosion where the terminal will contact the chassis.
- Cut the wire cleanly and crimp a properly sized ring terminal that cannot twist on the cable.
- Clean the bolt threads and the contact face so the hardware can clamp bare metal, not coating.
- Fasten the terminal tightly with hardware that gives full clamp load, and use a star washer or serrated interface where appropriate.
- Route the ground wire away from seat tracks, hinges, sharp edges, and hot exhaust-side panels.
- Protect the exposed metal after tightening with rust protection, while keeping the contact face itself metal-to-metal.
- Power the system and perform a loaded voltage-drop test from the amp ground terminal to battery negative.
- If the reading fails, move the ground point to the next-best structure or shorten the run in 6-inch increments, then retest.
Connection details that decide whether it lasts
Secure termination matters as much as point choice. The ring terminal should fit the bolt closely, sit flat, and clamp directly against bare metal. A loose oversize terminal can pass a quick continuity screen and still fail once the amp starts drawing current.
Corrosion is a common cause of bad grounding. So are loose connections and undersized wires. A ground that works the day you install it can drift into alternator whine or shutdown behavior later if the bare-metal spot is left exposed and starts to oxidize.
How do you test an amp ground with a multimeter?

Test an amp ground in two stages: use continuity mode as a quick screen, then do a voltage-drop test under load for the more reliable pass-or-fail result. Put one probe on the amp ground terminal or lug and the other on battery negative; under load, the reading should be less than 0.1 volts.
Quick screen with continuity
- Turn the audio system off.
- Set the multimeter to continuity mode.
- Place one probe on the amp ground lug or terminal.
- Place the other probe on battery negative or a known-good chassis point tied to it.
- Use the result only as a screen; continuity can confirm connection, but it does not prove the path stays low resistance under current.
A multimeter can be set to continuity to check grounding. That helps you find an open circuit or a completely failed connection. It is not enough to clear a suspect ground on its own.
Loaded voltage-drop test
- Set the multimeter to DC volts.
- Place the black probe on the battery negative terminal.
- Place the red probe on the amplifier ground terminal or on the ground ring terminal itself.
- Turn the system on and play content that makes the amplifier draw current.
- Read the meter while the amp is operating; the target is less than 0.1 volts, and lower is better.
- If the reading is too high, retest section by section from the lug to the chassis contact patch and then from that patch back to battery negative.
Check the power side before blaming the ground
A protect event or weak output is not automatically a ground problem. Check voltage at the amp power terminal to the amp ground terminal while the system is loaded. If supply voltage sags badly at the amp but the ground path passes the less-than-0.1-volt drop test, look at the power wire, fuse holder, battery condition, charging system, or wire gauge instead.
Picture a system with a clean rear ground reading of 0.04 volts to battery negative, but the amp still shuts down when bass hits. That points away from the ground and toward low supply voltage, undersized power wire, a weak electrical system, or the amplifier’s own protection behavior.
Amp ground checklist
| Section | Check item | Pass | Fail | What to do next |
|---|---|---|---|---|
| Ground-point quality | Bare metal contact | Ring terminal sits on fully cleaned chassis metal | Paint, rust, dirt, seam sealer, or undercoating under the terminal | Strip the contact patch to bare metal and retighten |
| Ground-point quality | Bolt integrity | Solid factory stud or bolt with clean threads and full clamp load | Loose hardware, weak threads, bracket stack, or thin sheet-metal screw | Move to a stronger body point or change hardware |
| Ground-point quality | Distance | Shortest practical run with secure routing | Needlessly long run or wire routed near moving parts | Shorten the wire or relocate the point |
| Ground-point quality | Corrosion condition | Clean, dry, protected metal after assembly | Visible corrosion or moisture exposure at the contact point | Rework the point and add rust protection after tightening |
| Multimeter test | Continuity screen | Continuity present from amp ground lug to battery negative | No continuity or unstable reading | Check ring terminal crimp, fastener, and contact patch |
| Multimeter test | Probe placement | Black probe on battery negative, red probe on amp ground terminal or lug | Probes placed on painted metal or random chassis points | Repeat the test at the actual amp ground and battery negative |
| Multimeter test | Voltage drop under load | Less than 0.1 volts | 0.1 volts or higher | Isolate the high-resistance section and rebuild or move the ground |
| Symptom mapping | Alternator whine | Ground passes, RCA routing and gain still need checking | Ground drop fails or point is shared/corroded | Fix the ground first, then inspect signal routing |
| Symptom mapping | Protect mode or shutdown | Ground passes, supply voltage and amp protection need checking | Ground drop fails or ground wire gets hot | Separate ground fault from power sag and internal amp issues |
| Symptom mapping | Blown fuses, heat, burnt smell | No abnormal heat and both power and ground paths test clean | Hot cable, burnt smell, repeated blown fuses | Stop using the system and inspect the entire power and ground path |
What symptoms point to a bad amp ground, and what points somewhere else?
Alternator whine, protect mode shutdowns, blown fuses, a hot ground wire, and a burnt smell can point to grounding trouble, but each symptom also has look-alikes. The fastest diagnosis comes from matching the symptom to a loaded meter test, then checking the power side and signal path before blaming the amplifier.
Noise symptoms
A bad amp ground can cause alternator whine. Hiss and popping can also appear, but noise alone does not convict the ground. If the ground passes the loaded voltage-drop test, check RCA routing, head-unit grounding, gain structure, and whether power and signal cables are bundled together.
Say your system has a faint whine that rises with engine speed after an amp relocation. If the new ground point sits on a coated factory stud and measures above the pass threshold under load, moving to a cleaned body bolt is a sensible next move. If the ground passes, look at RCAs and gain setting instead.
Shutdown, protect mode, and weak output
A bad ground can trigger protect mode shutdowns, but protect mode does not automatically mean the ground is bad. Low input voltage, an undersized power wire, a poor fuse holder connection, speaker-side faults, or an internal amplifier issue can all produce similar behavior.
If output gets weak before shutdown, test voltage at the amp power terminal relative to the amp ground terminal while the system is playing. If that supply voltage collapses yet the ground drop to battery negative stays under the threshold, the problem is more likely the power path or the vehicle’s charging system than the chassis ground.
Blown fuses, heat, and burnt smell
Bad grounds can cause blown fuses. A hot ground wire or burnt smell is a stop-now symptom, because it suggests resistance or current flow where it should not be. Undersized wires are a common grounding problem, and loose connections are another.
If the cable, terminal, or chassis point gets hot, inspect the entire current path: battery positive connection, fuse holder, power wire, amplifier terminals, and speaker wiring. Do not keep swapping fuses until the cause is found.
If that didn’t work
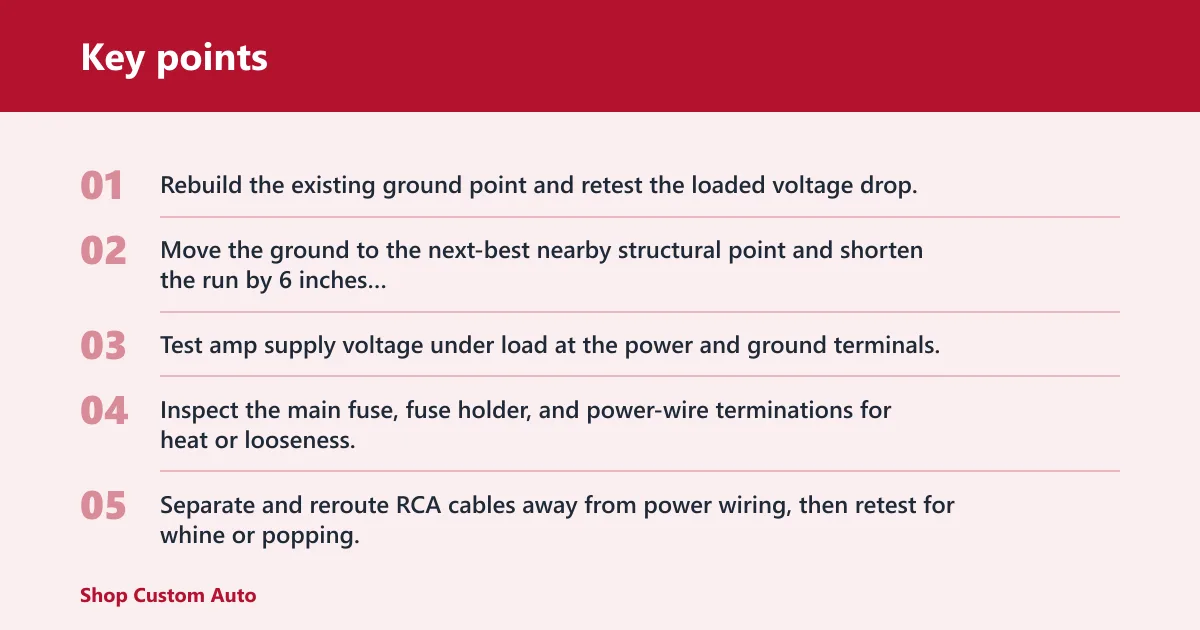
- Rebuild the existing ground point and retest the loaded voltage drop.
- Move the ground to the next-best nearby structural point and shorten the run by 6 inches if routing allows.
- Test amp supply voltage under load at the power and ground terminals.
- Inspect the main fuse, fuse holder, and power-wire terminations for heat or looseness.
- Separate and reroute RCA cables away from power wiring, then retest for whine or popping.
- Check speaker wiring for shorts and confirm the amp is not entering protection for a load issue.
- If ground and power both test clean, treat the amplifier itself as suspect.
Prevention
After the final test passes, seal the exposed bare-metal area around the contact point and recheck hardware tightness after the system has seen some vibration. That follow-up helps keep corrosion from raising resistance later.
Common mistakes
Using coated or weak metal
A cleaned-looking stud is not always a good stud. Modern vehicles often have e-coat, paint, or plated hardware that looks solid but insulates the ring terminal. Coated factory studs and rear cargo brackets in hatchbacks and SUVs are frequent trouble spots because they seem OEM-clean while still failing under load.
Using the wrong wire or terminal
The recommended ground wire size is usually 8–4 AWG for car audio, and it should match the amp power wire or be thicker. Running a smaller return path than the power path invites voltage drop. So does using a loose ring terminal that barely fits the bolt.
Trusting continuity as the final answer
A continuity beep can hide a bad real-world ground. The meter uses very little current in that mode. An amp does not. Always follow continuity with a loaded voltage-drop test to battery negative.
Sharing a weak rear ground point
Multiple devices on one rear ground point can create weird, intermittent faults. If an amp, powered sub, DSP, and cargo accessory all share one stud, the point may behave differently when current rises. Moving one device to another solid body point can solve a problem that extra tightening never fixes.
Frequently asked questions
How do you ground an amp in a car the right way?
Use a nearby section of solid body metal, strip it to bare metal, crimp a secure ring terminal, and fasten the cable with full clamp load. Match the ground wire to the power wire or go thicker, then verify less than 0.1 volts from the amp ground terminal to battery negative under load.
What size ground wire should you use for an amp?
The ground wire should be the same gauge as the amp power wire or thicker. In many car audio installs, 8–4 AWG is the usual range. Undersized wires are a common grounding problem because they add resistance and heat, especially when the amplifier draws current on bass peaks.
How long should the ground wire be for an amp?
Keep it as short as practical while still using a structurally sound chassis point. A short run reduces avoidable voltage drop, but a slightly longer connection to solid bare body metal is better than a very short wire attached to coated, rusty, or weak metal that fails testing.
Does paint under the ground screw cause amp problems?
Yes. Paint should be removed before grounding because it blocks metal-to-metal contact and increases resistance. The same applies to rust, dirt, seam sealer, undercoating, and corrosion. A ground can look tight and still be electrically poor if the ring terminal is clamped against coating instead of bare chassis metal.
What are the symptoms of a bad amp ground?
Common signs include alternator whine, hiss or popping, protect mode shutdowns, weak output, blown fuses, a hot ground wire, and sometimes a burnt smell. Those symptoms overlap with power-supply and amplifier faults, so the right next step is a loaded voltage-drop test to battery negative, not guesswork.
How do you fix amp grounding problems in a car?
Rebuild the ground point first: clean to bare metal, use the correct-gauge wire, tighten the hardware properly, and protect the finished spot from corrosion. If the loaded voltage drop still reads 0.1 volts or higher, move the ground to a stronger nearby body point and test the power path separately.