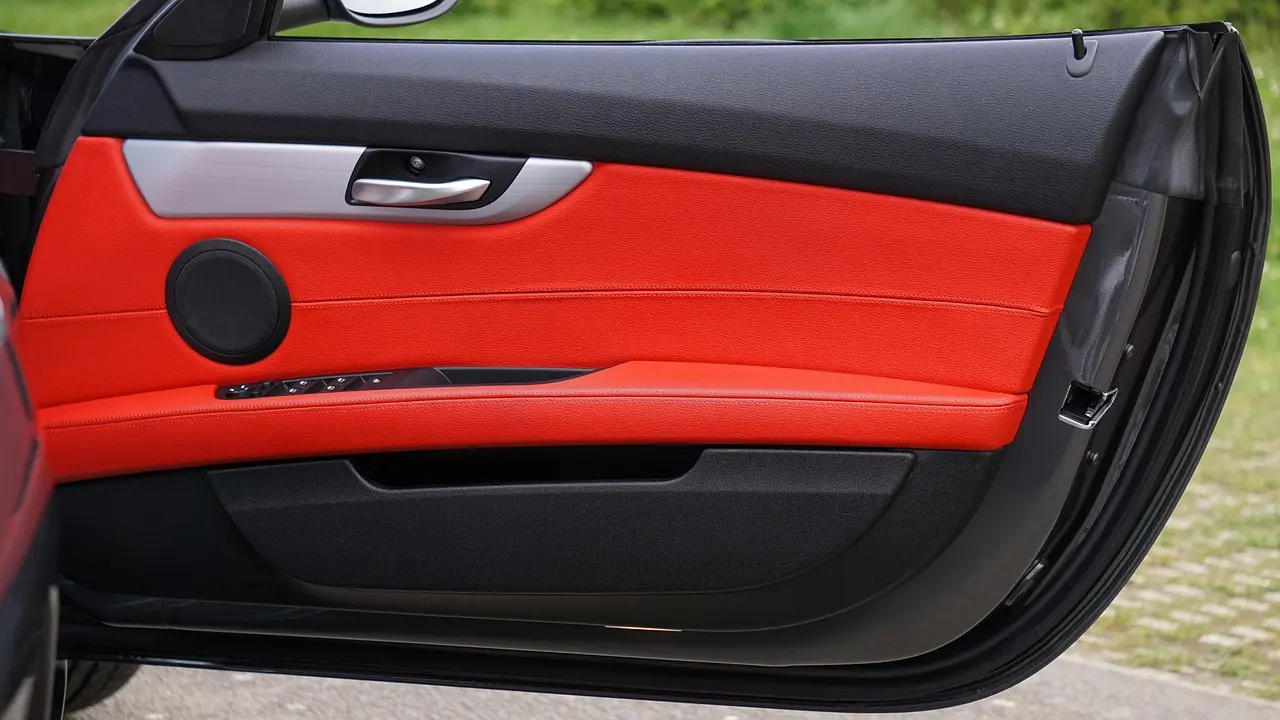
Component Speakers for Cars: How They Work and Fit
Component speakers split highs and mids through an external crossover and usually fit best when the woofer depth, tweeter mount, and crossover location all clear the door, dash, or sail panel, not when the box simply says 6.5-inch. Get that wrong and you can end up with cut panels, weak output, bad imaging, or a speaker that hits the window glass. This guide explains how component sets work, how they differ from coaxials, and how to verify fit, wiring, and power with a factory or aftermarket radio.
What component speakers
The three main parts in a typical set
A component set separates the speaker jobs that coaxial speakers combine in one location. In a typical passive set, you get a woofer, a tweeter, and an external crossover network. That separation is the whole point: each driver handles the frequency range it is built for.
Component speakers separate tweeters, woofers, and crossover systems. Coaxial speakers combine tweeters and woofers in the same place, which is simpler to package in a factory door or dash.
Woofer, tweeter, and crossover roles
The woofer usually goes in the door. It covers midrange and mid-bass, so it handles vocals, guitars, snare impact, and much of the punch you notice before a subwoofer takes over the lowest bass.
The tweeter handles the top end, roughly 2-20kHz. That includes cymbals, vocal air, and the directional cues that help place sounds across the dash instead of down by your knees.
The crossover filters the full-range signal into bands each driver can survive and reproduce cleanly. In a 2-way set, the low-pass section rolls treble away from the woofer, and the high-pass section blocks lower midrange and bass from reaching the tweeter.
Why separate drivers change imaging and staging
Moving the tweeter higher in the car usually raises the apparent soundstage. A coaxial puts the tweeter where the woofer lives, often low in the door, while a component set lets you place the tweeter in the dash, sail panel, A-pillar, or a factory upper-door location.
Because the tweeter can sit higher, farther forward, and closer to ear level, voices and cymbals can seem to come from across the dash instead of from the lower door. It also means you must choose the mount carefully, because bad angle, reflections, or trim blockage can undo the benefit.
How do component speakers work in a car?
Component speakers work by splitting the music signal before it reaches each driver, so the woofer gets lower frequencies and the tweeter gets the highs. That improves staging and clarity, but only if the crossover is wired correctly and each part is mounted where it physically clears the car.
How the crossover splits low and high frequencies
In a passive 2-way set, the amplifier or radio typically sends a full-range signal to the crossover box first. The crossover then routes low and mid frequencies to the woofer through a low-pass section and high frequencies to the tweeter through a high-pass section.
A 3-way set adds another driver and another split point, often with a dedicated midrange. That can improve control over vocal placement, but it adds another mount location and another fit problem to solve.
How woofer and tweeter placement affects what you hear
The woofer is usually mounted in the factory door opening because that location offers cone area and enclosure volume from the door cavity. The tweeter placement changes the front stage more than many buyers expect.
Dash locations can produce a wide stage with little fabrication if the car already has grilles there. Sail-panel mounting often gives a strong left-right image because the tweeters sit higher and closer to ear level. A-pillar mounting gives broad aiming options but may require trim work. Door mounting keeps the install simple, though the soundstage often stays lower.
On-axis aiming, where the tweeter points more directly toward the listener, can increase detail and brightness. Off-axis mounting often sounds smoother and less aggressive, especially in cars with reflective glass and hard interior surfaces.
Passive sets vs active DSP-driven systems
Most buyers looking at a boxed component set are looking at a passive system with included crossovers. The fit question then includes the crossover box itself: where it mounts, whether it stays dry, and how serviceable it will be after the door panel is back on.
An active setup removes the large passive crossover from the door or dash path. Instead, a DSP or active crossover sends separate channels to woofer and tweeter. That can simplify physical fit because there is no passive box to hide, but it raises the wiring and amplifier channel count requirements.
Are component speakers better than coaxial speakers?
Component speakers are usually better when staging, image height, and crossover control matter more than install simplicity. Coaxials make more sense when the goal is a quick factory-location replacement with fewer parts to mount, fewer clearance checks, and less risk of a bad tweeter location.
Where component sets usually outperform coaxials
Separate tweeter placement is the main advantage. Raising the highs from the lower door area toward the dash or pillar helps move vocals and cymbals upward, which sounds more natural from the driver seat.
Crossovers matter too. A proper passive network can shape what each driver sees, and active systems let you tune even more precisely. That is more control than a typical coaxial replacement gives you.
Where coaxials make more sense
Coaxials are easier to fit because the tweeter is already integrated. If the car only has one speaker opening per front door and no factory dash or sail-panel tweeter provision, a coaxial can avoid custom mounting entirely.
They also work better for buyers who are keeping a weak factory radio and do not want to route crossover wiring through the doors.
Installation and cost tradeoffs that change the answer
Component sets usually cost more because you are buying separate woofers, tweeters, crossovers, and mounting hardware, and labor goes up because you must mount and wire each piece. That matters because the better system on paper is not the better result if the door is shallow, the crossover gets wet, or the tweeters end up firing into seat fabric.
Suppose a door is labeled for a 6.5-inch speaker but has very little depth behind the opening. A coaxial with a small motor structure may bolt in with an adapter, while a deeper component woofer may hit the window track before the glass is halfway down.
Will component speakers fit my car doors?
Component speakers fit only when the opening size, mounting depth, basket diameter, terminal clearance, and grille clearance all work together in that specific door. A 6.5 inch label is only the starting point; the window path and adapter thickness often decide whether the woofer actually fits.
Nominal size vs actual fit
Common car speaker sizes include 3.5, 4, 5.25, 6.5, and 6×9. The 6.5 inch size is described as the most widely available factory car speaker size, but that does not mean every aftermarket 6.5 fits every factory 6.5 opening.
Some cars also use 4×6 openings, and 4×6 inch speakers are commonly available in many factory systems. Dash positions often use 3.5 inch speakers. Those in-dash ports are usually shallow and have less room for large tweeter bridges or deep baskets.
Mounting depth, basket diameter, and mounting height
Depth is the first hard measurement to confirm. Most manufacturers list it for the woofer, and that figure needs to clear the fully lowered window glass, regulator arms, and any intrusion from the crash bar or inner door skin.
Basket diameter matters because some factory holes narrow behind the mounting flange. A speaker can match the bolt pattern or adapter ring yet still fail to drop into the hole because the basket or magnet shoulder is too wide.
Mounting height matters on the cabin side. If the surround or grille sits too far proud of the mounting surface, the back of the door panel or factory grille can press against the cone.
Window glass, regulator, and door-panel clearance
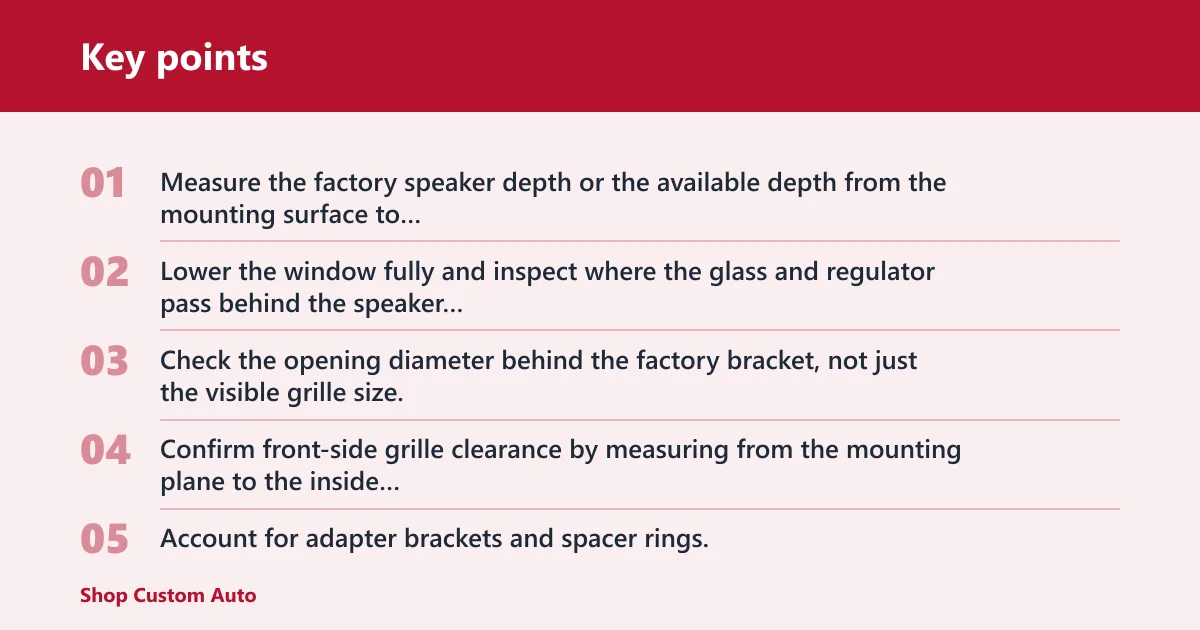
Door fitment can run into three common constraints: behind the speaker, across the glass path, and at the panel face. Check all three before ordering.
- Measure the factory speaker depth or the available depth from the mounting surface to the nearest obstruction.
- Lower the window fully and inspect where the glass and regulator pass behind the speaker opening.
- Check the opening diameter behind the factory bracket, not just the visible grille size.
- Confirm front-side grille clearance by measuring from the mounting plane to the inside of the door panel.
- Account for adapter brackets and spacer rings, because they can add front clearance while reducing room at the panel.
A common first-timer mistake is adding a thick spacer ring to clear the magnet, then finding the door panel no longer clips back on because the woofer now sits too high. Spacers solve one fit problem and can create another.
When you need spacer rings or adapter brackets
Adapter brackets are often needed when the factory pattern is not a standard round frame. Spacer rings are used when the magnet needs more room behind the mounting plane or when the window track sits very close to the factory speaker depth.
Spacers can also improve sealing if they are rigid and properly gasketed. But every spacer changes the geometry, so re-check grille clearance and screw length before treating it as an easy fix.
Where should tweeters be mounted?
Tweeters should be mounted where they clear trim, have a practical wiring path, and aim in a way that fits the car’s cabin reflections and listening position. Dash, sail panel, A-pillar, and door mounts can all work, but each changes stage height, brightness, and left-right balance.
Dash locations
If the vehicle already has dash tweeter grilles, using them is usually the cleanest route. The tweeters stay high, the wiring path is often short, and the install looks factory.
Dash tweeters aimed at the windshield can sound smoother because they are somewhat off-axis. Directly aimed dash pods can give more detail, though some cars become bright because of glass reflections.
Sail-panel and A-pillar locations
Sail panels are a common compromise between performance and effort. They place the tweeter near the front corners of the cabin without the fabrication work that custom A-pillars can require.
A-pillars offer the most flexibility for aiming. They can also become visually obvious and may complicate trim replacement. If the tweeter sticks out too far in a surface mount cup, the result can look fine but still interfere with visibility or trim fit.
Door locations and mounting hardware
Door-mounted tweeters are easier to wire when the woofer is already there, but they keep the highs lower in the cabin. That usually lowers image height compared with a dash or sail-panel mount.
Most component kits include flush-mount and surface-mount hardware, plus wiring leads and often small mounting cups. Some kits also include grilles for custom installs where the tweeter is exposed.
Say your car has a factory sail-panel tweeter opening and a 6.5 inch woofer in the door. Using the sail-panel spot usually keeps the stage higher than moving the new tweeter into the lower door, even if both choices fit the included wiring.
Do component speakers need a crossover?
Yes, component speakers need a crossover path so the woofer and tweeter receive different frequency ranges. That can be an included passive network or an active DSP-based setup, but sending full-range power straight to both drivers is a common way to get harsh sound or damaged tweeters.
What a crossover does in a 2-way or 3-way set
The crossover is the traffic control for the system. In a 2-way set it splits the signal between woofer and tweeter using low-pass and high-pass filters. In a 3-way set it adds another split so a dedicated midrange covers the band between them.
The crossover also needs to match the speaker set’s intended impedance and power handling. A mismatch can shift the crossover behavior, alter level balance, or stress a driver outside the range it was designed to play.
Passive crossover box placement and wiring
Possible locations include inside the door, behind a kick panel, under the dash, or behind trim panels. The best spot balances short wire runs, dryness, service access, and secure mounting.
Inside the door is convenient for wiring, but moisture is the obvious risk. Behind kick panels or under the dash often gives better protection, though running separate leads to the woofer and tweeter takes more work.
When an active crossover or DSP replaces the passive network
Active systems remove the passive box and use a DSP, active crossover, or amplifier channels with built-in filtering. That changes fitment because the speaker install no longer needs room for a crossover box near the front stage.
It does not make the job simpler overall. Active systems need more channels, more tuning, and careful level setting.
Can a factory radio run component speakers?
A factory radio can run some component speakers acceptably, especially higher-sensitivity sets, but output and headroom are limited. Most factory radios have around 5-10 watts RMS per channel, so lower-sensitivity or higher-power component sets may play, yet sound constrained before the speakers themselves are the limit.
Factory radio power limits and what they mean
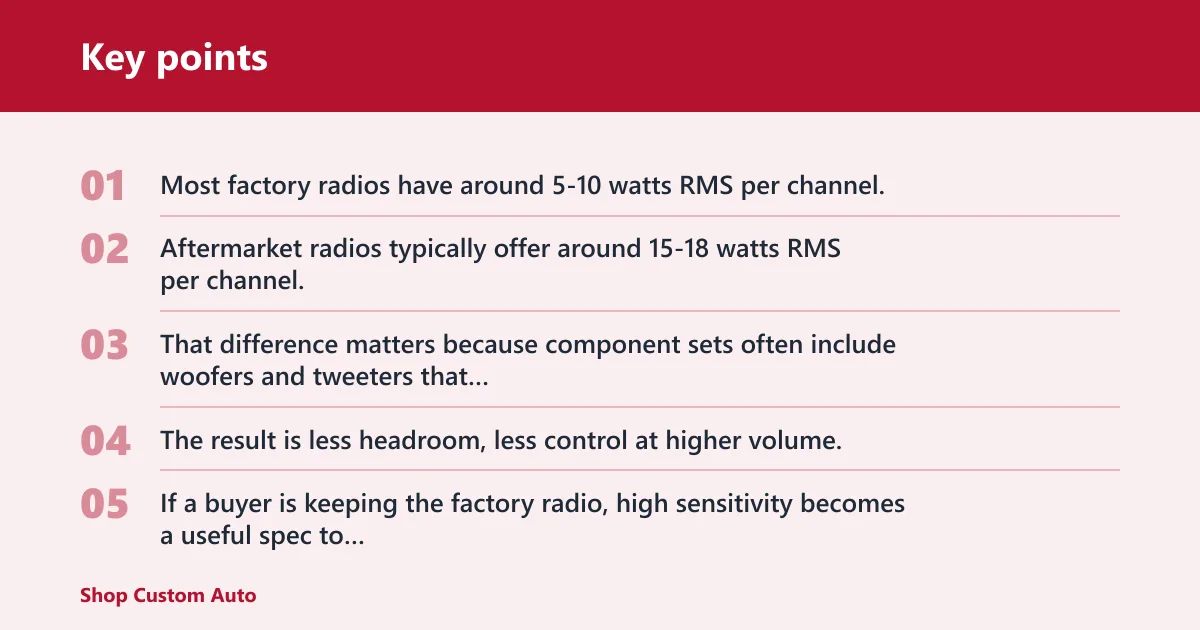
Most factory radios have around 5-10 watts RMS per channel. Aftermarket radios typically offer around 15-18 watts RMS per channel. That difference matters because component sets often include woofers and tweeters that respond best to more clean power than a base factory radio can provide.
The result is usually not silence. The result is less headroom, less control at higher volume, and a greater chance the radio reaches strain before the speakers do.
Sensitivity, impedance, and realistic expectations
If a buyer is keeping the factory radio, high sensitivity becomes a useful spec to prioritize. A more efficient speaker can produce more output from the same limited power.
Impedance matters too. The speaker set needs to be compatible with the radio or amplifier driving it, and the crossover network must match that design. Buyers expecting loud highway listening with windows down should be more skeptical of a factory radio than buyers seeking cleaner sound at moderate volume.
When an amplifier becomes the better choice
An external amplifier gives cleaner power and more headroom. It also makes the component system behave more like it was intended to behave, especially when the set has substantial power handling or lower sensitivity.
A 2-channel amp makes sense for one front component set if rear speakers are staying on deck power. A 4-channel amp makes sense when the front set gets two channels and the rear speakers get the other two, or when the front stage is eventually moving toward active operation.
How subwoofers and sound deadening change the result
If the front speakers are being asked to cover too much bass, they can sound strained even with an amp. A subwoofer takes over the bottom end; a subwoofer can reproduce frequencies as low as 20 Hz. Component subs are said to range from 8-15 inches, and powered subs include both the sub and an amplifier.
Sound deadening in the doors often helps more than buyers expect. It reduces door resonance and road-noise masking, tightens mid-bass, and cuts panel rattle. Thin factory doors waste speaker energy through vibration and leaks.
Speaker fitment checklist table
| Vehicle speaker location | Nominal size | Mounting depth to verify | Magnet clearance check | Tweeter mount option | Crossover location | Amp recommended |
|---|---|---|---|---|---|---|
| Front door woofer | 6.5 inch | Compare woofer depth to door depth with window fully down | Check window glass path, regulator arm, inner door skin | Use factory dash or sail-panel tweeter if available | Kick panel, under dash, or sealed behind trim | Usually yes if keeping this as the main front stage |
| Front door woofer | 5.25 inch | Verify depth plus adapter bracket thickness | Check magnet shoulder against factory bracket opening | Sail panel or upper door trim | Behind kick panel or inside door only if moisture-safe | Recommended with lower-sensitivity sets |
| Dash speaker location | 3.5 inch | Verify shallow basket depth under dash grille | Check defroster duct and dash brace clearance | Flush tweeter in factory dash grille if separate | Under dash for easiest service access | Helpful, but some high-sensitivity sets can run on radio power |
| Factory plate opening | 4×6 inch | Measure depth and confirm adapter plate stack-up | Check narrow rear opening and harness plug clearance | Surface mount on sail panel if no stock tweeter spot | Behind trim near kick panel | Depends on sensitivity and listening level |
| Rear deck or rear door | 6×9 inch | Verify basket depth and grille clearance | Check trunk hinge, torsion bar, or rear glass clearance | Usually coaxial rear fill instead of separate tweeter | Not typical for rear fill unless using rear components | Optional; 6×9 inch speakers are designed for low bass output |
Installation mistakes that cause bad results
Reversed polarity and weak center image
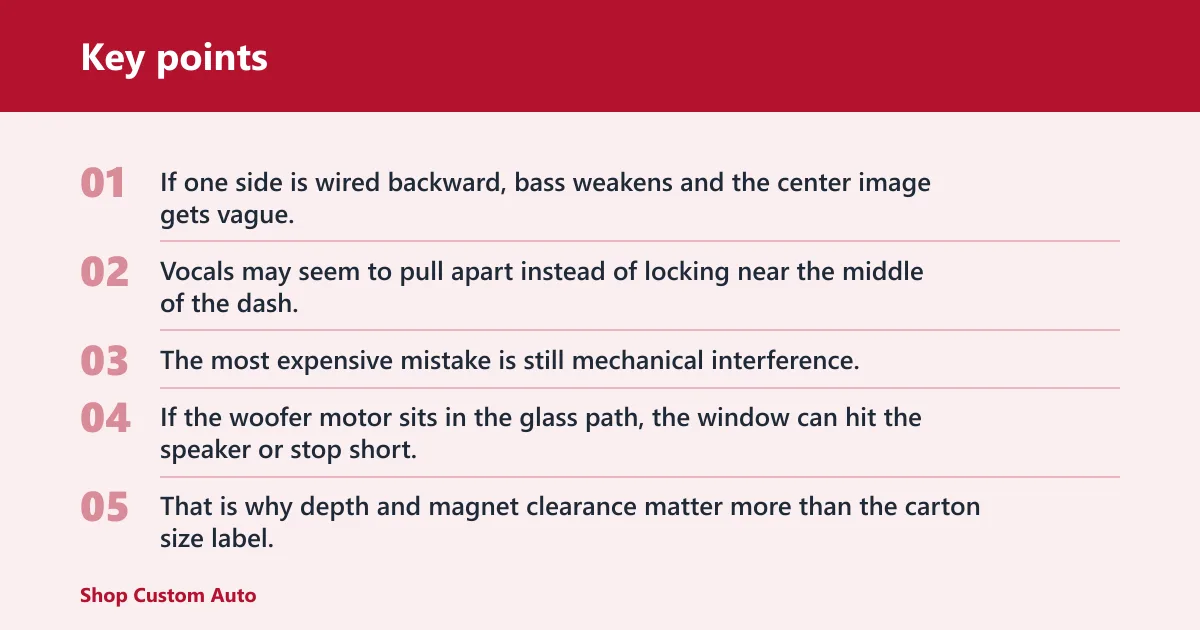
If one side is wired backward, bass weakens and the center image gets vague. Vocals may seem to pull apart instead of locking near the middle of the dash.
Shallow doors and blocked window travel
The most expensive mistake is still mechanical interference. If the woofer motor sits in the glass path, the window can hit the speaker or stop short. That is why depth and magnet clearance matter more than the carton size label.
Poor crossover placement, moisture exposure, and loose wiring
A crossover screwed into a wet door cavity without protection may work at first and fail later. Loose crimp connections can mimic speaker problems with intermittent output or a dead tweeter.
Picture a passive crossover tucked loose inside a door because the wire run looked easier. After a week of slamming the door, the box shifts, a connector loosens, and one tweeter drops out even though the woofer still plays.
Why sound deadening often matters more than expected
A component woofer mounted to a thin, resonant metal door can lose mid-bass and add rattles that listeners blame on the speaker itself. Treating the outer skin, sealing service holes where practical, and improving the speaker baffle surface often changes the result more than moving up one speaker line.
Frequently asked questions
What parts come with component speakers?
Most sets include two woofers, two tweeters, and two passive crossover networks. Many also include flush-mount and surface-mount tweeter hardware, wiring leads, and grilles for custom installs. The exact package matters because missing cups or short leads can change the install plan before the first panel comes off.
Can component speakers work without an amplifier?
Yes, some component speakers can work from a factory or aftermarket radio, especially higher-sensitivity models. The tradeoff is headroom. Most factory radios have around 5-10 watts RMS per channel, so volume, control, and dynamics are limited compared with using a dedicated external amplifier.
What speaker sizes fit most cars?
Common car speaker sizes include 3.5, 4, 5.25, 6.5, and 6×9, with 6.5 inch described as the most widely available factory car speaker size. But fit still depends on depth, basket shape, bracket style, and window clearance, so nominal size alone is never enough.
What does a crossover do in a component system?
A crossover directs different frequency ranges to different drivers so the woofer handles lower content and the tweeter handles highs. In a 2-way setup it uses low-pass and high-pass filtering. Without that split, the system can sound harsh, unbalanced, or place unsafe frequencies on the tweeter.
Where should tweeters be mounted in a car?
Tweeters usually work best in a dash, sail panel, or A-pillar location that places the highs higher than the woofer and gives a clean aiming path. Door mounting is easier but often lowers the stage. On-axis aiming adds detail and brightness; off-axis mounting often sounds smoother.
How do I know if my factory radio can run component speakers?
Check the radio’s RMS output, the speaker set’s sensitivity, and the listening level expected in that vehicle. Most factory radios have around 5-10 watts RMS per channel, so they can run some efficient sets, but lower-sensitivity components usually benefit from an external amp for cleaner output.