
Rearview Mirror Monitor When the Bracket Does Not Fit
Do not force a rearview mirror monitor bracket. Match the failure type first, clip width, stem diameter, screw pattern, or windshield obstruction, then use the correct adapter, shim, or alternate mount. Forcing the wrong bracket can crack the mirror housing, scratch the windshield, or leave the monitor loose enough to fall while driving. This guide shows how to diagnose the mismatch and choose the safest fix for each common fit problem.
Identifying the bracket and stem mismatch
A rearview mirror monitor can be a clip-on unit or a replacement mirror assembly, and the fit problem changes with that design. The bracket has to match the mirror stem, housing shape, clamp width, arm span, and adjustment range. Screen size and weight matter too; a larger, heavier monitor puts more stress on a marginal mount.
If the mount does not seat squarely, stop and identify the mismatch before you tighten anything. A bracket that is only a little off can still slip once the car hits bumps or the camera cable tugs on it.
What you’ll need before you start
- Trim tool for prying without marring plastic
- Phillips driver or hex driver that matches the bracket screws
- Zip ties or cable clips for routing power and video wiring
- Cleaning alcohol and a clean cloth for removing dust and residue
- Rubber pads or foam shims for temporary spacing
- Non-marring tape or double-sided tape for friction help on smooth surfaces
- Universal adapter kit with alternate clips, sleeves, or spacer pieces
- Replacement bracket if the original clamp geometry is wrong
What kind of mismatch do you have?
The safest fix depends on the failure mode. A bracket that feels too tight needs a different correction than one that wiggles on the stem, and both are different from a sensor or shroud conflict. Diagnose the fit first, then choose the least invasive part that still clamps securely.
Too-tight clip
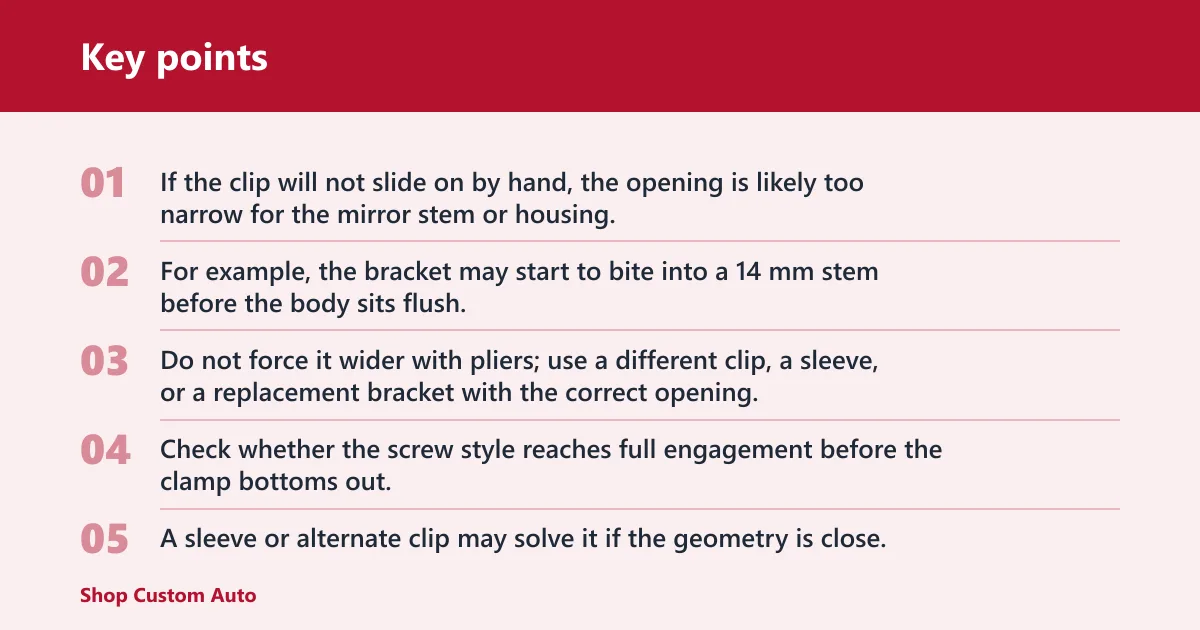
If the clip will not slide on by hand, the opening is likely too narrow for the mirror stem or housing. That often means the clip style is wrong, the arm span is too short, or the adapter piece is not meant for your mirror shape.
For example, the bracket may start to bite into a 14 mm stem before the body sits flush. That is a mismatch, not a tightening problem. Do not force it wider with pliers; use a different clip, a sleeve, or a replacement bracket with the correct opening.
Too-loose clip
If the bracket seats but rocks side to side, the clamp width is too large or the backing is too flat for a curved mirror housing. Rubber pads or foam shims can help for temporary fit, but they should not be the only thing keeping a heavy monitor in place long term.
Check whether the screw style reaches full engagement before the clamp bottoms out. If it does not, the bracket is undersized for the mount interface and should be exchanged rather than packed with layers of tape.
Stem interference
If the bracket hits the mirror stem before the clamp closes, the stem shape or diameter is outside the bracket’s adjustment range. This is common on non-round stems and on replacement mirrors with unusual back plates. A sleeve or alternate clip may solve it if the geometry is close.
Sensor or shroud interference
If the bracket contacts a rain sensor, ADAS housing, or oversized factory shroud, do not trim the vehicle part. Move to a different mount style or replace the mirror hardware if the monitor cannot clear the obstruction with the bracket fully seated.
Vibration after install
If the monitor sits correctly but still shakes, the issue is usually load or friction, not shape. Recheck the clamp, add the correct anti-slip pad only where the manufacturer allows it, and route cables so they do not tug on the housing when the steering wheel turns.
How do you fit the bracket safely?
Fit the bracket by hand first, then tighten only until the monitor stops moving. Overforce can crack plastic housings and can also make a poor fit seem secure for a day before it loosens again. If the bracket needs extreme torque, the part is wrong.
- Expose the mounting area. Use a trim tool to remove any cover that blocks the stem or housing edge. Clean the contact surface with alcohol so rubber pads and tape can grip properly.
- Test-fit without power. Hold the bracket against the mirror stem or housing and check for full contact on all load points. If the arm span, screw pattern, or clip geometry is off, stop here and change parts.
- Add spacing only if needed. Use one foam shim or one rubber pad layer at a time, then recheck fit. A practical rule of thumb is about 1 to 2 mm per addition; more than that can misalign the monitor and make the clamp less stable.
- Hand-tighten the fastener. Tighten until the bracket stops rotating, then give only a small final turn with the driver. If the screw bottoms out before the mount is snug, the hardware is not the right match.
- Route the wiring cleanly. Run the reverse trigger wire, RCA or video input, and 12V power source along trim channels with zip ties or cable clips. Leave enough cable length for tilt adjustment so the harness does not pull on the housing or tug the monitor loose.
Can an adapter kit solve the problem?
Yes, if the mismatch is close and the mount is otherwise sound. A universal adapter kit may include spacer pieces, alternate clips or sleeves, and screw pattern adapters. That makes it useful for borderline fits, but it is not a cure for a badly wrong bracket or a heavy monitor on a weak mount.
Spacer and shim fixes
Use shims when the bracket is slightly too loose or when a curved backing needs a flatter contact patch. Keep the added material non-marring and low profile. Foam and rubber are best treated as fit aids, not permanent structure, especially on a heavier screen.
Alternate clip or sleeve options
Choose alternate clips or sleeves when the stem shape is right but the interface is not. This works better than stacking tape because it preserves clamp geometry. If the adapter shifts the monitor angle too far, the part is still the wrong one.
When a replacement bracket is the better choice
If the bracket has to fight the stem, touch a sensor shroud, or rely on thick shims, replace it. A direct replacement with the correct clamp width or screw pattern is safer than forcing a universal mount to cover a large gap.
Mirror monitor troubleshooting matrix
Use this table to match the symptom to the safest fix. Temporary aids can get a light monitor mounted, but a weak structural fit should end with a return or a different bracket.
| Mismatch symptom | Likely cause | Safest fix | When to abandon the bracket |
|---|---|---|---|
| Too-tight clip | Clip opening is narrower than the stem or housing | Use the correct clip, sleeve, or a matching adapter piece | If it needs force to start or visibly stresses plastic |
| Too-loose clip | Clamp width is too large or the backing is too flat | Add one rubber pad or foam shim, then recheck hold | If it still rocks after spacing or needs tape to stay put |
| Stem interference | Arm span or opening shape does not clear the stem | Try a sleeve or alternate clip with a different geometry | If the stem prevents full seating at any angle |
| Sensor or shroud interference | Rain sensor, ADAS housing, or factory shroud blocks the bracket | Switch to a different mount style or mirror hardware | If the bracket touches the vehicle part at full lock |
| Vibration after install | Insufficient friction or cable pull | Re-route wiring and add only manufacturer-safe anti-slip material | If the monitor still shakes after tightening and routing changes |
Common mistakes to avoid
Do not use double-sided tape as the only structural support for a heavy monitor. It can help on a smooth, non-marring surface, but it should not replace correct clamp geometry.
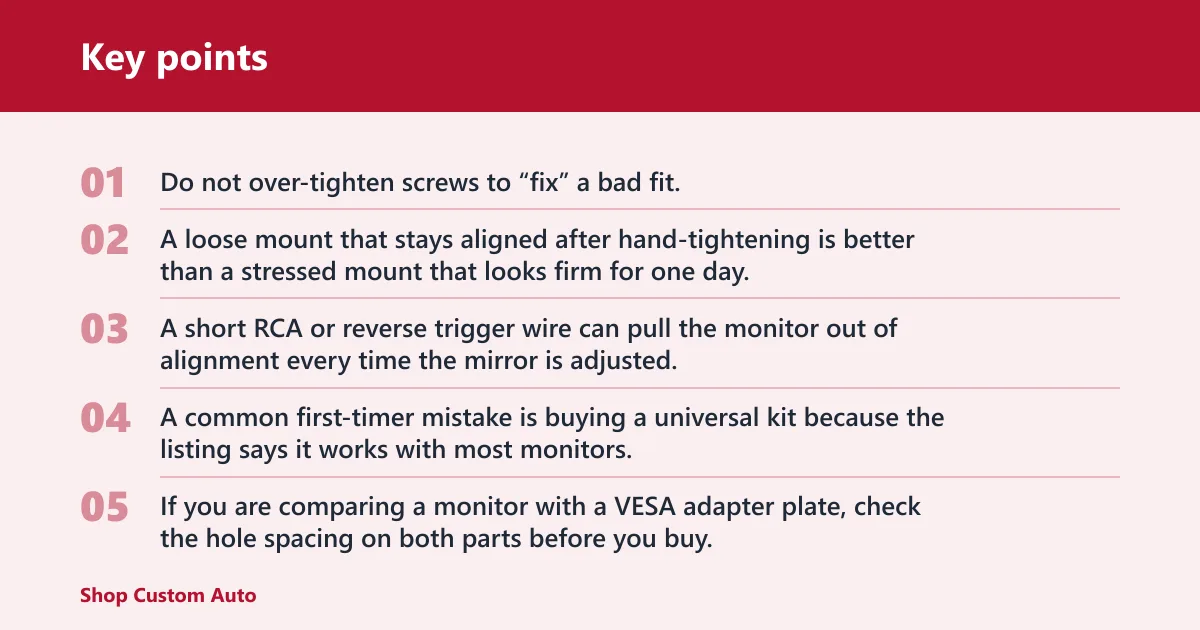
Do not over-tighten screws to “fix” a bad fit. That can crack the mirror housing, warp the bracket, or strip the threads. A loose mount that stays aligned after hand-tightening is better than a stressed mount that looks firm for one day.
Do not ignore cable routing. A short RCA or reverse trigger wire can pull the monitor out of alignment every time the mirror is adjusted.
A common first-timer mistake is buying a universal kit because the listing says it works with most monitors. TILTA’s bracket, for example, is described as a rear-seat monitor mounting solution, claims compatibility with most monitors, uses aluminum construction, includes adjustable tilt, is marketed as a quick and secure mount, and lists a universal VESA mount. It is also shown on a Czech page with a price of 22 148 Kč and described there as designed for professional film and broadcast applications. That kind of specification helps, but it still does not guarantee fit on a particular mirror stem or shroud.
If you are comparing a monitor with a VESA adapter plate, check the hole spacing on both parts before you buy. A VESA-compatible plate may solve the screw pattern problem, but only if the load capacity and clearance still work with your mirror housing.
Frequently asked questions
How do I mount a rearview mirror monitor if the bracket doesn’t fit my car?
Start by matching the failure type, then choose the least invasive fix. If the clip is too narrow, use the correct clip or sleeve; if it is too loose, add one thin shim layer and recheck; if the mirror housing or shroud blocks the fit, switch to another bracket or return the part.
What can I use if my rearview mirror monitor bracket is too small?
If the bracket opening is slightly undersized, a matching adapter sleeve or alternate clip is the best fix. Do not pry the bracket open with tools. If the part cannot seat without stress, exchange it for a larger clamp width or the correct model.
Can I use an adapter kit for a rearview mirror monitor mount?
Yes, when the mismatch is minor and the adapter is built for your screw pattern or clip style. Spacer pieces, sleeves, and alternate clips can solve a close fit. If the adapter must compensate for major stem interference or a sensor housing, replace the bracket instead.
How do I tell whether my mirror stem or clip is non-standard?
Measure the stem diameter, note whether it is round or shaped, and check for nearby obstructions such as a rain sensor or ADAS housing. If the bracket only sits at one angle or leaves a visible gap on one side, the interface is likely non-standard for that mount.
Is it safe to shim a rearview mirror monitor bracket?
Yes, but only as a limited fit aid on a light load and only with non-marring material. Use one layer at a time, then recheck after hand-tightening. If the bracket still moves or the monitor is heavy, shimming has reached its limit and the bracket should be replaced.
What tools do I need to install a rearview mirror monitor mount?
Use a trim tool, a Phillips or hex driver, cleaning alcohol, and zip ties or cable clips. Keep rubber pads, foam shims, and non-marring tape on hand for minor fit correction. For wiring, make sure the reverse trigger wire, RCA or video input, and 12V power source all have enough slack for movement.