How to Install a Rearview Mirror Monitor Over the Mirror
Install a rearview mirror monitor over the factory mirror by matching the mirror’s shape and thickness to a strap or clamp kit, then power it from an ignition-switched 12V source. Poor fit can block the mirror, shake loose, or leave you with a dead screen and messy wiring. This guide covers fitment checks, mounting steps, power routing, and the mistakes that cause most installs to fail.
What you’ll need
- Trim tool
- Zip ties
- Electrical tape
- Multimeter for hardwire checks
- Microfiber cloth
- Rearview mirror monitor with the right mounting system
- RCA backup camera cable, if the monitor uses analog video input
- 12V accessory plug or hardwire kit
- Fuse tap, if you are using an ignition-switched hardwire circuit
Fitment details to measure first
Measure the factory mirror before buying anything. Record mirror width, height, and thickness, then check the housing around it for buttons, rain sensors, auto-dimming hardware, microphones, emergency controls, and any plastic bulge that could stop the clip from seating flat.
Also measure screen overlap limits and sun visor clearance. The monitor must not cover the mirror’s usable glass, block the driver’s sightline, or press on the mirror housing hard enough to move it out of position.
Will a clip-on monitor fit your mirror?
A clip-on mirror monitor can fit a factory mirror if the mount matches the mirror’s width and thickness and leaves the housing free of pressure points. It is a fitment decision, not a universal yes. The best match depends on the mirror’s shape, nearby sensors, and the amount of clearance above and below the glass.
Measure mirror width, height, and thickness
Use a tape measure on the widest part of the mirror housing and the thickest point where the clip or straps will grip. Many kits list an adjustment range for thickness, and that range matters more than the display size. If the mirror is too thick, the mount can spring loose. If it is too thin, the monitor can sag.
Check for auto-dimming housings and sensors
Auto-dimming mirrors often have larger housings than plain glass mirrors. Rain sensors, microphones, emergency buttons, lane cameras, and integrated buttons can sit where a clip or bracket needs to land. If the kit would cover any of those parts, stop and choose another mount style or a vehicle-specific version.
Confirm clearance for sun visors and buttons
Fold the visors through their full travel and confirm they do not strike the monitor. Leave the factory emergency button, brightness control, and any safety switch visible and reachable. If the mirror monitor forces the driver to tilt the visor early or blocks a button, the fit is wrong even if it clamps on.
How do you install a rearview mirror monitor?
Install it by cleaning the mirror, fitting the bracket or straps around the factory mirror, tightening only until the monitor stays still, then setting the screen angle for a clear view. Do not remove the original mirror unless the kit specifically requires it. The factory mirror must stay secure, usable, and unobstructed after the install.
Step 1: Clean the mirror and inspect the mount
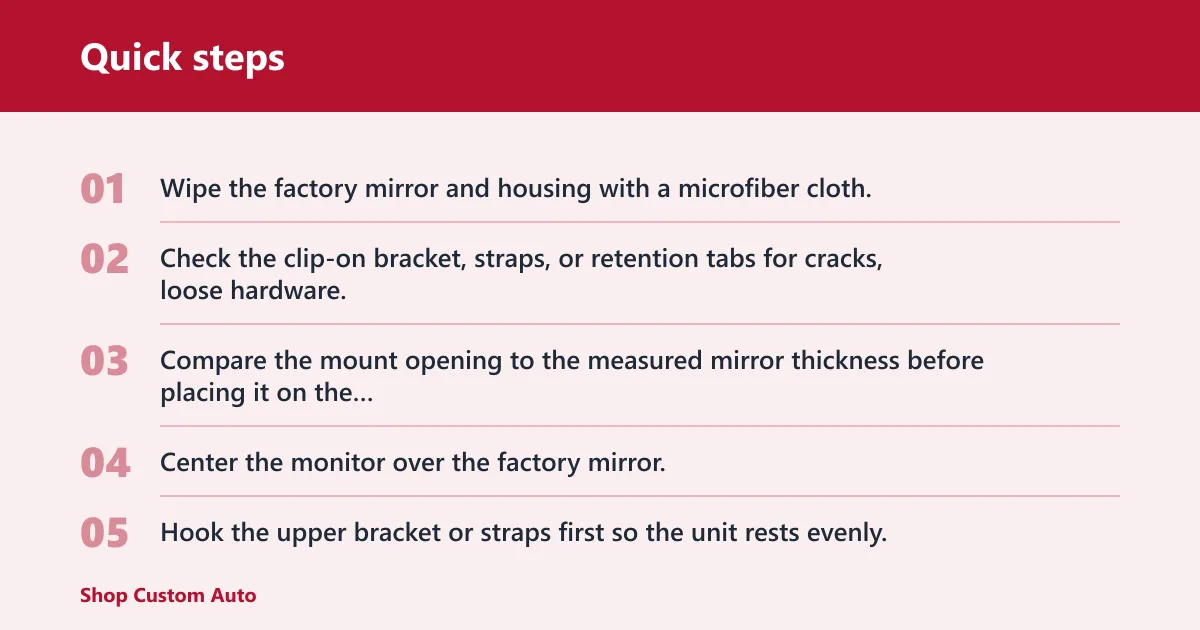
- Wipe the factory mirror and housing with a microfiber cloth.
- Check the clip-on bracket, straps, or retention tabs for cracks, loose hardware, or bent edges.
- Compare the mount opening to the measured mirror thickness before placing it on the mirror.
Step 2: Set the bracket or straps on the factory mirror
- Center the monitor over the factory mirror.
- Hook the upper bracket or straps first so the unit rests evenly.
- Seat any anti-slip pads against the housing where the kit makes contact.
Step 3: Tighten for support without crushing the housing
- Tighten each strap or clamp a half-turn at a time.
- Stop as soon as the monitor no longer shifts by hand.
- Recheck the mirror housing for flex, pinching, or audible creaks.
Picture a mirror that is about 7.25 inches wide and 1.1 inches thick at the mounting point. A kit rated for 0.9 to 1.2 inches can work, but only if the support pads touch flat plastic instead of a rain sensor pod. If the clip lands on that pod, the mount will sit crooked and the screen will wobble.
Step 4: Set the viewing angle and check driver sightline
- Sit in the driver’s seat and adjust the monitor so the screen fills only the needed part of the mirror.
- Verify that the rear glass remains visible around the display.
- Open and close the visor again to confirm nothing touches the monitor.
How do you route the power cable?
Route the cable based on the power method you choose. A 12V accessory socket path is simpler and usually follows the headliner and A-pillar trim. A hardwire install should use ignition-switched power, a fuse tap, and a multimeter check so the monitor turns on with the key and shuts off when the vehicle does.
Choose a 12V plug-in or hardwire path
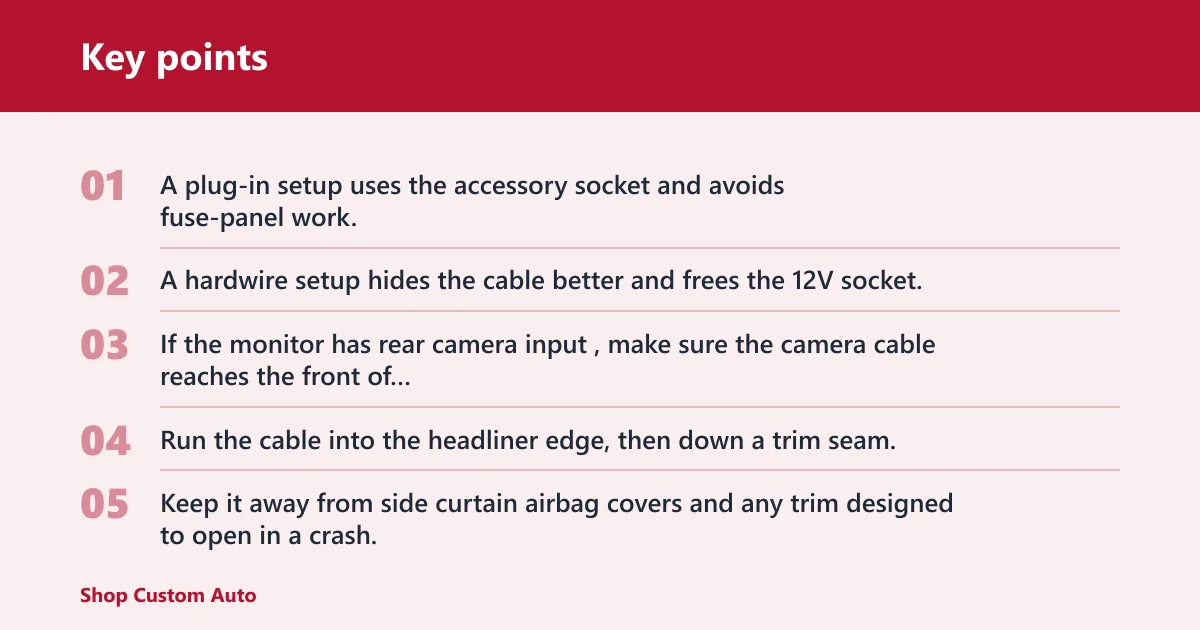
A plug-in setup uses the accessory socket and avoids fuse-panel work. A hardwire setup hides the cable better and frees the 12V socket, but it needs a confirmed ignition-switched circuit. If the monitor has rear camera input, make sure the camera cable reaches the front of the cabin or the chosen display location.
Hide the cable in trim without crossing airbag zones
Run the cable into the headliner edge, then down a trim seam. Keep it away from side curtain airbag covers and any trim designed to open in a crash. Use zip ties only where the cable can move without rubbing. Do not tuck wiring behind a deployed-airbag path.
Connect the reverse trigger or ignition-switched feed
For hardwire installs, confirm the fuse tap on a multimeter before final assembly. The chosen circuit should show power only in the key-on position if you want the monitor to wake with the ignition. If the monitor needs a reverse trigger for camera switching, connect that wire to the reverse signal exactly as the kit diagram shows.
Suppose the cable is 10 feet long and the monitor sits high on the windshield. A tidy route may still need one extra zip tie at the A-pillar base to stop a dangling loop from rubbing the dash. That one tie can prevent a visible sag later.
Rear mirror monitor fitment checklist
Use this before you mount anything. A pass means the monitor should fit without blocking the factory mirror or nearby controls. A fail means you need a different size, a different mount, or a vehicle-specific kit.
| Mirror width | Mirror thickness | Sensor interference | Power method | Cable route | Pass/fail outcome |
|---|---|---|---|---|---|
| 7.0 in | 0.9 in | No rain sensor or buttons in clamp zone | 12V accessory socket | Headliner to A-pillar to center console | Pass |
| 7.5 in | 1.2 in | Auto-dimming pod touches upper bracket | Hardwire with fuse tap | Headliner only, then down pillar | Fail |
| 8.0 in | 1.0 in | Emergency button remains clear | Ignition-switched hardwire | Hidden in trim with no airbag overlap | Pass |
| 6.25 in | 0.7 in | Microphone grill blocked by clamp | 12V accessory socket | Visible across dash | Fail |
Common mistakes
The first mistake is a loose fit. If the monitor rocks by hand, it will usually wobble more on rough pavement. Tighten in small increments, then recheck. If the kit still moves, the mirror is outside the mount’s thickness range.
The second mistake is blocked controls or blocked view. The factory mirror must stay usable, and any button or sensor near it must remain accessible. A monitor that covers an emergency switch or rain sensor is the wrong fit, even if the screen powers on.
The third mistake is the wrong input or power source. An RCA video input needs a compatible camera signal, and some monitors also expect a reverse trigger. Use a multimeter to verify ignition-switched power before closing the trim.
A common first-timer mistake is assuming a universal kit will fit a mirror with an auto-dimming housing. Say your mirror is 7.8 inches wide, but the sensor pod adds a bulky center section. The mount may fit the width yet fail on the center bulge, which leaves the display tilted and the rear view off-center.
If that didn’t work, try this next: loosen the mount, add the anti-slip pads where the housing contacts the bracket, then retighten by 1/8 turn per side and recheck for movement. If wobble remains, switch to a vehicle-specific kit with a wider clamp range.
Prevention: after the first drive, recheck the mount tension and cable path. Heat and vibration can settle the straps enough to create a new rattle.
Frequently asked questions
How do I install a rearview mirror monitor without removing the original mirror?
Use a clip-on bracket, elastic straps, or retention tabs sized to the mirror’s thickness. Seat the monitor over the factory mirror, tighten only until it stays fixed, and keep the original mirror aligned and usable. A removal-free install depends on a mount that fits the housing, not extra force.
Can I clip a rearview mirror monitor over my factory mirror?
Yes, if the monitor’s adjustment range matches the mirror width and thickness and the housing has no blocking sensor pod or oversized button cluster. Check the mirror’s thickest point, not just the glass width. If the mount contacts sensors or emergency controls, choose another kit.
What tools do I need to install a mirror monitor?
Most installs need a trim tool, zip ties, electrical tape, a microfiber cloth, and sometimes a multimeter for hardwire checks. If the kit uses a fuse tap, add the correct fuse type for the vehicle. A plug-in install usually needs fewer electrical tools.
How do I route the power cable so it stays hidden?
Run the cable along the headliner edge and into trim seams, then down an A-pillar or center trim path that stays clear of side airbag zones. For hardwire installs, connect to ignition-switched power through a fuse tap and verify it with a multimeter before reassembly.
Will a clip-on mirror monitor fit my car?
It will fit only if the mirror dimensions, housing shape, and surrounding controls match the mount’s limits. Measure width, thickness, and nearby clearance first. If the car has an auto-dimming mirror, rain sensor, or integrated button strip, the fit may require a vehicle-specific unit.
How do I keep the monitor from vibrating or slipping?
Center the mount, tighten it in small steps, and use the anti-slip pads if the kit includes them. If the unit still moves, the mirror is probably too thick, too narrow, or too rounded for that bracket. Recheck after the first drive and retighten if needed.
Can I install a rearview mirror monitor myself without professional help?
Yes, if you can measure the mirror, confirm clearance, and handle either a plug-in or hardwire power source without disturbing airbags or sensors. The job becomes risky when the vehicle has integrated electronics near the mirror or when the kit needs reverse-signal wiring and fuse access.