How to Use a Speaker Polarity Tester in Your Car
A clean way to think about car speaker testing is to separate two different methods. A 1.5V battery pop test checks whether a passive speaker cone moves in the same direction as the battery’s positive terminal for a quick wiring check. An acoustic speaker polarity tester listens to a test signal and judges polarity from the sound it hears. Use a battery only on bare passive speakers or drivers you can reach directly; do not use it on tweeters, and do not apply it across factory-amplified outputs because that can be unsafe and misleading. For the acoustic method, follow the tester’s own signal and placement rules. In either case, reversed polarity can weaken bass and blur stereo imaging, especially when one speaker is out of phase with its mate. Speaker polarity basics, why reversed polarity affects bass and imaging, and why DSP and active crossovers can confuse acoustic polarity checks are useful references when a reading does not make sense.
What you’ll need
- A speaker polarity tester or app that reports plus/minus or in-phase/out-of-phase results
- A test signal source that matches the tester’s required pop or pulse file
- A phone, tablet, or player with wired output, Bluetooth audio output, or AirPlay streaming if the tool supports it
- A standard 1/8-inch stereo plug or a 1/8-inch to RCA adapter if the tester uses a wired feed
- Access to the speaker terminals, or at least a clear path to the speaker grille for close-range testing
- Basic trim tools if you need to reach passive door speaker terminals
How do you set up the test signal?
Use the tester’s specified pop or pulse signal first. Some tools rely on a proprietary pop sound and DSP analysis, and some need an exported WAV or M4A file to read correctly. Some testers also specify their own driver-focused bands or source requirements, so follow the documented instructions for that exact tool rather than assuming every app behaves the same way. If the app supports Bluetooth or AirPlay, you can send the same signal wirelessly when the tool allows it. If it uses a wired path, a standard 1/8-inch stereo plug or a 1/8-inch to RCA adapter can feed the system.
Set the source path once
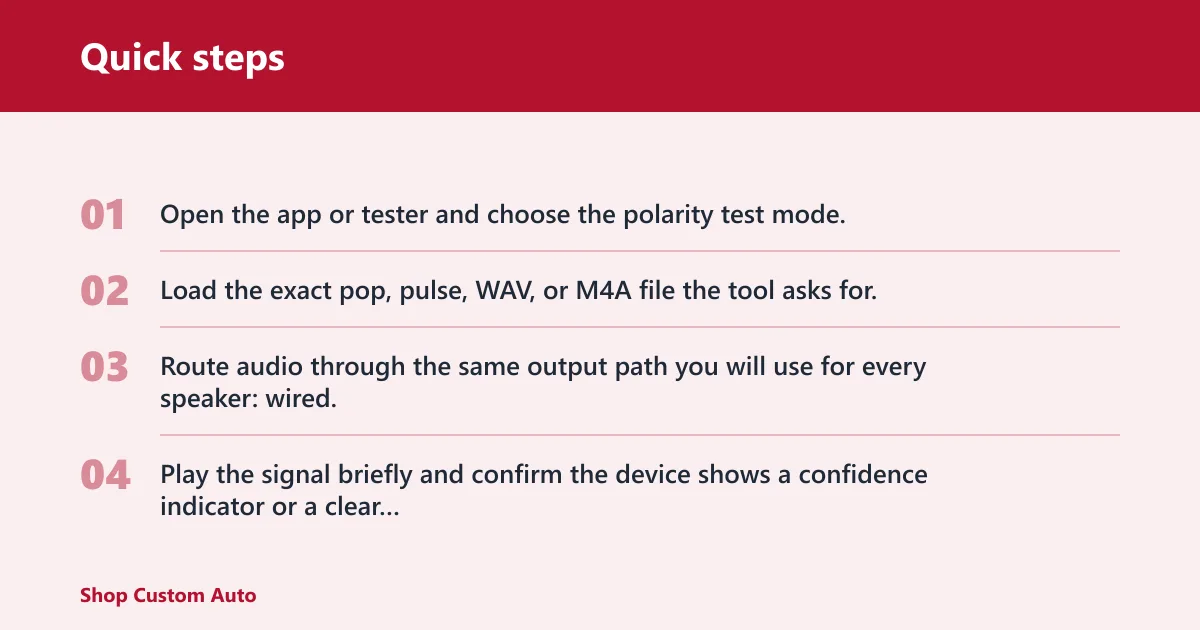
- Open the app or tester and choose the polarity test mode.
- Load the exact pop, pulse, WAV, or M4A file the tool asks for.
- Route audio through the same output path you will use for every speaker: wired, Bluetooth, or AirPlay.
- Play the signal briefly and confirm the device shows a confidence indicator or a clear plus/minus result.
Keep the source path unchanged while you move from speaker to speaker. A different output route can change timing, filtering, or level enough to skew the reading.
How do you use a speaker polarity tester in a car?
Hold the tester or phone near one speaker, play the signal, and read the result before moving to the next driver. A plus result means correct polarity. A minus result means the wires need to be swapped. In a car, that reading is often most reliable when you test one speaker at a time with the engine, seat position, and cabin noise kept as stable as possible.
Check one driver at a time
- Mute other sources and select the speaker path you want to test.
- Place the tester within a few inches of the target driver.
- Play the pop or pulse signal.
- Record the plus or minus result before touching any wiring.
- Move to the matching speaker on the other side and repeat the same setup.
A common first-timer mistake is testing a rear door speaker from across the cabin. The reading can flip or drop confidence because the microphone hears the wrong driver, not because the speaker is wired incorrectly.
How do you test speaker polarity on car door speakers?
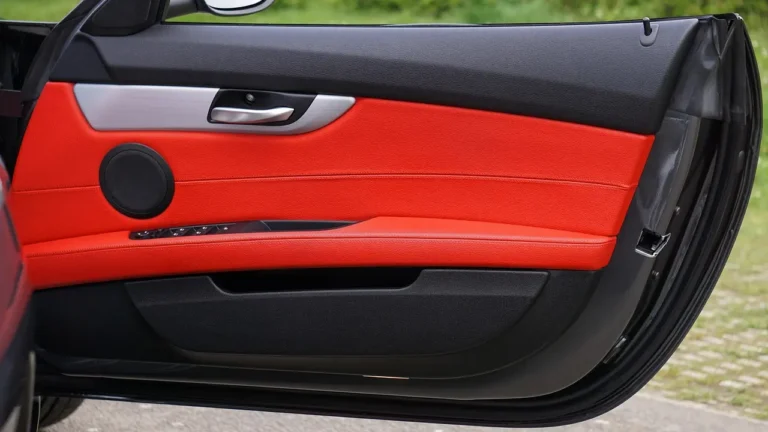
Test passive door speakers with the trim in place when possible, then compare left and right results before changing wires. Door speakers sit close to glass, trim, and other drivers, so use the same distance and the same source level on both sides. If the two doors do not match, check upstream wiring before swapping the speaker leads.
Passive door speaker check
- Open the door and move the tester close to the grille or cone opening.
- Play the selected pop signal through the door speaker only.
- Note the result on the left side.
- Repeat on the right side with the same source path and volume.
- Swap the positive and negative leads at the speaker only if the upstream wiring already checks out.
Suppose the left door reads plus and the right door reads minus on the same test file. Before pulling the panel apart, confirm the head unit outputs are not reversed left to right, because a swapped channel can mimic a polarity fault.
How do you test woofers and subs?
Use the woofer or subwoofer mode the app provides, then compare like drivers only. Some testers use driver-specific low-frequency analysis rather than a single universal filter, so the behavior you see on a woofer may not match the behavior you see on a tweeter or full-range door speaker. A woofer can also react differently from a port or enclosure peak, so keep port noise and seat vibration out of the reading.
Low-frequency driver check
- Choose the woofer or low-frequency band in the app.
- Place the tester close to the cone, not at the trunk opening or seatback.
- Play the test signal and read the result.
- Repeat on the matching woofer or subwoofer on the other side.
- Compare only woofer-to-woofer or subwoofer-to-subwoofer results.
Do not compare a subwoofer reading against a door woofer reading. The filter band and cone behavior are different by design, so the numbers may not match even when both drivers are wired correctly.
How do you test door speakers and tweeters?
Test tweeters separately from door woofers, and compare each driver only with the same type on the other side. Some tools use tweeter-specific bands, while midrange checks may sit in a different range. That means a tweeter can read differently from a woofer without any wiring fault, especially if the tester is tuned for that driver type.
Matched-driver comparison
- Run the door speaker test first.
- Switch to the tweeter band if the system has separate high-frequency drivers.
- Test the left tweeter and then the right tweeter with the same source path.
- Compare each result only to its matching driver type.
- Move a tweeter lead only after the reading is confirmed against the same band on the other side.
Do not mix a midrange driver reading with a tweeter reading. A midrange can sit in a different band by design, so a different result does not automatically mean the wiring is wrong.
How do you set up factory-amplified systems?
Factory processing can make a polarity tester unreliable if the car uses active crossovers, EQ, delay, or channel summing. In those systems, the reading may change before it reaches the speaker. Treat a weak or inconsistent result as a signal-path problem first, not as proof that the speaker itself is reversed.
Factory amp workflow
- Test at the same source path you plan to use for every channel.
- Check one factory-amplified speaker at a time with the tester close to the driver.
- Watch for a confidence indicator, not just the plus/minus symbol.
- If the reading changes from one pass to the next, repeat the test at lower cabin noise and with the same seat and door positions.
- Only swap speaker leads after you confirm the amp output and channel assignment are correct.
If that didn’t work, try this next: verify left and right outputs are not crossed at the source. Then test again with the same signal path. If the reading still jumps around, the factory DSP or crossover is probably changing what the tester hears.
What if the reading is wrong?
Start with the signal path, then move to the speaker leads. In a car, the most common false result comes from swapped left and right outputs, a wrong speaker polarity test tone file, or processing that changes the signal before it reaches the driver. Swap the speaker wires only after the upstream path checks out.
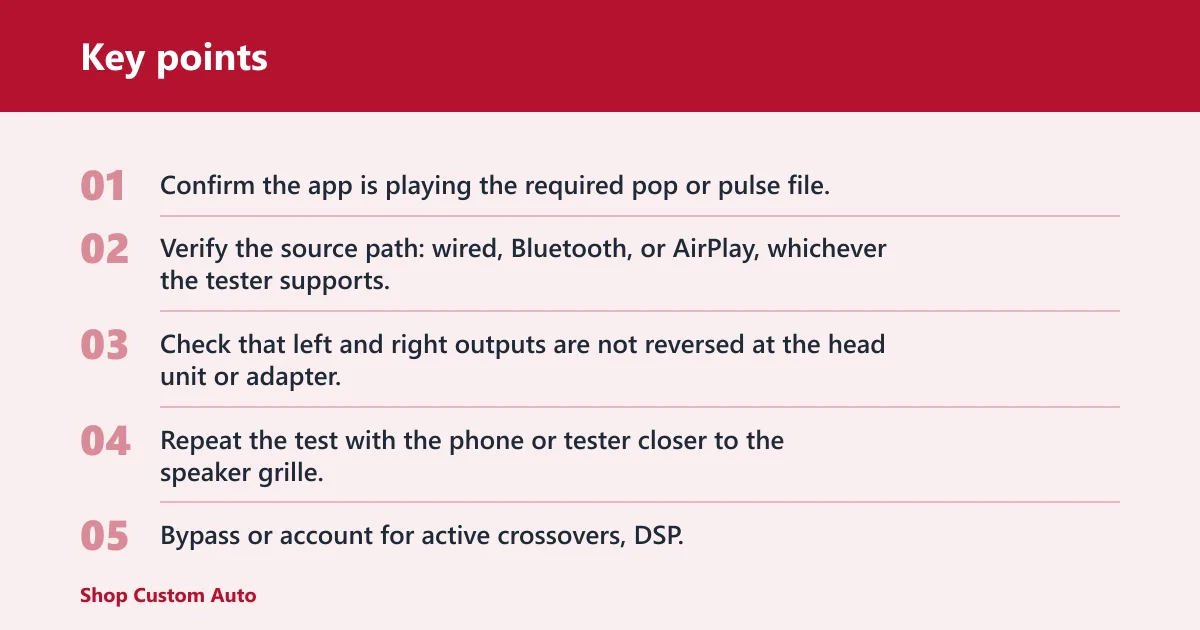
Escalation ladder
- Confirm the app is playing the required pop or pulse file.
- Verify the source path: wired, Bluetooth, or AirPlay, whichever the tester supports.
- Check that left and right outputs are not reversed at the head unit or adapter.
- Repeat the test with the phone or tester closer to the speaker grille.
- Bypass or account for active crossovers, DSP, or factory processing if the result still conflicts.
- Swap the positive and negative leads at the speaker only after the above checks.
If the tester still gives opposite results across matched drivers, compare the same speaker type on both sides again before making permanent changes. A wrong fix in one door can make the whole system harder to sort out.
Car polarity test checklist
| Source type | Speaker type | Test signal used | Expected reading | Common failure mode | Corrective action |
|---|---|---|---|---|---|
| Wired source or adapter | Passive door speaker | Proprietary pop or pulse file | Plus for correct polarity | Swapped left/right outputs | Verify channel assignment, then retest at the grille |
| Bluetooth audio output | Tweeter | Tester-required pop signal | Plus when compared with the matching tweeter | Wrong band or too much cabin noise | Switch to the tweeter mode and retest within a few inches |
| AirPlay streaming | Woofer or subwoofer | Low-frequency analysis or filtered pop signal | Plus on the correct driver pair | Port noise or seat vibration | Move closer to the cone and repeat on the matched woofer |
| 1/8-inch stereo plug to RCA adapter | Factory-amplified system | Specified WAV or M4A file | Confidence indicator plus or minus reading | DSP, EQ, or active crossover distortion | Check the upstream path first, then test again |
| Direct battery pop test | Passive door speaker | 1.5V battery pop | Cone moves outward on positive touch | Using battery on a tweeter or at a factory-amp output | Use only on reachable passive drivers; switch to acoustic testing for processed systems |
| Acoustic polarity tester | Factory-amplified system | Tool-specified pop or pulse file | Stable plus/minus or confidence result | DSP, delay, or active crossover altering the reading | Confirm the signal path and compare only matched drivers |
Common mistakes
Testing too far from the speaker lowers the chance of a clean read. Hold the tester close to the driver, especially in doors and trunk-mounted setups. Using the wrong file can also fail the test if the tool expects a specific pop signal or exported format.
Comparing unlike drivers is another common mistake. Woofer, midrange, and tweeter can use different filter bands, so compare like with like. Do not assume a minus reading means the speaker itself is bad; it often means the positive and negative leads need to be swapped, or the upstream channel path needs another check first.
Frequently asked questions
What does a polarity tester do?
It sends or analyzes an acoustic test signal and tells you whether the speaker is wired in the correct direction. In car audio, the result usually appears as plus for correct polarity and minus for reversed wiring, with some tools also showing a confidence indicator.
How close should the tester be to the speaker?
Keep it close enough that the target driver dominates the reading, usually within a few inches of the cone or grille. Greater distance increases the chance that cabin noise, another driver, or a port opening will influence the result.
Can you test woofer, midrange, and tweeter polarity the same way?
No. Use the band the app provides for each driver type, then compare only like drivers. A woofer may use low-frequency analysis, while tweeter and midrange checks use other bands, so cross-comparison can give a false mismatch.
What should I do if the tester says the speaker is reversed?
First, confirm the source path and channel assignment are correct. If the wiring still tests reversed, swap the positive and negative leads at the speaker or the crossover output, then run the same test again to confirm the change.