
How to Test Amp Ground with a Multimeter
A good amp ground is commonly expected to show less than about 0.1 volts of drop under load; anything higher can point to resistance in the ground point, cable, or chassis path. That target fits the same basic voltage-drop logic used in electrical troubleshooting guides from meter makers and electrical manufacturers, which also stress measuring under load rather than relying on continuity alone. Leave it alone, and you can get weak output, hiss, protection mode, or an amp that won’t power up. This guide shows how to test amp ground with a multimeter using a real voltage-drop check and how to read the result. Sources such as Fluke, Klein Tools, and Tektronix also note that continuity can miss resistance that only shows up when current flows. Fluke voltage drop testing, Klein Tools voltage drop testing, Tektronix multimeter use, Sonic Electronix car audio testing, and Crutchfield amplifier installation all support the same practical approach: test the path under working conditions, not just for continuity.
Amp ground voltage-drop test
The right test is a voltage-drop test, not a simple beep test. Set the digital multimeter to direct current voltage, use the COM jack for the black lead and the V/Ω jack for the red lead, then read the drop across the amp ground path while the amplifier is active and under load. For most car systems, a healthy charging system sits around 13.8 to 14.4 volts with the engine running, while a resting battery is commonly about 12.6 volts; the ground test is still judged by the drop between points, not by that total system voltage. Manufacturer guidance from Fluke and Fluke-style troubleshooting references consistently treat low-voltage-drop readings as the goal for a good path under load.
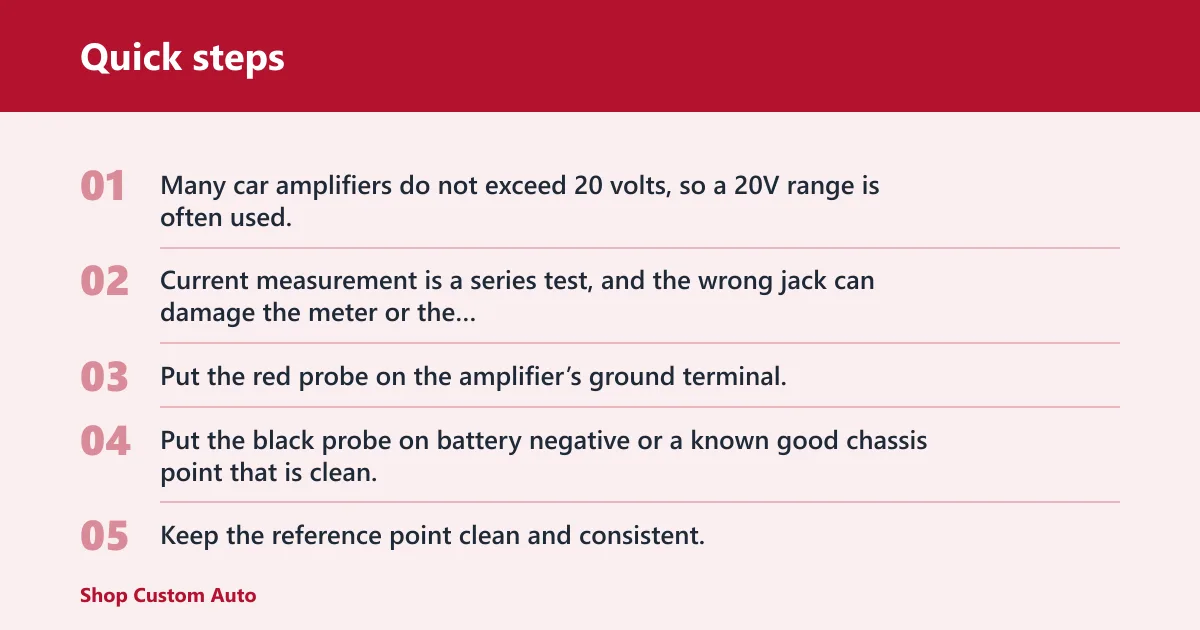
Set the multimeter to DC volts
Use DC volts for car power circuits. Many car amplifiers do not exceed 20 volts, so a 20V range is often used; if the meter auto-ranges, that is fine too. Do not use the current jack for this test. Current measurement is a series test, and the wrong jack can damage the meter or the circuit.
Place the probes at the amp and reference point
Put the red probe on the amplifier’s ground terminal. Put the black probe on battery negative or a known good chassis point that is clean, bare metal, and tied to the same return path. Keep the reference point clean and consistent. The reading shows how much voltage the ground path is losing under load. Near zero is good. A few tenths of a volt is worth checking.
Read the result under load
Test with the amplifier on and passing signal, because ground problems often hide when the system is idle. A healthy path should read near 0V drop, with less than 0.1 volts as a practical target for a good amp ground under load. Higher readings point to resistance in the ground point, cable, or chassis path. That is why voltage-drop testing under load is more useful than continuity alone: a wire can beep fine at rest and still fail once current starts flowing.
Say your amp powers up on the bench but cuts out when bass hits. A ground that looks fine with the key on can still drop voltage once the amp draws current. That is why the load test matters more than a quick continuity check.
What a good reading means
A good reading is close to zero volts drop between the amp ground terminal and the reference point while the amplifier is working. If the meter shows a small rise, that usually means the ground path has some resistance, but the size of the drop tells you whether the issue is minor or serious. Most reputable meter and electrical references treat a low voltage-drop reading under load as the real pass/fail test, not continuity by itself.
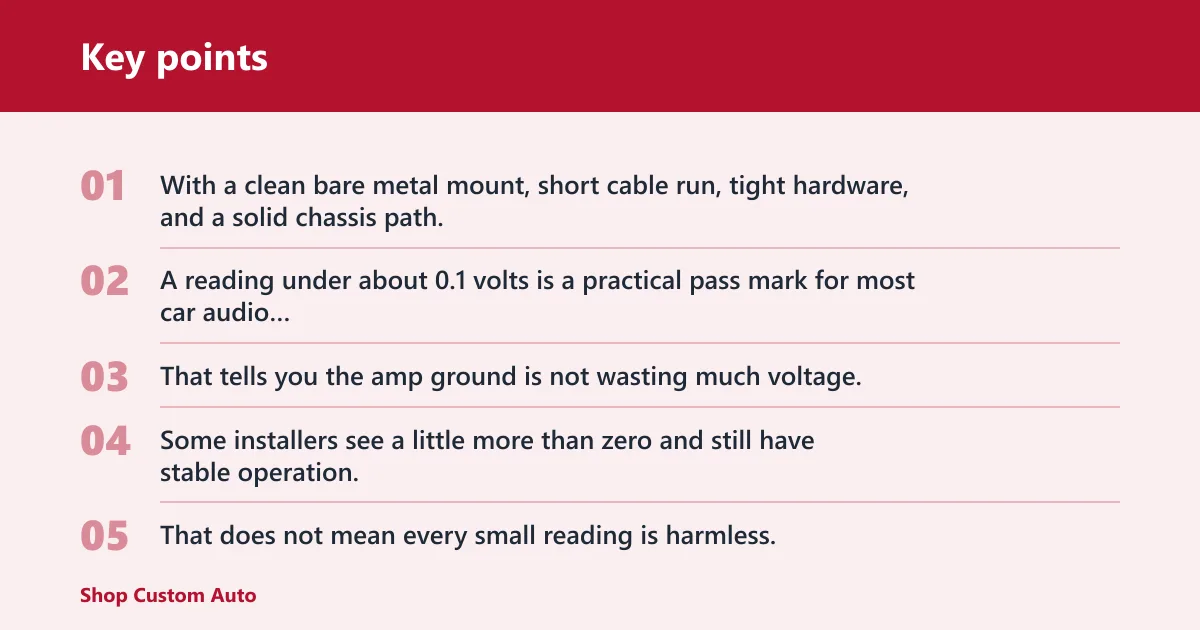
Near-zero drop on a healthy ground
With a clean bare metal mount, short cable run, tight hardware, and a solid chassis path, the meter should stay very low. A reading under about 0.1 volts is a practical pass mark for most car audio troubleshooting. That tells you the amp ground is not wasting much voltage.
When a small drop is acceptable
Some installers see a little more than zero and still have stable operation, especially on lower-demand systems. That does not mean every small reading is harmless. If the drop creeps into the few-tenths range, check the mount, the terminal, and the cable before blaming the amplifier itself.
When the reading points to a fault
If the drop is clearly above a few tenths of a volt under load, the ground path deserves attention. Paint, corrosion, loose hardware, a long cable, or a poor chassis point can all add resistance. If the number jumps around with bass notes, suspect a loose connection or damaged cable strand. A steady high reading usually points to a consistent resistance problem; a fluctuating reading usually points to an intermittent contact, loose fastener, or a conductor that moves under load.
| Checkpoint | Probe placement | Expected reading | Pass/fail | Next action if it fails |
|---|---|---|---|---|
| Engine off | Red on amp ground terminal, black on battery negative | Near 0V drop | Pass if low and steady | Clean terminal and bare metal if the reading is high |
| Engine running | Same probe points, same reference | Near 0V drop, no large rise | Pass if close to the engine-off reading | Inspect battery negative and chassis bonding if the drop climbs |
| Amp under load | Red on amp ground terminal, black on battery negative or a verified chassis point with clean bare metal | Less than 0.1 volts, with a few tenths worth investigating | Pass if the reading stays low under signal | Shorten cable, relocate ground, or clean the mount |
Do you test ground to chassis or battery negative?
Use battery negative as the reference when you want the cleanest comparison, because it ties the amp ground to the battery’s negative path. A known good chassis point also works if it is truly clean and on the same metal structure that carries the battery negative path. Keep the reference consistent for every check.
Use battery negative as the reference
This is the most direct way to see whether the amp ground is dropping voltage compared with the battery’s negative side. Place the black probe on battery negative, not on random painted metal. That reduces guesswork and makes the reading easier to compare across all three checkpoints.
Use a known good chassis point when needed
If battery access is awkward, a known good chassis reference can work, but only if you trust the bond to battery negative. The point should be bare metal, tight, and free of paint or corrosion. Do not switch references during the test, or the readings become harder to interpret.
Picture a compact sedan with the amp mounted in the trunk. If the black probe lands on a painted seat bolt one time and on the battery negative the next, the numbers can look different even when the ground wire has not changed. Keep the reference point fixed.
Amp ground worksheet
Use this worksheet as a text-only checklist while the meter stays in DC volts mode. The goal is to separate battery voltage, charging voltage, and ground-path resistance without guessing. Record the reading at each step, then follow the branch that matches the result. To keep the diagnosis clean, compare the amp ground against battery negative first, then repeat against chassis only if you need to confirm the return path through the body metal.
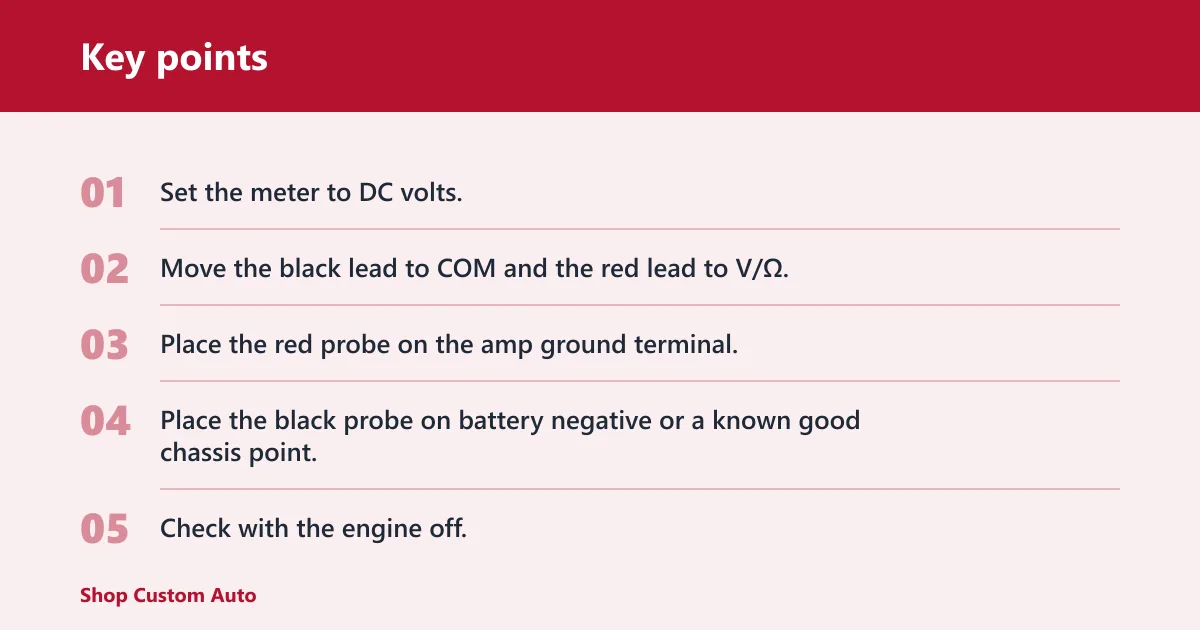
- Set the meter to DC volts.
- Move the black lead to COM and the red lead to V/Ω.
- Place the red probe on the amp ground terminal.
- Place the black probe on battery negative or a known good chassis point.
- Check with the engine off.
- Start the engine and repeat the same probe placement.
- Turn the amp on and play audio at a normal load, then repeat the test.
- Use the branch below to choose the fix.
| Checkpoint | Reading to expect | Pass/fail | What to do next |
|---|---|---|---|
| Engine off | Very close to 0V drop | Pass if steady and low | Fail: clean the terminal and bare metal contact |
| Engine running | Still near 0V drop | Pass if it does not rise much | Fail: inspect battery negative and chassis bonding |
| Amp under load | Less than 0.1 volts is the target | Pass if the reading stays low under signal | Fail: shorten the cable, relocate the ground, or rebuild the mount |
Branch the result by failure type
If the reading is high at every checkpoint, the problem is usually the ground point itself: paint, corrosion, loose hardware, or poor contact area. If the reading starts low and rises with engine operation or audio load, the issue is more likely cable length, cable gauge, or a connection that opens slightly under vibration. If the amp-to-battery-negative reading is worse than the amp-to-chassis reading, the battery-negative/chassis bond is likely the weak link. If the chassis reading is worse, the ground point or local body metal is the likely fault.
Why continuity alone is not enough
Continuity mode is only a quick sanity check and does not prove the ground can carry amplifier current without losing voltage. It can confirm that the wire is not open, but it does not prove the ground can carry amplifier current without losing voltage. A wire can beep fine and still fail once the amp asks for real current. That is why many meter and electrical manufacturers recommend voltage-drop testing for loaded circuits instead of relying on resistance alone.
What the beep test can tell you
A beep or low-ohms reading can show that the wire path exists from the amp ground terminal to the chassis or battery negative. That is useful for spotting a totally open ground. It is not enough to judge a high-current audio ground that must stay stable under load.
Why low resistance can still fail under load
High-current grounds fail at the contact surfaces, not only inside the wire. Paint, corrosion, loose hardware, and a thin or damaged cable can still let the meter beep. Under load, those same weak spots create voltage drop and can push the amp into protection mode.
A common first-timer mistake is to read a solid beep and stop there. The amp then shuts down on bass hits, even though the continuity test looked fine. That is the difference between a quick sanity check and a real voltage-drop test.
When to avoid resistance testing on a live circuit
Do not use ohms mode on a powered circuit. Power must be off if you use resistance or continuity, because the meter injects its own test signal. For an amp that is installed and operating, stay in DC volts and measure drop while the circuit is live.
When to use ohms as a quick check
Use ohms or continuity only to confirm that the ground wire is connected and not open. If the reading is strange, that is a clue to check the cable or terminal. For a final answer on amp ground quality, rely on voltage drop while the system is working.
How do you know if the amp ground is bad?
A bad amp ground can often show up as protection mode, intermittent shutdown, weak output, or an amp that will not power up even though power and remote turn-on seem present. If the ground path has too much resistance, the amp may see unstable voltage and behave as if the supply is failing.
Protection mode and shutdown symptoms
If the amplifier enters protection mode, check power, remote, and ground together. A poor ground can trigger the same symptom as a bad fuse or weak battery. That is why the voltage-drop test belongs beside the other checks, not after them. Include fuse and terminal checks in the same workflow so a blown fuse, loose power lug, or oxidized terminal does not get mistaken for a ground fault.
Weak output and voltage sag
Ground resistance can steal voltage from the amplifier during heavy bass notes. The result may be weak output, clipping, or a system that works at low volume and cuts out when the load rises. If the drop grows with signal, the ground path is the first place to check.
Cable, terminal, or chassis fault
A bad reading can come from the terminal, the cable, or the chassis point. Loose bolts, oxidized metal, and a ground point that is too far from the amp are common causes. The reading tells you which part of the path needs attention, not just that something is wrong.
What should you fix first?
Start with the simplest resistance sources: clean the terminal and expose bare metal at the mount. If the reading stays high, shorten or reroute the ground cable, then move the ground point to a cleaner part of the chassis. If the issue still remains, inspect battery negative and chassis bonding.
Clean the terminal and bare metal
Remove paint, rust, and corrosion where the ground lug meets the car chassis. The contact surface should be bare metal, tight, and flat. A dirty mount can create enough resistance to raise the drop even if the wire itself is the right size.
Shorten or reroute the ground cable
A shorter cable lowers resistance and reduces the chance of noise or voltage loss. Many installs use the same gauge as the power wire. Keep the run short and direct, and avoid coiling extra cable under trim where it adds length for no benefit.
Relocate the ground point
Move the ground to a better chassis point if the first location is thin, painted, or shared with other loads. The new point should be on solid bare metal with good hardware. If the reading improves after relocation, the old mount was the weak link.
Inspect battery negative and chassis bonding
If several ground points test poorly, the car’s battery negative-to-chassis bond may be weak. That problem can raise voltage drop everywhere the amp touches the body. Check the main bond first before chasing smaller branches of the ground path.
Suppose the amp ground reads fine at idle, but the system drops out when the engine starts and electrical load rises. That pattern can point away from the amp’s own ground lug and toward the battery negative bond or a chassis connection that cannot carry the larger current path.
Frequently asked questions
How do I test an amp ground with a multimeter?
Set the meter to DC volts, put the black lead in COM and the red lead in V/Ω, then measure from the amp ground terminal to battery negative or a known good chassis point. Read it with the amp on and under load. Less than 0.1 volts is a practical target.
What multimeter setting do I use to test amp ground?
Use direct current voltage for the main test. Continuity or ohms can confirm that the wire is connected, but they do not prove the ground can carry amplifier current. The current jack is not for this test and should stay unused.
Do I test the ground wire to chassis or battery negative?
Battery negative is the cleanest reference because it is the battery’s return path. A known good chassis point can also work if it is bare, clean, and bonded well. Use one reference point consistently so the readings stay comparable from step to step.
What should a good amp ground read on a multimeter?
A healthy amp ground should read near 0V drop under load, with less than 0.1 volts as a practical troubleshooting target. A few tenths of a volt means the path needs attention. Higher readings point to resistance in the terminal, cable, or chassis bond.
Why does my amp still cut out if power and remote are good?
A weak ground can make the amplifier shut down even when power and remote turn-on look correct. Check the ground under load, then inspect the fuse, the cable, and the chassis point. If several spots fail, look at battery negative and chassis bonding too.
Can you test a ground with a multimeter?
Yes, but the useful method is a voltage-drop test, not just a beep test. Continuity only tells you the path is not open. For a car amplifier, the real check is how much voltage the ground path loses while the amp is operating under load.