
How to Choose the Right Fuse for a Dash Cam Hardwire Kit
Choose a switched fuse for most dash cam hardwire kits. Use a constant fuse only for parking mode or low-voltage cutoff setups. Pick the wrong circuit, and you can drain the battery, lose parking recording, or trigger electrical faults. This guide shows how to identify switched and constant circuits, choose a safe tap point, and avoid fuse-box mistakes.
Which fuse should you tap?
Start with circuit behavior, not the label. The right tap point depends on whether you need ignition-on power for driving or always-on power for parking mode, and it should come from a low-draw, non-critical circuit whenever possible. Your owner’s manual, fuse legend, and the hardwire kit manual should agree with what you measure at the slot.
Pick the circuit based on driving power or parking mode
Use an accessory, or switched, fuse when the camera only needs power with the ignition on. Use a constant, or battery, fuse when the kit must feed parking mode after the vehicle is off. That split matters because parking mode needs a live feed, while normal driving power does not. The hardwire kit connects the dash cam to the fuse box and, when specified by the kit, can support parking recording through a constant feed.
Why low-draw, non-critical circuits are the safest candidates
Look for circuits that draw little power and do not affect safety systems. Good candidates are often non-essential convenience circuits that do not affect core vehicle operation. Avoid anything tied to airbags, ABS, fuel delivery, charging control, or similar systems, and confirm the circuit in the fuse legend before you tap it.
Do not assume the fuse-box label is enough. A label can say “ACC,” but the slot may still behave differently than expected, or it may share power with a module that does not tolerate extra load well. The goal is a circuit that matches the camera’s use and keeps the vehicle’s own systems undisturbed.
Match the fuse type first
An add-a-fuse, or fuse tap, draws power from the fuse box and must match the vehicle’s fuse type and size. It is typically used with two fuses: one for the original circuit and one for the dash cam branch. The adapter must fit the fuse format in that vehicle, not just the amperage, and the hardwire kit manual should specify the branch-fuse value or maximum branch protection it allows.
Most modern vehicles use mini, micro, or low-profile mini fuses, and the tap has to match that physical shape. A mixed fuse box is common too. In that case, confirm the exact slot format before buying or installing the adapter.
How to check the fuse box and the add-a-fuse size
Open the owner’s manual and fuse-box legend first. They identify the slots and often separate accessory and constant circuits, but the printed map is only the starting point. Verify the shape of the slot in person, then match the add-a-fuse body to that shape.
The fuse tap also needs the correct blade style. Mini, micro, and low-profile mini fuse taps are not interchangeable. If the tap does not seat fully or leaves the contacts loose, stop and get the right adapter instead of forcing it.
What to do when the vehicle uses mixed fuse formats
Some vehicles use more than one fuse format in different areas of the box. That means one row may take a mini tap while another row needs a low-profile mini adapter. Do not assume one tap kit fits every slot.
Picture a vehicle with a mini fuse for the radio circuit and a low-profile mini fuse for an empty accessory slot beside it. The correct choice is the slot that fits both the power needs and the adapter shape, not the one that merely looks convenient.
Constant or switched power?
Use a switched fuse for driving power and a constant fuse for parking mode. The difference matters because a switched circuit turns off with ignition, while a constant circuit stays live after shutdown. Parking mode depends on always-on power, but that setup increases battery drain risk if it lacks cutoff protection.
Accessory circuits for ignition-on power
An accessory fuse is the best fit when the camera should run only while driving. It gives clean on-off behavior, which is useful if the camera does not need to record while parked. This also reduces the chance of a drained starter battery.
Many hardwire kits are used this way: one switched source for trigger behavior and one ground point to complete the circuit. A ground point is a bare metal chassis point, and it is required for safe hardwire installation.
Constant circuits for parking mode
Choose a constant fuse only when the camera must stay awake in parking mode. That path keeps the camera ready after the ignition is off, which is useful for motion or impact recording. It also means the kit must have low-voltage cutoff protection, per the kit manual and vehicle charging-system guidance.
A constant circuit by itself is not the full answer. Without a cutoff module, the camera can continue drawing power long enough to weaken the starter battery. Parking mode should generally be paired with voltage protection.
How parking mode changes the battery risk
Parking mode changes the job from short, engine-on use to long, unattended use. That makes battery health part of the decision. The longer the camera can record after shutdown, the more careful the cutoff setting needs to be.
Use the least aggressive power profile that still meets your parking needs. A short overnight window is different from a multi-day airport lot stay. The right choice depends on how long the vehicle sits and how conservative you want to be with the battery.
2-wire vs 3-wire hardwire kits
A 2-wire kit usually uses one fused power lead and one ground, so it behaves like a single switched feed unless the kit has an internal parking trigger. A 3-wire kit separates constant BATT and switched ACC inputs, which lets the camera tell ignition state and enter parking mode only when the ACC feed turns off. Check the kit manual before choosing fuses.
When a 2-wire kit is enough
Use a 2-wire kit when you want simple ignition-on power or when the kit’s parking function does not require a separate ACC signal. In that setup, a single switched fuse can power the camera, and the kit follows that power state without needing a second trigger lead.
When a 3-wire kit needs separate constant and ACC fuses
Use a 3-wire kit when parking mode depends on a clear ignition-off trigger. In that case, the BATT lead stays live for parking power, and the ACC lead tells the kit when the vehicle is running. If you omit the ACC trigger and use only one constant feed, the kit may not switch into parking behavior correctly.
How to wire parking mode correctly
For parking mode, the constant fuse should feed BATT and the switched fuse should feed ACC, with ground attached to clean bare metal. That combination gives the camera a live standby feed and a reliable ignition signal. Follow the hardwire kit manual for which lead is constant, which is switched, and what cutoff behavior the unit expects.
Can I use any fuse in the fuse box?
No, not any fuse. Yes, only if the slot is low-draw, non-critical, and verified as the right power state for your setup. The fast rule is simple: avoid safety systems, avoid high-draw loads, and avoid memory-sensitive circuits unless the vehicle manual or fuse legend clearly says the circuit is appropriate.
Do not tap safety-critical circuits such as airbags, ABS, steering, brake, fuel, or engine-management circuits. Do not tap high-draw circuits such as rear defrost, blower motors, heated seats, or charging-system paths. Do not tap memory-sensitive circuits such as modules that must stay alive for presets, learned settings, or keyless-entry functions unless the manufacturer guidance explicitly allows it.
What to use instead
Use a low-draw convenience circuit that matches your power goal and passes a switched-versus-constant test. If the fuse legend is unclear, move to a different slot rather than forcing a tap into a questionable circuit. The safest choice is the one that powers the camera without changing how the car operates.
How do you verify the slot?
Use the owner’s manual and fuse diagram first, then verify the slot with a multimeter or test light. Do not rely only on the printed fuse label. The real test is whether the slot is hot with the key off or only when ignition is on.
Confirm switched versus constant with a multimeter or test light
Check the slot with a meter or test light with the ignition off, then check it again with the ignition on to determine switched versus constant behavior. If it is dead off and live on, it behaves like a switched circuit. If it stays live with the car off, it behaves like a constant circuit.
That check matters more than the label. A slot marked for one function can still be tied to another power state, especially in vehicles with body modules or retained accessory power logic. Verify before you install the tap.
Check the hot side before installing the add-a-fuse
Find the hot side of the fuse slot before inserting the tap. The fuse tap must be oriented so the incoming power enters the correct side, or the new circuit may not be protected the way you expect. The correct orientation depends on the tap design and the feed side of the slot.
Sample orientation check: identify the energized side with a test light, then orient the add-a-fuse so the tap’s input blade sits on that hot side. If the tap has a marked “line” or “load” side, follow the tap maker’s diagram. Do not assume the original fuse always belongs in the same position on every tap.
Fuse selection worksheet
Use this worksheet before you buy or install anything. It separates fit, behavior, and circuit risk so you can avoid guessing from labels alone. Fill it out for each candidate slot, then pick the highest-scoring safe option.
| Step | What to check | Pass sign | Stop sign |
|---|---|---|---|
| 1. Identify fuse type/size | Mini, micro, or low-profile mini | Add-a-fuse matches the slot shape | Adapter does not seat fully or feels loose |
| 2. Test slot behavior | Switched or constant with meter/test light | Matches your power plan | Behavior does not match the plan |
| 3. Score the circuit | Safety, accessibility, low-draw/non-critical | Easy reach, low-risk function, clean routing | Safety system, high-draw load, memory circuit |
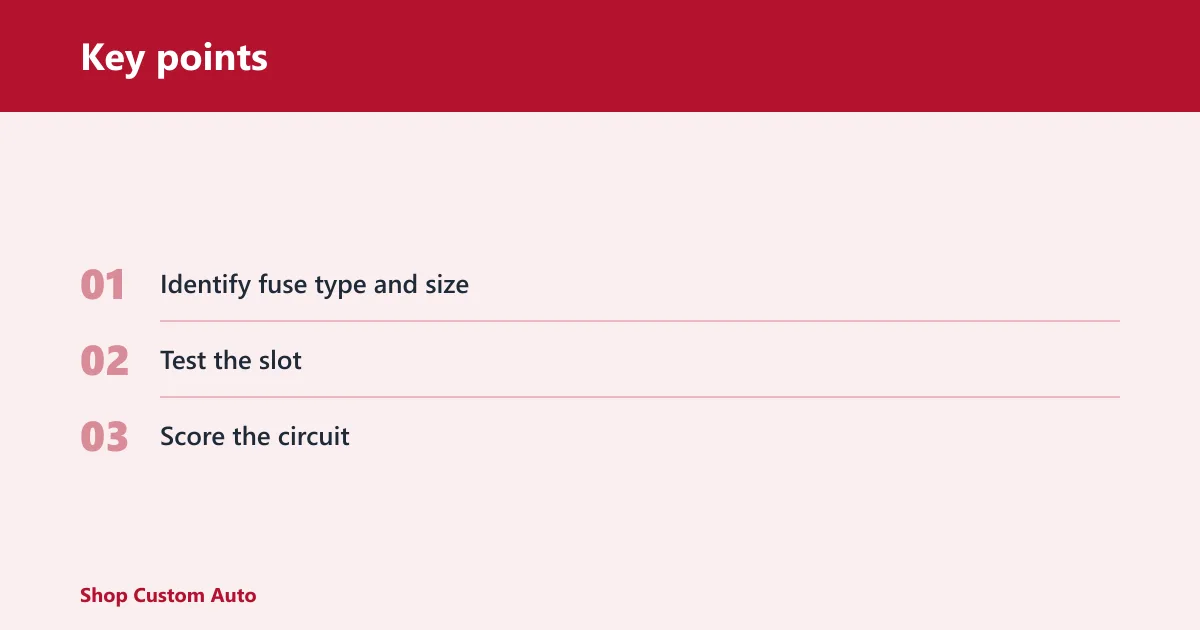
- Identify fuse type and size. Match the add-a-fuse to the vehicle’s fuse format first.
- Test the slot. Verify whether it is switched or constant with the ignition off and on.
- Score the circuit. Prefer low-draw, non-critical, easy-to-access circuits over everything else.
Do not tap list: airbags, ABS, fuel pump, starter, alternator control, engine management, brake systems, steering systems, high-draw accessories, and memory-sensitive circuits that must stay untouched. If a circuit is part of a safety system or a critical control path, leave it alone.
Use this simple score: 2 points for low-draw and non-critical, 1 point for moderate convenience use, 0 points for safety-critical or high-draw. Then add 1 point for easy access and 1 point for a clear switched or constant behavior that matches your goal. Pick the highest total that is still a safe circuit.
Sample add-a-fuse orientation check: if the hot side tests on the left blade of the fuse slot, the add-a-fuse should be inserted so its power input aligns with that side. If the first install does not power the camera or the fuse appears backward, stop and recheck the feed side before trying again.
How much protection does the kit need?
Match the replacement fuse to the original circuit rating, and let the dash cam branch follow the hardwire kit manufacturer’s spec and wire gauge. The camera draw is typically far below the circuit max, so the goal is to protect both the factory circuit and the added branch without oversizing the tap.
Match the replacement fuse to the original circuit rating
Use the same amperage as the original circuit fuse unless the hardwire kit instructions say otherwise. Common vehicle fuse values often include 5A, 10A, and 15A. The dash cam fuse should be sized to the kit’s instructions and wire gauge, not guessed from the vehicle fuse alone.
The fuse tap protects two paths: the factory circuit and the new dash cam lead. That is why the original fuse stays in service and the new branch gets its own fuse. The added fuse is there to protect the accessory wire, not to change the vehicle’s original circuit design.
Where the low-voltage cutoff module fits in the setup
The voltage monitor or power module is a core component when parking mode is involved. It watches battery voltage and disconnects the camera before the starter battery drops too far. That protection is the reason constant power can be used more safely.
Follow the vehicle and product manual for installation order, and keep the ground connection on bare metal. The hardwire path is only as safe as the cutoff setting and the circuit choice behind it.
Voltage cutoff settings for parking mode
Common cutoff presets mentioned are 11.8V, 12.0V, and 12.4V. Lower settings extend parking recording time, while higher settings protect battery health more aggressively. The best choice depends on how long the car sits and how much risk you want to take with the starter battery. Many hardwire kit manuals and vehicle electrical references use this same tradeoff: lower cutoff for more runtime, higher cutoff for more reserve margin.
11.8V for longer runtime
11.8V allows longer parking mode but risks a weak battery. Use it only when longer recording time matters more than battery margin, and only if the vehicle battery is healthy. This setting gives the camera more run time after shutdown.
12.0V as a balanced setting
12.0V is the middle-ground option. It gives more protection than the lowest setting while still allowing useful parking recording time. For many daily-driver setups, this is the best starting point when the vehicle sits for normal overnight periods.
12.4V for more battery-conservative protection
12.4V is safer for battery health but offers shorter recording time. Choose it when the vehicle sits for longer periods, in cold weather, or when the starter battery is already older. The tradeoff is simple: less parking runtime, more battery margin.
Say your car sits outside for two nights each week and you only want brief parking clips. A 12.4V cutoff is the safer choice because it stops earlier. Suppose you park for a full workday and want motion capture through most of it; 12.0V may fit better if the battery is healthy.
Frequently asked questions
Which fuse to hardwire dashcam?
Choose a switched fuse for driving-only power and a constant fuse only for parking mode with cutoff protection. Do not trust the label alone. Verify the slot with a multimeter or test light, then pick a low-draw, non-critical circuit that matches the fuse-tap format.
Which fuse to use for dash cam?
Use the fuse that matches your power goal and the vehicle’s fuse format. For most installs, that means a switched accessory circuit. If you need parking mode, use a constant circuit and pair it with a voltage monitor or power module.
Which fuse should I tap for a dash cam hardwire kit?
Tap a low-draw circuit that is easy to access and confirmed to be switched or constant by testing, not guessing. Avoid airbags, ABS, fuel, starter, and other critical systems. The best tap is the one that fits the add-a-fuse, behaves correctly, and carries low risk.
Should I use a constant or switched fuse for parking mode?
Use a constant fuse for parking mode, because parking mode needs an always-on power path. Add low-voltage cutoff protection so the camera stops before the starter battery is pulled too low. If you do not need parking mode, a switched fuse is the safer choice.
What fuse amp rating should the add-a-fuse match?
The replacement fuse should match the original circuit rating, and the dash cam branch fuse should follow the hardwire kit manufacturer’s spec and wire gauge. Do not pick an amperage just because it is common. The tap protects both the factory circuit and the camera lead.
How do I know if a fuse slot is ACC or always-on?
Test it with a multimeter or test light, first with the ignition off and then with the ignition on. If it only lights when the key is on, it is switched. If it stays live when the vehicle is off, it is constant. The label alone is not enough.
What if my car uses mini, micro, or low-profile mini fuses?
Match the add-a-fuse to the exact fuse format in that slot. Mini, micro, and low-profile mini are different shapes, and the wrong adapter may not seat correctly. In mixed-box vehicles, confirm each target slot before buying the tap.
Do I need a 2-wire or 3-wire dash cam hardwire kit?
Choose a 2-wire kit if you only need a simple switched feed or a kit that handles parking mode from one power lead. Choose a 3-wire kit if the camera needs separate constant BATT and switched ACC signals to enter parking mode correctly. The kit manual decides which wiring style you need.
What voltage cutoff should I use for parking mode?
Use the cutoff setting recommended by the hardwire kit manual and the vehicle’s electrical guidance. In general, lower values give more runtime and higher values give more battery protection. Common presets are 11.8V, 12.0V, and 12.4V, with 12.0V often serving as a balanced starting point.
Sources
Owner’s manual and fuse-box legend guidance, hardwire-kit manufacturer instructions, and established automotive electrical references on switched versus constant circuits, fuse-tap orientation, and accessory branch protection.